Month: May 2012

Baseball Bracelet

I’ve got a great idea to share with all of you for a super easy and cute way to make a bracelet out of the strings of a baseball.  My college girl friends and I all made these to wear when we went to games…and I still wear mine to the Diamondback’s games every chance I get. 
 
It’s a great way to show your love for baseball!
 
 
Supplies you’ll need:
Baseball (you can get 2 bracelets from each baseball)
Xacto knife
 
 
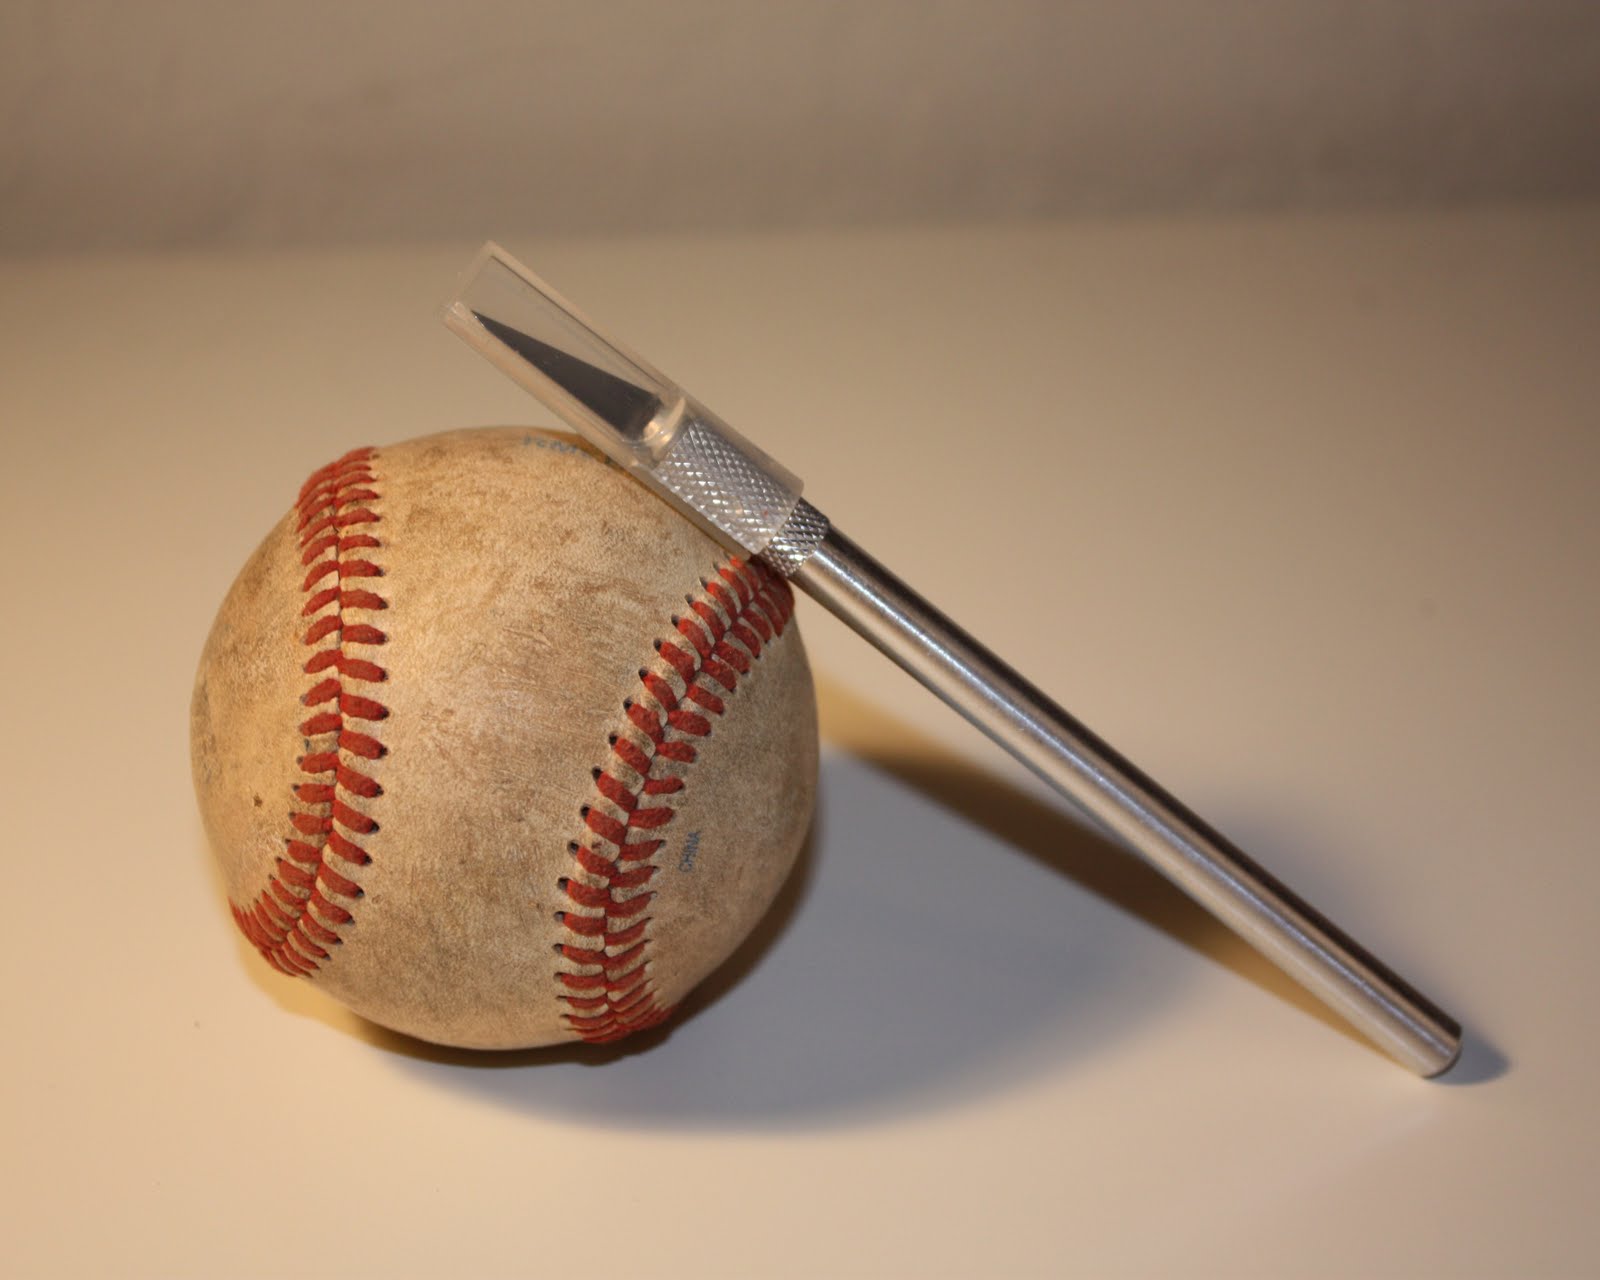
First you will need to cut out the stitches all the way around the baseball.  It’s hard to see in the picture below, but there is a tiny line tracing the stitches from where I cut the leather.  Try to get your cuts as close to the stitches as possible without cutting them.  But don’t worry, you can always trim off any uneven parts when you’re all done.  You will have to apply a fair amount of pressure, and maybe even got over each line twice to cut all the way through the leather.
 
 
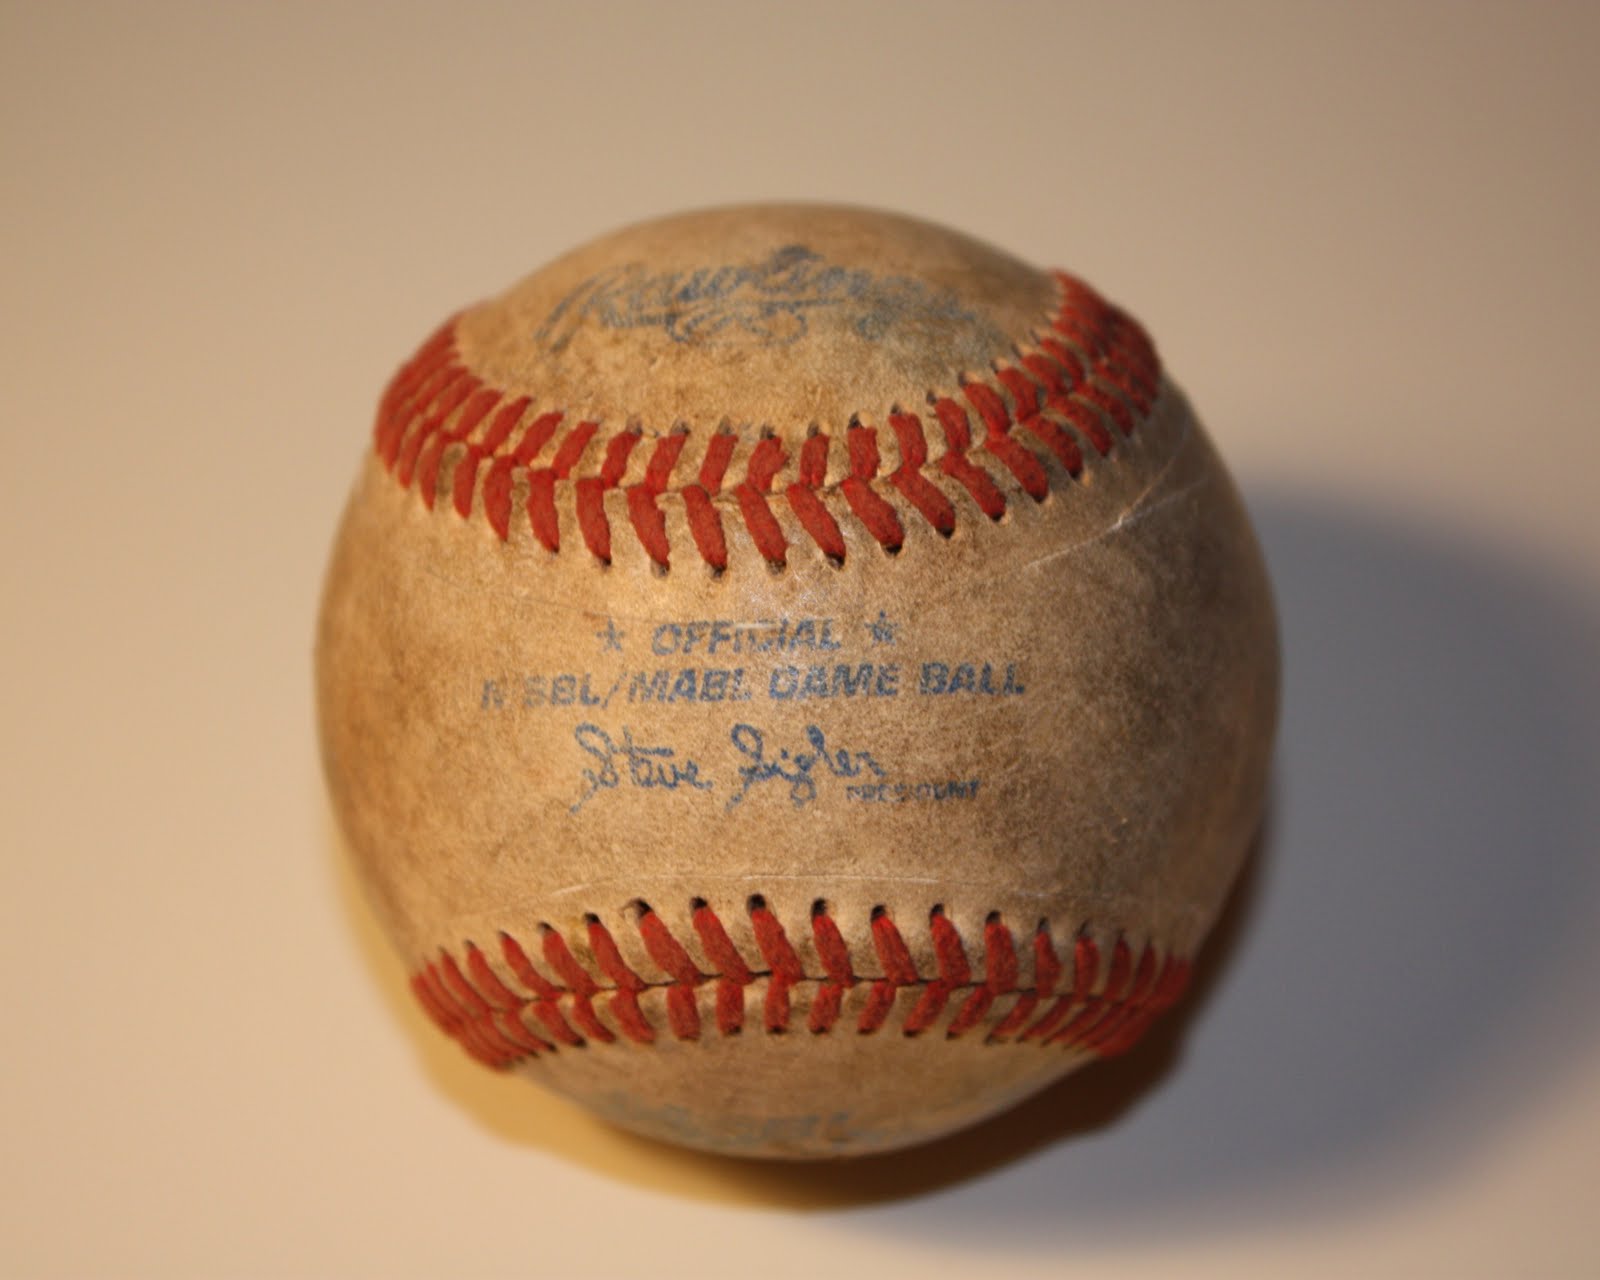
Once you have cut all the way around the stitches you’ll need to remove the leather pieces.  The leather is stuck onto the ball inside with some adhesive, so it could take a little elbow grease to get it off.
 
 
Once you take both leather pieces off you’ll need to remove the strings.  They will still be in once piece and should be easy to pull off.
 
Here’s is what your baseball should look like at this point:
 
 
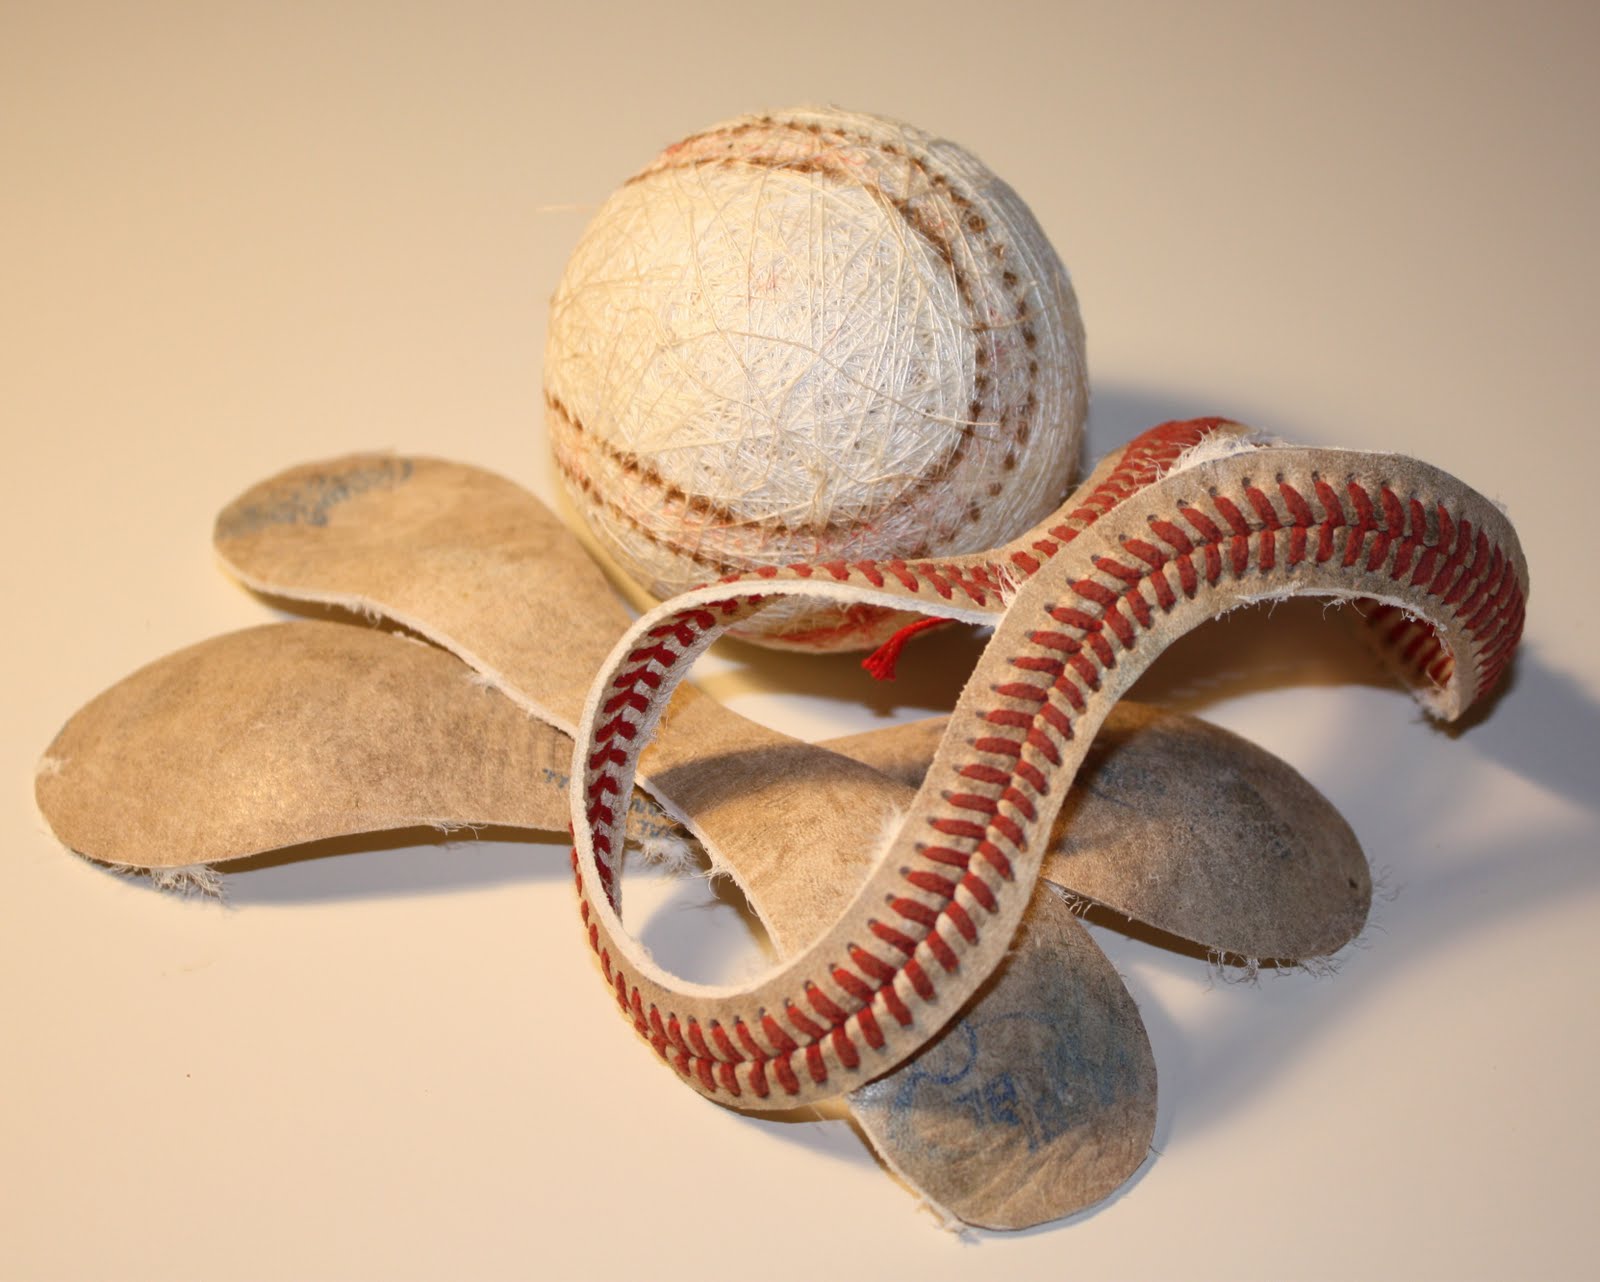
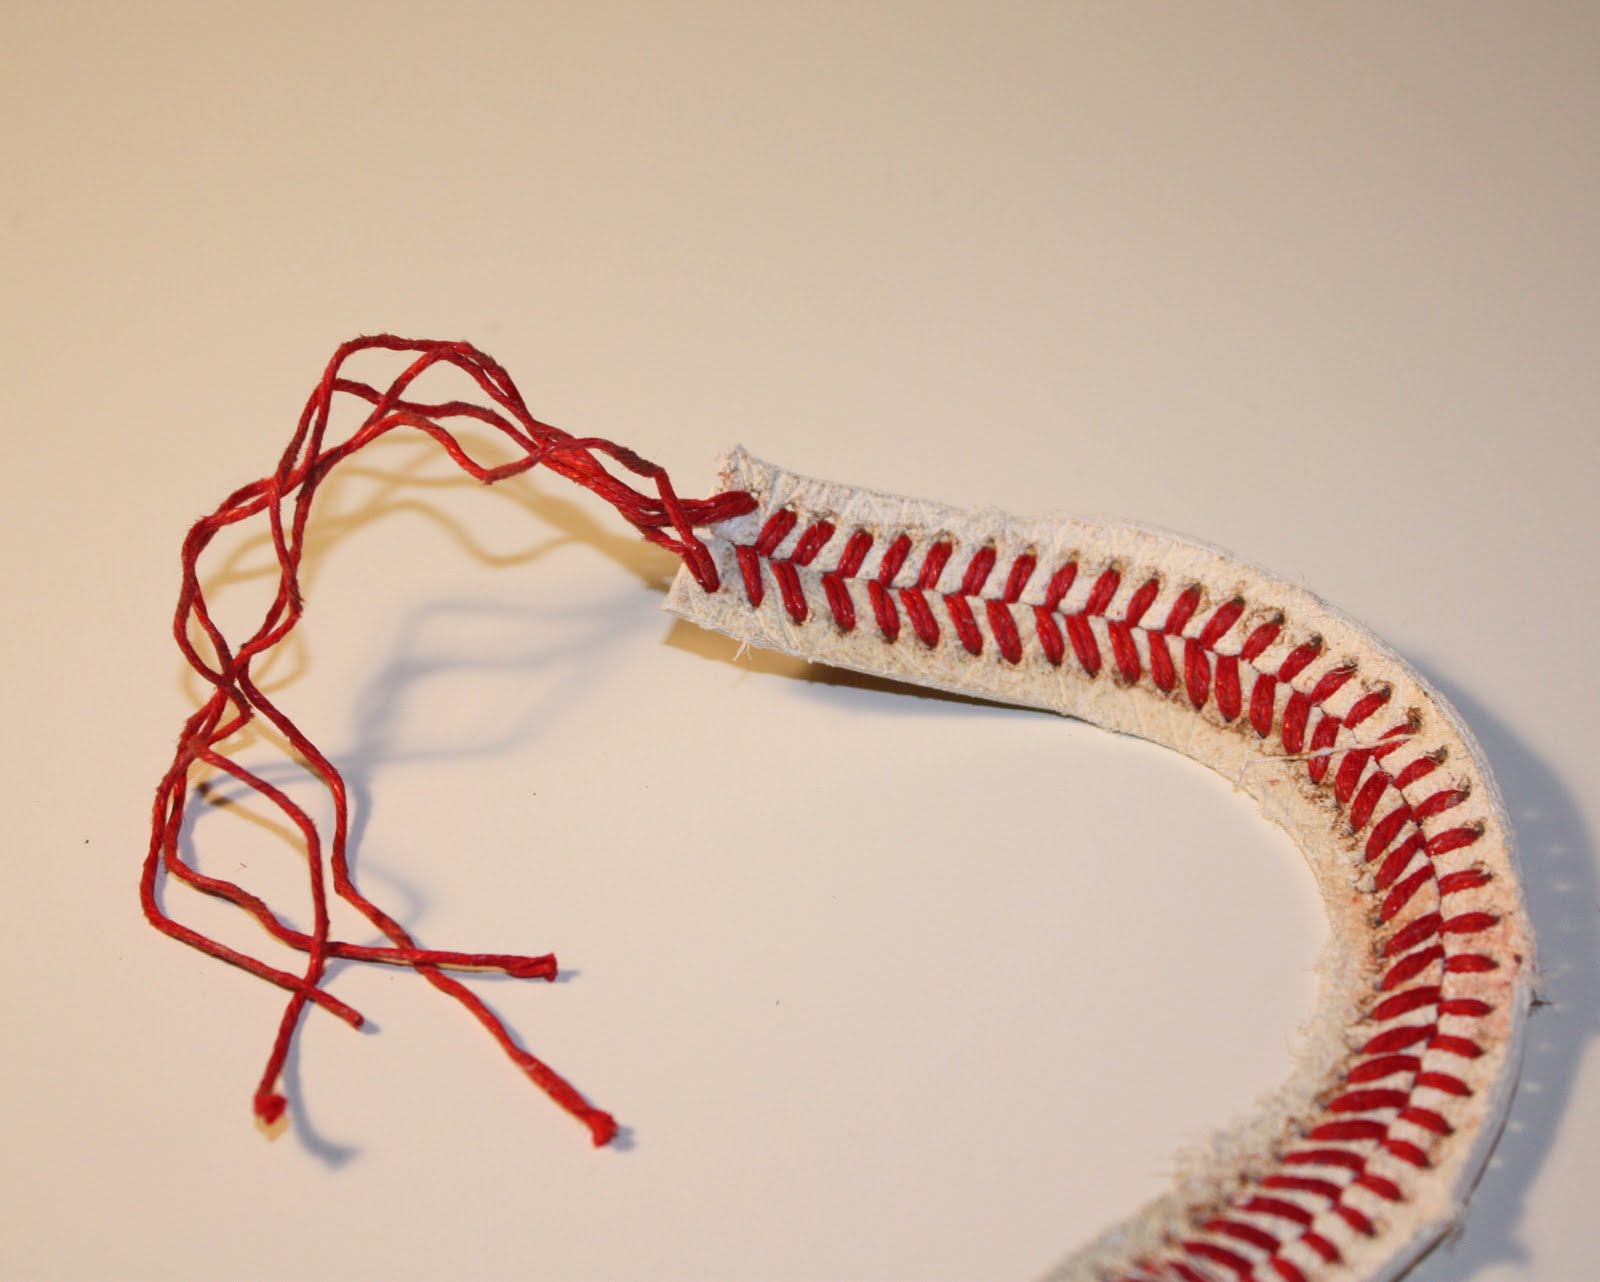
You won’t need the ball or leather any more for this project.  Locate the point on the seam where the stitching begins/ends, this is where you should cut the remaining leather.  Be careful not to cut off the excess string, you’ll need every inch!  What you should have now is one long seam with two ends that look like this:
 
 
Find the middle of the seam and cut it in half.  Each piece should be around 8 inches long.  Begin unraveling the stitching at each end of the bracelet until you have about 4 inches of string unwound.  This should leave about 1 to 1 1/2 inches of leather sticking out.
 
 
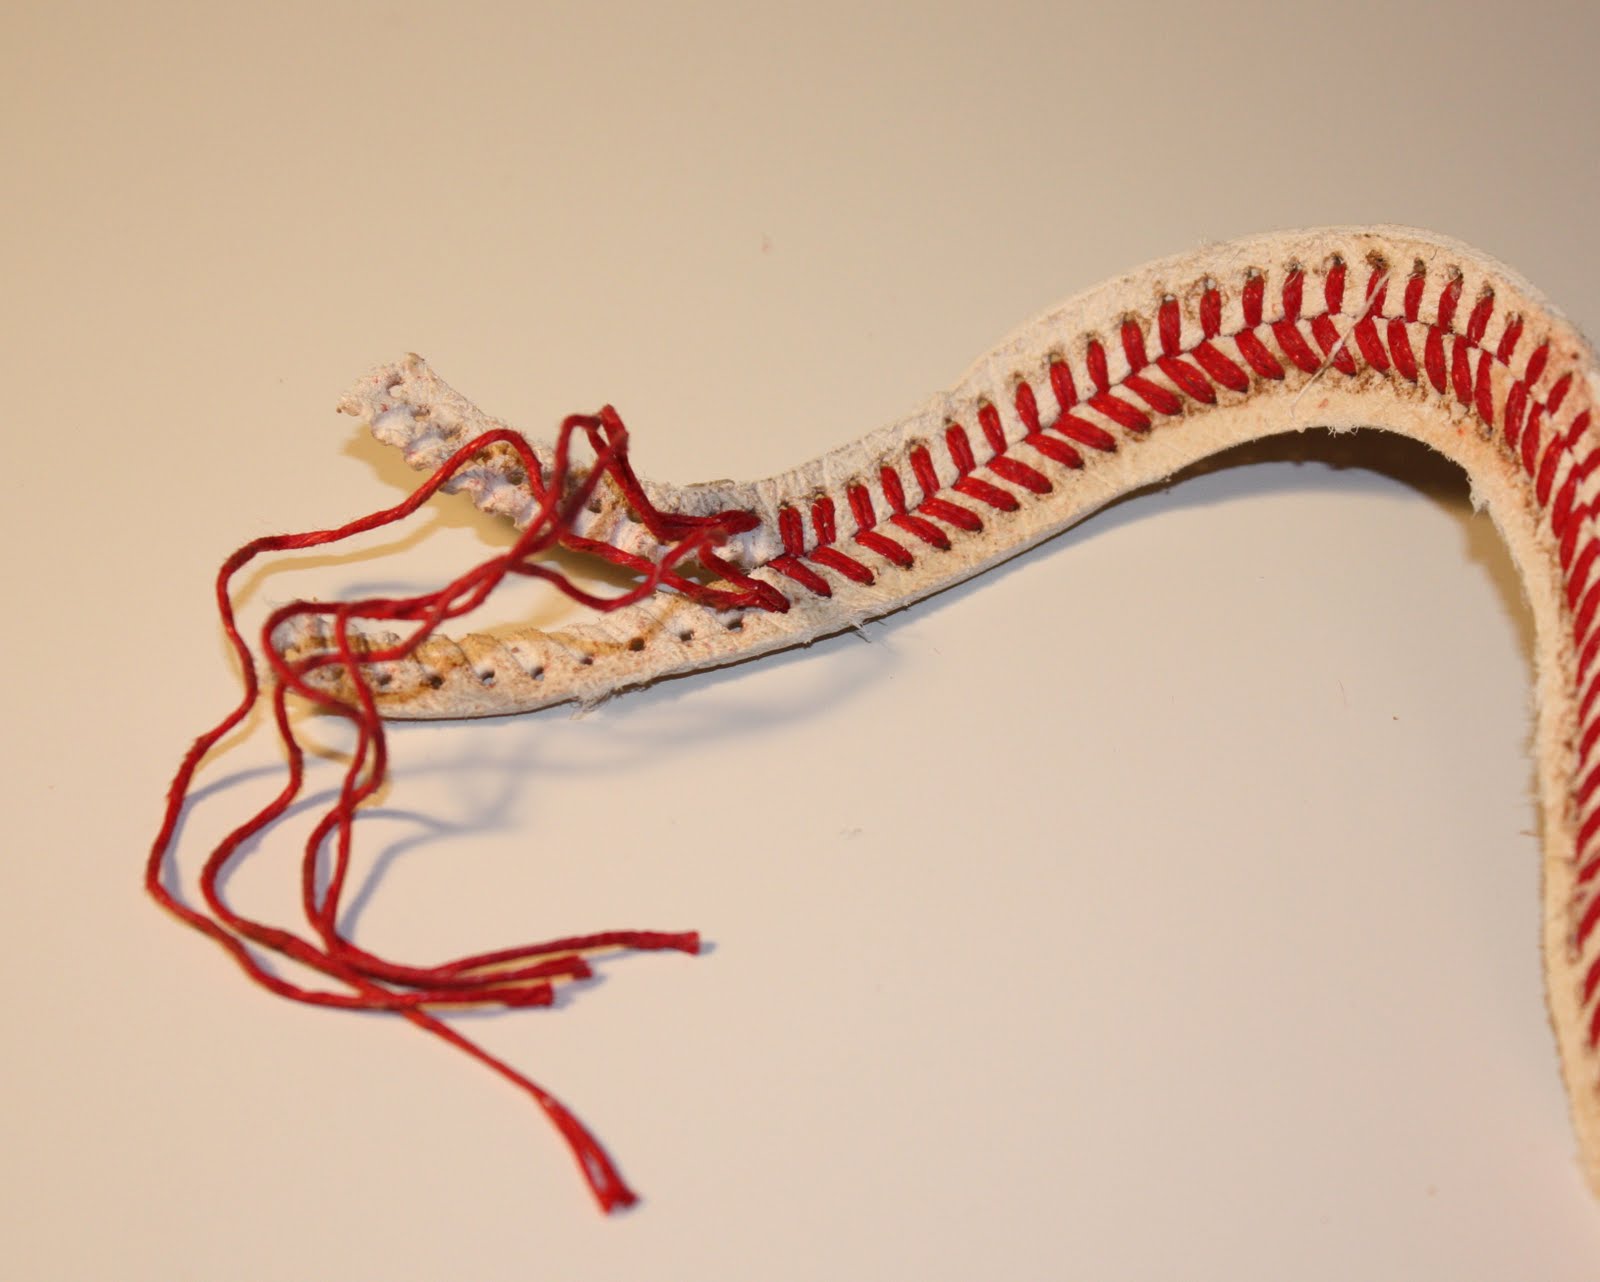
Cut off the excess leather without cutting the strings.  You should now have two ends that look like this about about 5 inches of seam in the middle.
 
 
The best closure I found for this bracelet is simply tying the two ends into a knot each time I wear it.  To do this you will need to braid each of the loose strings and secure with a knot.  The strings will be gummy in the beginning from the adhesive used to attach the leather to the ball, but this will go away after you wear the bracelet a few times.  You might prefer to make a loop and bead closure, or come up with something else unique.
 
If you notice that the leather is twisted from it’s shape on the ball, don’t worry.  You can stretch the bracelet and gradually force it to hold a straighter shape.  And as the adhesive wears off it should loosen up a bit.
 
You can also trim the leather at this point if they are uneven from your cuts with the Xacto knife. 
See more instructions HERE at Icanfindthetime

Make Perfect Pancakes

How To: Make Pancakes Step 1
1Mix up your favorite recipe: In a medium-size mixing bowl or large glass measuring cup, whisk together your dry ingredients (or follow directions for premade pancake mix).
How To: Make Pancakes Step 2


2Mix milk, eggs, and oilIn a separate bowl, whisk together the wet ingredients (milk, eggs, vegetable oil, or melted butter) until the egg is broken up (this will prevent overmixing in the next step).

How To: Make Pancakes Step 3


3Mix dry ingredients with wet ingredientsAdd the wet ingredients to the bowl with the dry ingredients. Stir them together until you stop seeing flour. Remember to not overmix, which makes the batter tough.

Tip: Keep a few lumps in your batter to keep the pancakes tender.

How To: Make Pancakes Step 4


4Pre-heat the pan or skilletTurn your stove to medium-high heat and place a large skillet or griddle on the burner.

Tip: To test for temperature, sprinkle a few drops of water on the pan. It’s hot enough when the droplets bubble up and evaporate.

How To: Make Pancakes Step 5
5Add oil to panMoisten a paper towel with vegetable oil and use it to lightly wipe the bottom of the pan. This will keep the pancakes from sticking.

How To: Make Pancakes Step 6
6Pour the batter into the pan

For each pancake, gently pour 1/3 to 1/2 cup of batter into the pan, using a ladle or a measuring cup. Use a spoon to spread the batter into a circle.

Tip: Add pancake fillings, like bananas or sliced peaches, in the circles of batter.

How To: Make Pancakes Step 7
 
7Flip the pancakes when the bubbles burstOnce bubbles begin to pop in the pancake’s center, it’s ready to be turned. Insert the entire spatula under the pancake’s middle. Lift the pancake quickly about an inch off the pan’s surface and flip it over.

Tip: If you’re making pancakes for a large crowd, place them on a wire rack over a baking sheet (to prevent sogginess), and keep pancakes in the oven on low heat (approximately 200 degrees F to 225 degrees F) until you’re ready to serve.

Instructions via realsimple

Tips for Making Latte Art

  • 1 Pour enough cold milk (34 ºF or 1 ºC)for one cup into the steam pitcher
    How to make latte art
  • 2

    Put the steam wand at the bottom of the pitcher. Turn on the steam, and slowly raise the wand until it is near the top of the milk. Lower the pitcher as the milk rises so the steam wand stays 1 cm away from the top of the milk. The milk should not stretch too much nor should there be any big bubbles. This should create a smooth, velvety milk as opposed to the foam that sits atop most espresso drinks.

     
  • 3

    Allow the milk to reach 80 ºF (27 ºC). Then place the steam wand on the side of the pitcher, deep into the milk, positioning the pitcher to spin counterclockwise. Keep doing this motion until the milk heats to 150 ºF to 160 ºF (65 ºC – 70 ºC).

     
  • 4

    Shut the steam and remove the steam wand and thermometer from the milk. Clean the steam wand with a wet cloth.

     
  • 5

    Let the milk settle for a few seconds. This will allow a more velvety texture.

     
  • 6

    Swirl the milk vigorously. If you see any bubbles, pound the pitcher on the counter several times and go back to swirling the milk for 20 to 30 seconds.

     
  • 7
    Start pouring the milk into the espresso.


    Start pouring the milk into the espresso.

    • To create a flower pattern: pour the milk about an inch (2 cm – 3 cm) away from the bottom. Once the cup is about half filled, gently shake the pitcher back and forth while slowly moving it backwards. The flower design will move forward, filling the cup. Do this with a shaking motion originating at the wrist instead of moving your hand back and forth.
       
    • To create a heart pattern: Shake your hand as you would in making a flower. However, instead of moving backwards, keep your hand in the same general area, focusing on making a ringed circle.
       
     
  • 8

    Continue until the foam reaches the top of the cup. Then, sweep the rest of the milk up the center of the newly created pattern. Use a minimal amount to avoid sinking the pattern.

     
  • 9

    Embellish the design using stencils, powder, and milk foam. This step is optional, as many prefer to limit their latte art to “free form” methods, but you may want to experiment with the possibilities added by “etching.”

    • To write a word, such as “love” in the picture, melt milk chocolate and using a pin as a paintbrush drag the melting chocolate over the foamed milk. More commonly this is done by dipping said pointy object into the cream of the drink being decorated, and then transferring that cream stained foam to the pure white foam to ‘draw’ a design.
  • VIA