This is easier than I thought! Fabric, trim, tension rods, ingenuity… is about all you need. Check it out HERE!

You can do it – Here's how!
Category: Crafts
This is easier than I thought! Fabric, trim, tension rods, ingenuity… is about all you need. Check it out HERE!
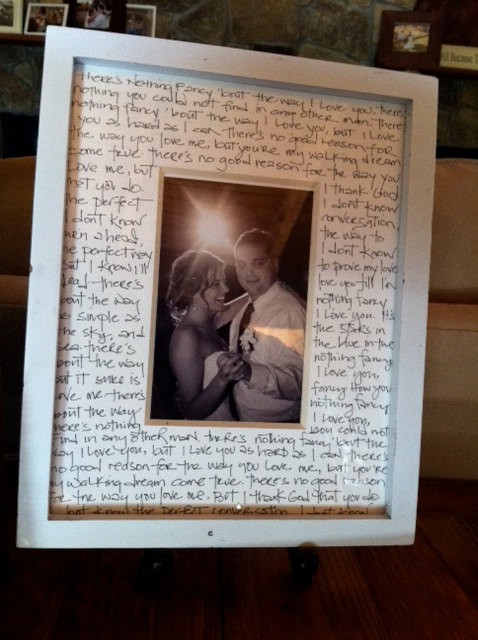 This could be used for a wedding gift or an anniversary gift or a gift to Mother/Father of the Bride/Groom. Write out the lyrics for those special songs chosen for those dances at the reception onto a matte. Add a photo commemorating this dance. Love, love, love it!
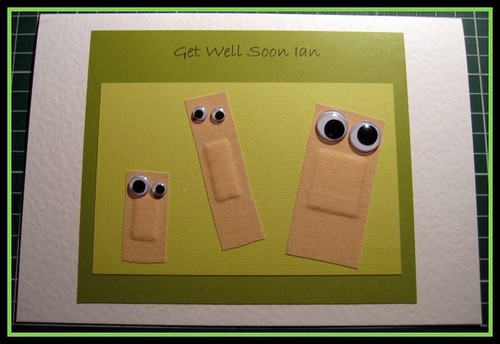 Use a blank card and stick on bandaids, glue on google eyes and write a simple message. Cute, for any age! via
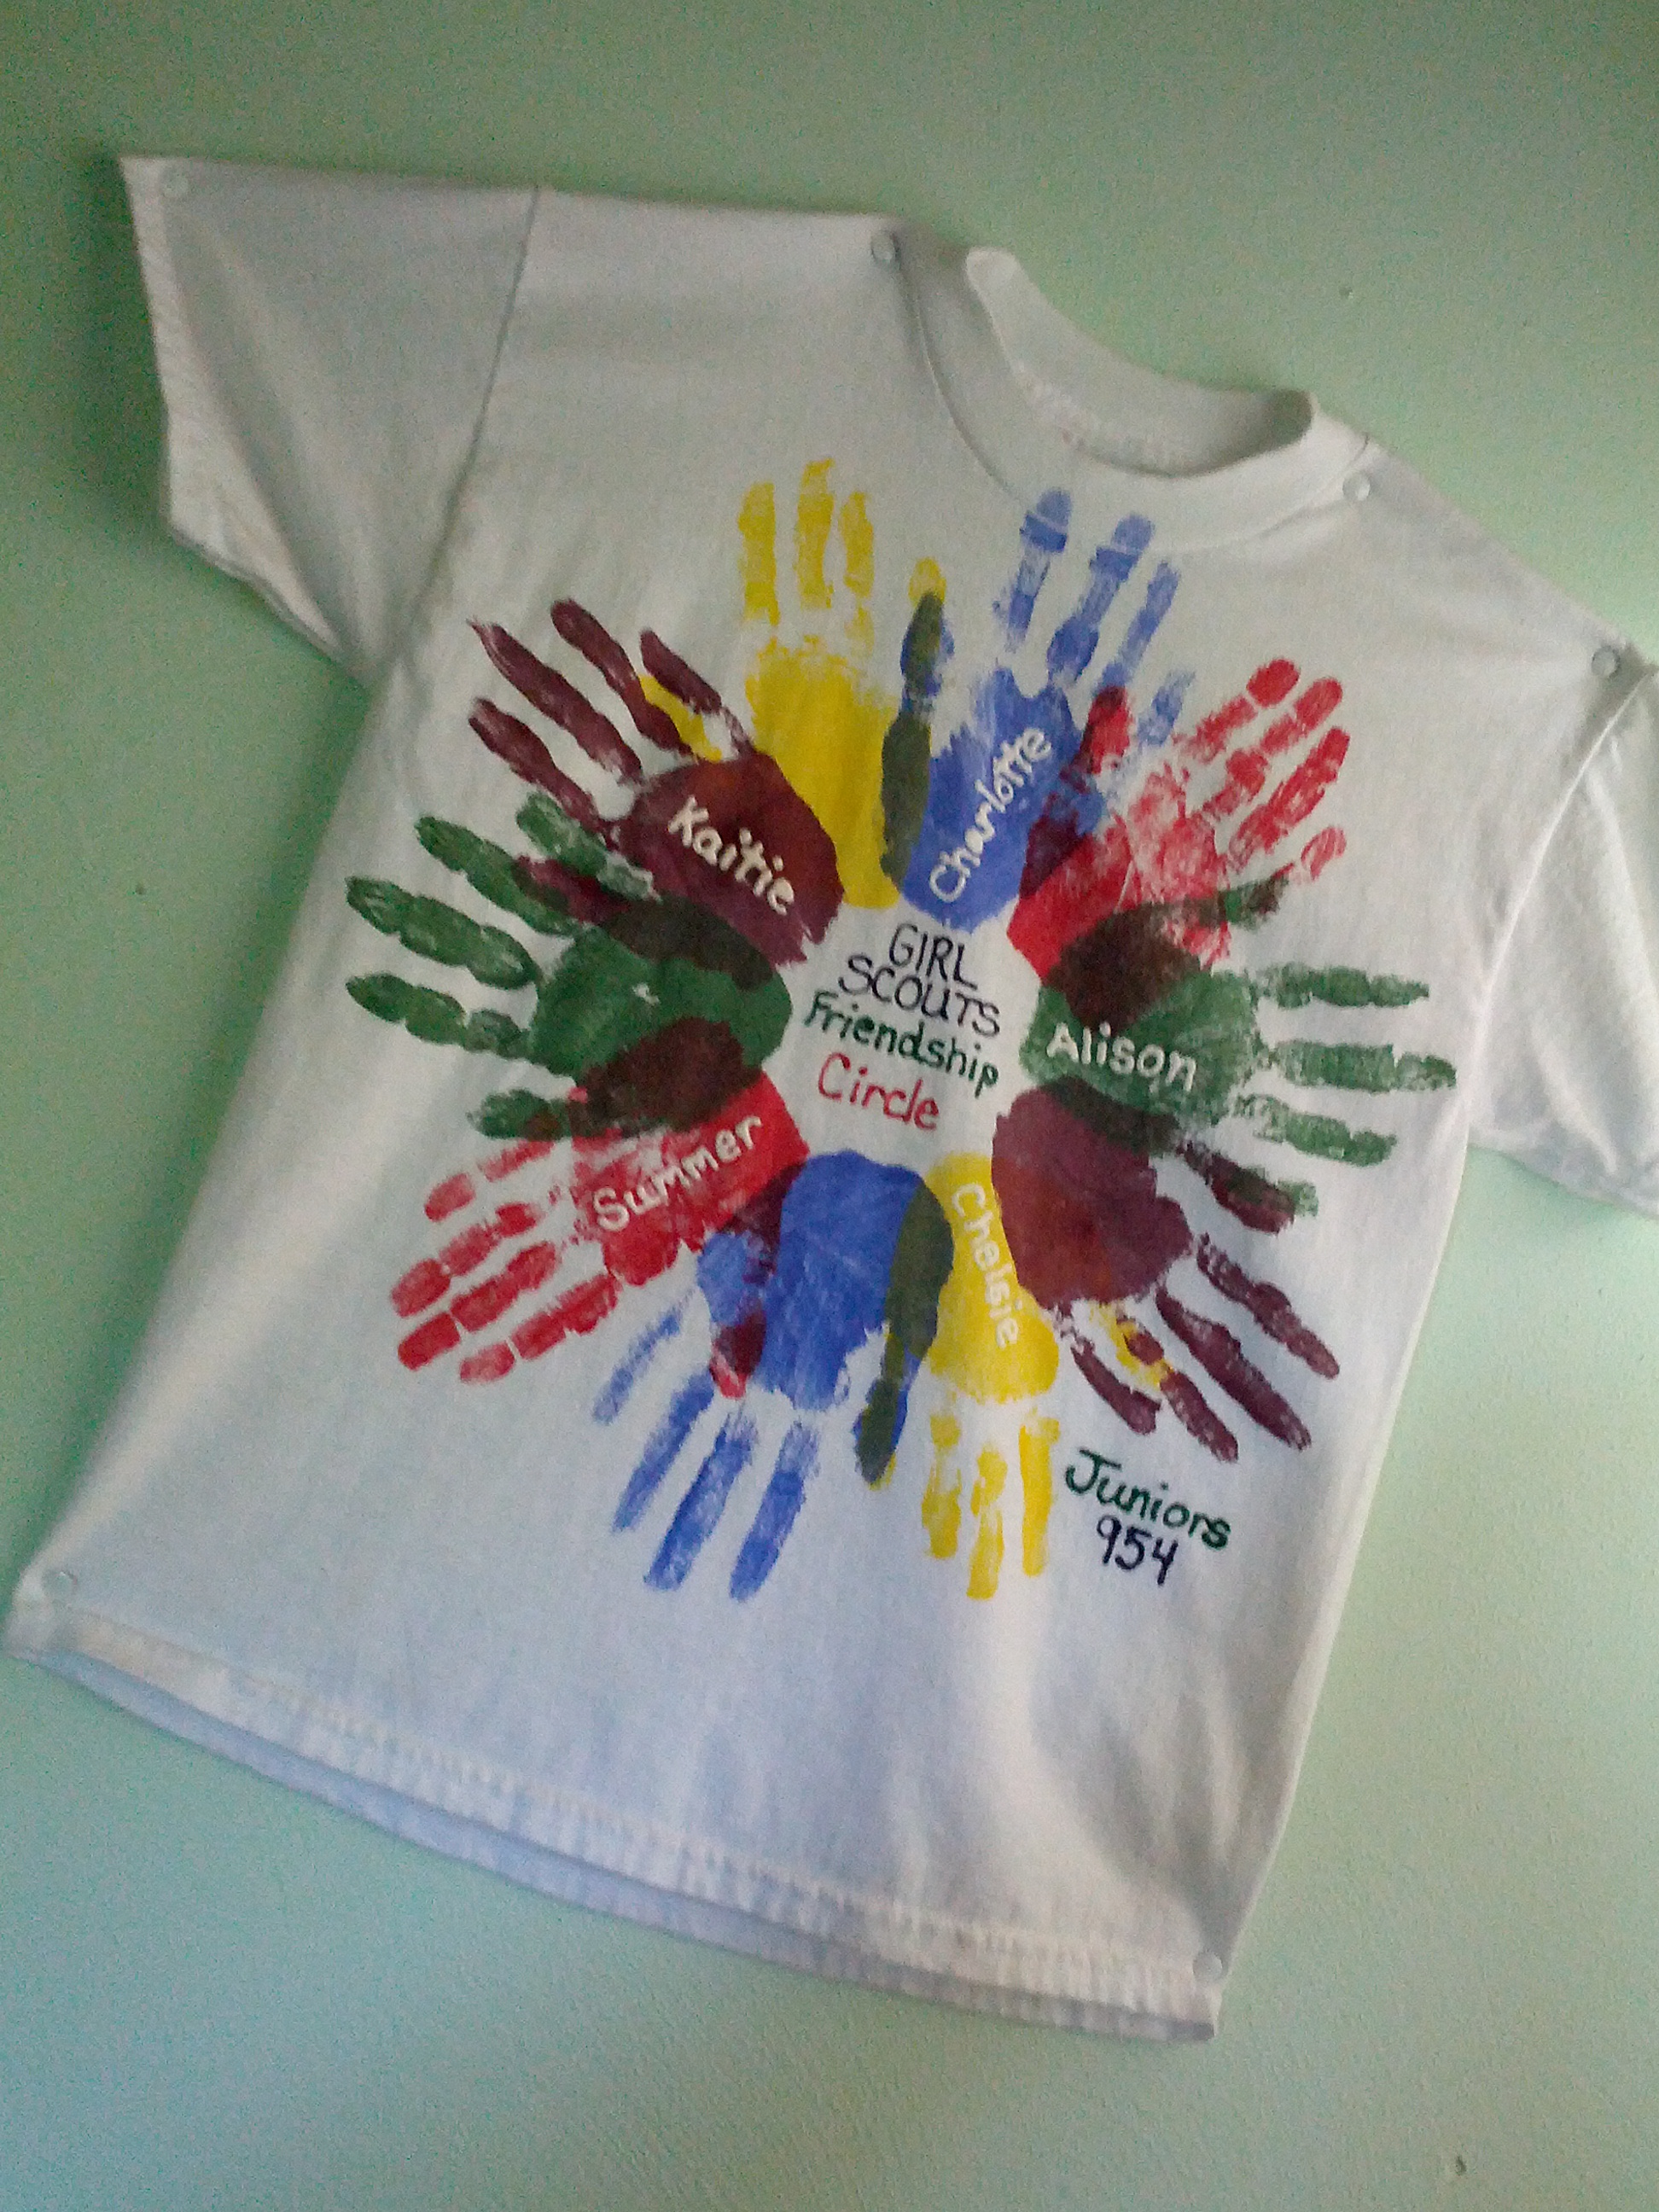
Before Meeting Prep: Wash T-shirts with no fabric softener. Purchase or gather:
Prep shirts at the meeting by inserting the cardboard and draw on a circle with the fabric marker using the plate as a guide. Lay out the shirts at one side of your meeting place. Select girls to come over one at a time. Have another activity going on with your co-leader at other side of group. Let each girl choose their color and give them a little bit of paint and fabric medium to stir together (according to fabric medium package instructions). Apply the paint to one hand and using the circle as a guide press down on the shirt. Do every girl’s hand for each shirt. After all have been printed, and mostly dry – add the names to the hands and “Friendship Circle” in the middle, and your troop number at the bottom. Makes great shirts for those times the girls aren’t wearing the full uniform, but want to look like a troop!
Do this craft in accordance with learning the Girl Scout Friendship Circle:
Meaning: The friendship circle is often formed at the end of meetings or campfires as a sort of closing ceremony. Everyone gathers in a circle where they cross their right arm over their left in front of them and hold hands with the people on either side. Once everyone is silent, the leader starts the friendship squeeze which is passed from hand to hand. Often the girls will make a wish after their hand has been squeezed before they pass the squeeze along. Also, in some larger groups, the girls put their right foot out into the circle when they receive the friendship squeeze, so that everyone can see it travel along the circle.

 I used:
I first measured where I wanted the horizontal lines to be. I marked with the sharpie. Cut the bottoms of the wire hangers to be just a little long. Drilled a small hole at each mark and inserted the hanger piece into each hole.
Hung it up in the bathroom. Makes for a functional art piece showing off my earring collection.

