Category: Wear it

Lounge / Workout Shorts From a T-shirt

I’m using this blue shirt as lining for a white pair of pants I’m making.

Cut off the sleeves:

Cut off collar:

Now. Instead of cutting straight up the middle, cut up the SIDES.

(sorry for the bad picture)

Now you have the front and the back of the shirt seperate.
Take the front, fold in half WRONG sides OUT, and sew up the open side until you get to the sleeve, which will be your crotch.

That’s both my legs, one is inside out. The blue shirt is a little short, but that’s okay, I only needed it because I didn’t want people seeing my panties.

Pin up the crotch and sew:

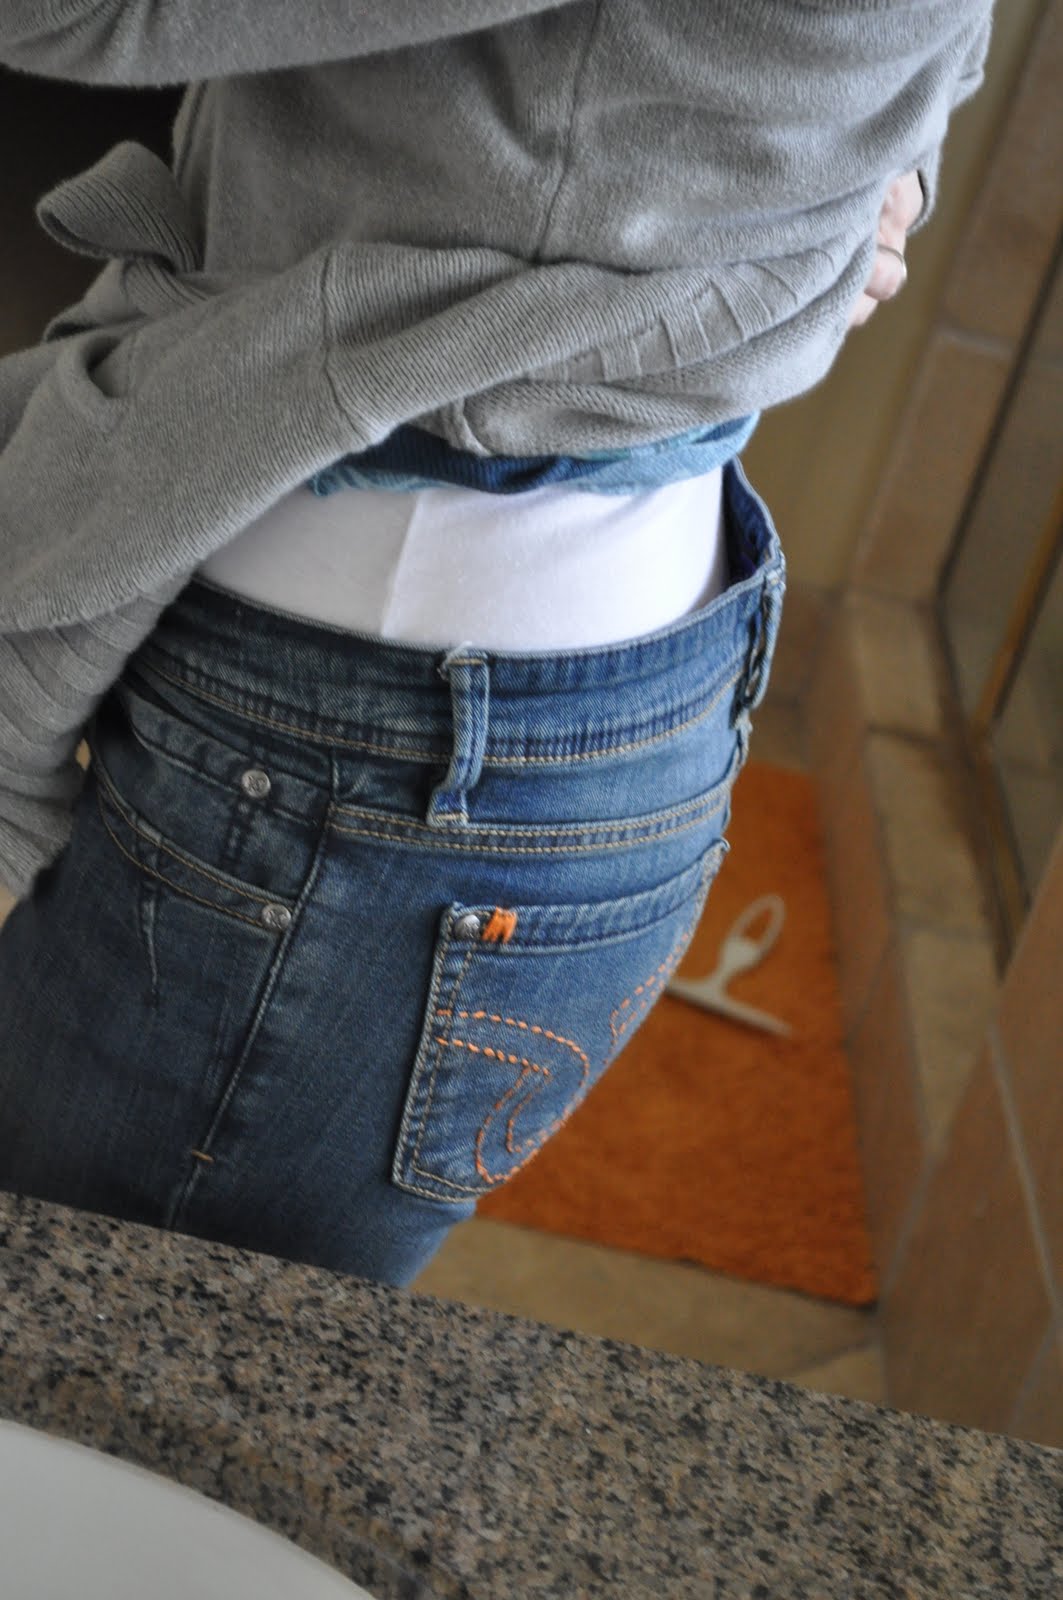
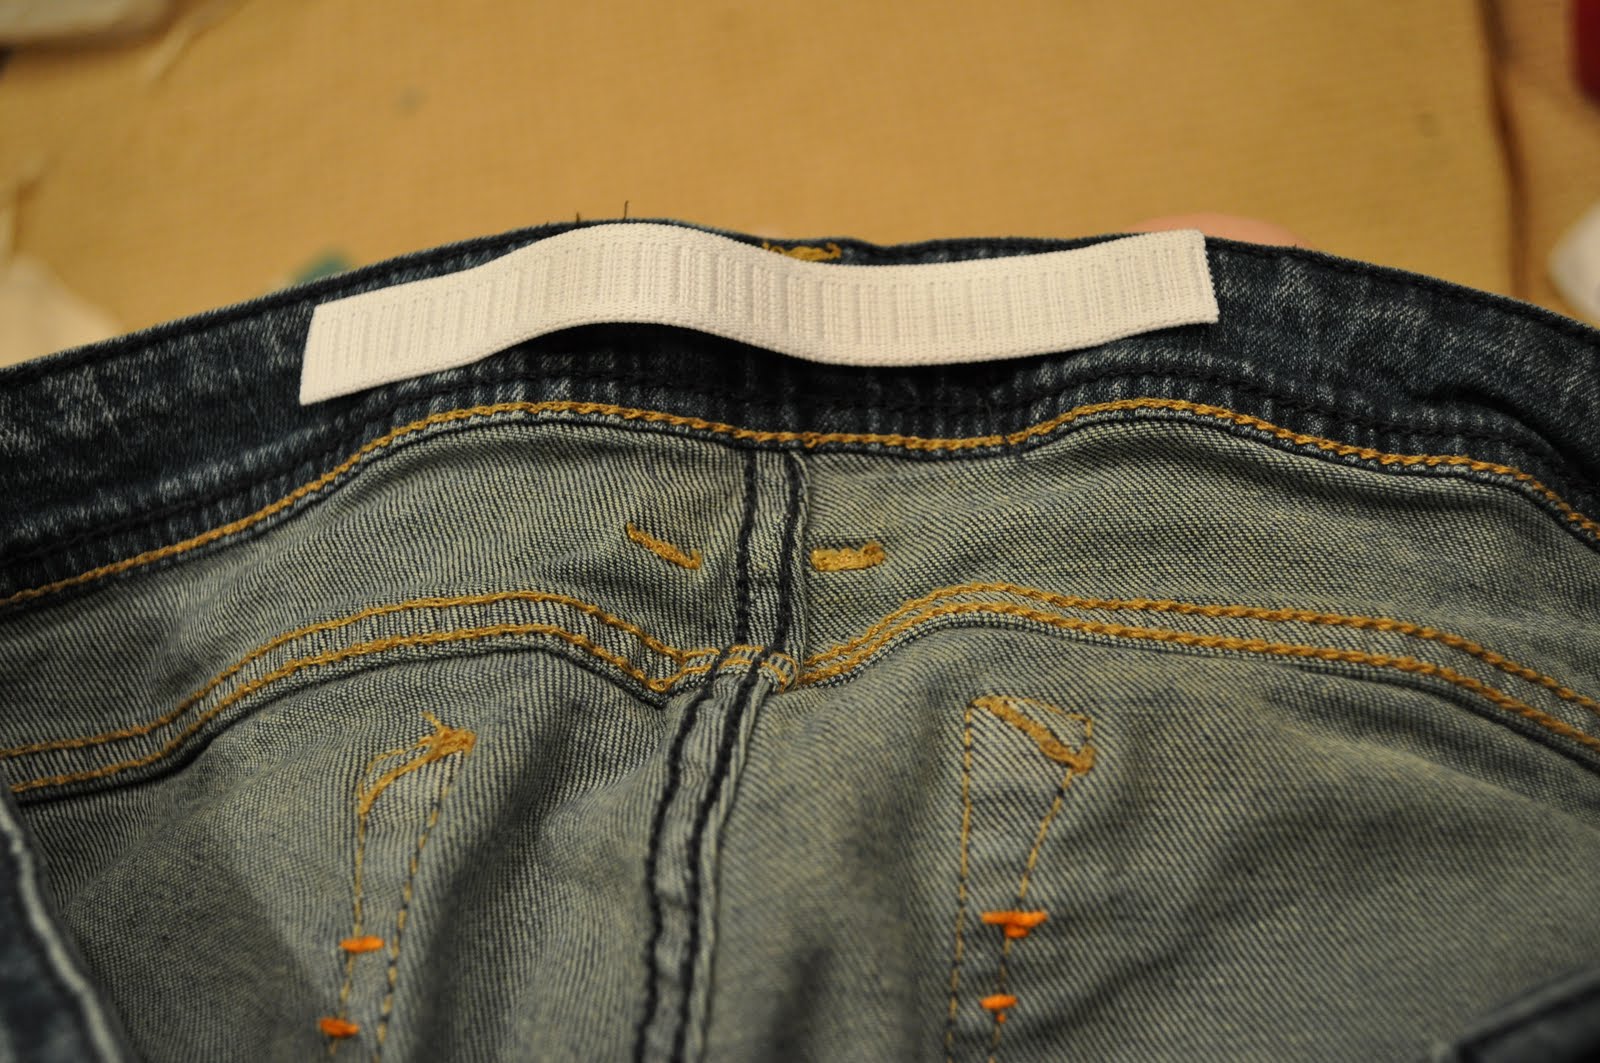
Make a waist band and sew to pants:

I made my waist band twice as tall in the back than the front.

Now the image on your shirt isn’t cut in half, it wraps around your leg!

It says live united, my dad gave me a ton of shirts and a few pairs of pants that he didn’t want. I hope the pictures aren’t too big.
I hope you found this tutorial helpful! I’ve seen WAY too many people saying ‘Oh I made these awesome pants, but I miss that beautiful [tree, owl, cat, ect] that was on the shirt’
From Crafster.org

Say No To Crack, Stop the Gap!

Reblogged from IamMommaHearMeRoar:

Maybe it’s just me and my body shape, but a lot of my jeans have that giant gaping spot in the back.  It’s like a canyon between my bum and the back of the pants.  This is what I’m talking about.  On some pants it’s worse than others.  I tucked a shirt in so you wouldn’t have to see more of me than you want to 🙂
 
I’m pretty sure it’s not just me because I’ve caught some crack with quite a few teenage girls.  Hot?  No.  Nasty?  Yes.  Anyhow, enough about that.  We’re going to fix it today.  Here’s how….
I took some 1/2 inch elastic and I cut a strip to be about 6 inches long.  I sewed it on, but let me explain how.
 
 
I started at the middle and sewed to the end using a zigzag stitch.  As I sewed I pulled the elastic quite tightly while I let the denim layer feed through the machine normally.  Then I did the same thing again.  I started in the middle and sewed to the other edge.  This made it so that the elastic was centered and I didn’t stitch throught the belt loops on the other side.  Lastly I did one stitch in the middle, also making sure not to stitch through the belt loops.
 
 
Now I don’t have to bulk up with a belt.  You can’t really see the stitching, since I used navy thread.  Best of all, now the Grand Canyon is the only canyon people are staring at.
 
 
EXTRA INFO:  This works best with lighter-weight denim.  I haven’t tried it on really heavy denim yet.  To really get even more pull inward, you could try a wider elastic and sew two lines along it.

Notebook Spiral Earrings

As seen on Etsy.com – you can make these! Use wire snips to snip off a little bit more than you’d like the earrings length to be and with needlenose pliers fashion a small turn in the bottom to hold the beads. Start adding beads. When you’ve got them to the desired lenth, use pliers to attach fishhook style earrings.