I’ve made my first rag quilt. (Yay!) It’s a baby quilt….. It’s not even really big enough for a crib, jut a receiving blanket type quilt. It measures roughly 25″ X 25″. Instructions were first posted on doitandhow HERE.
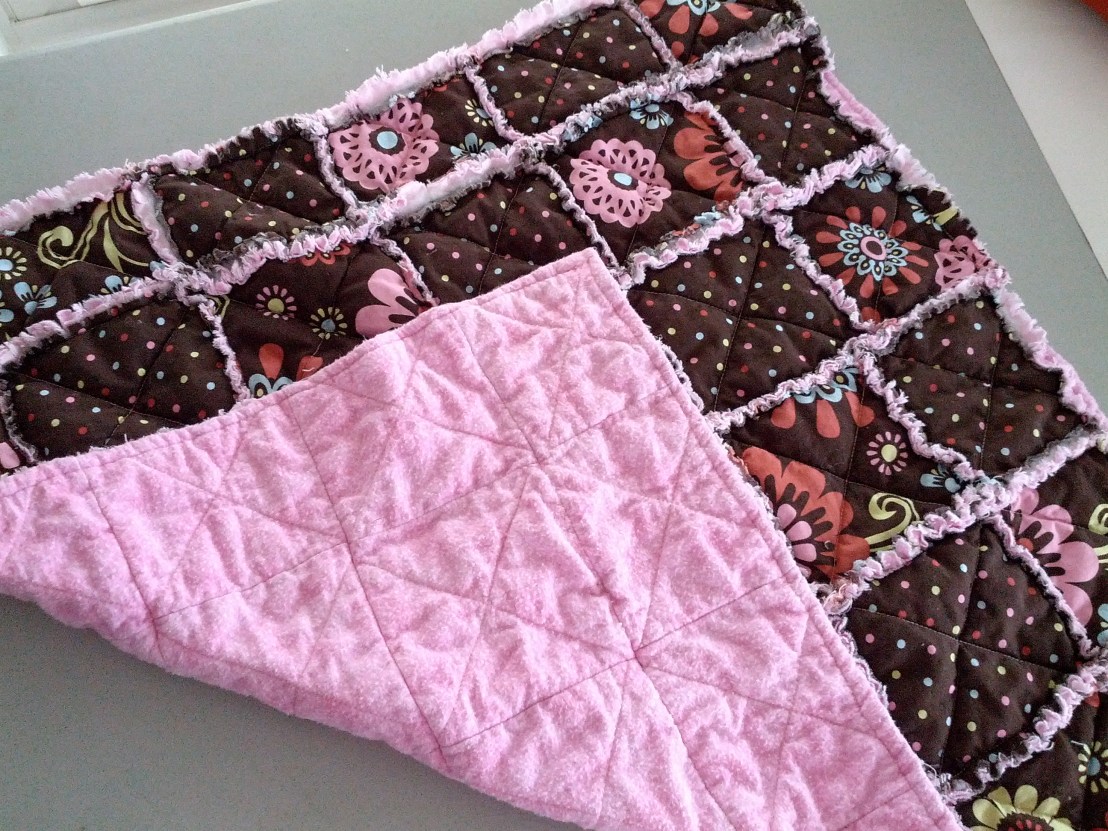
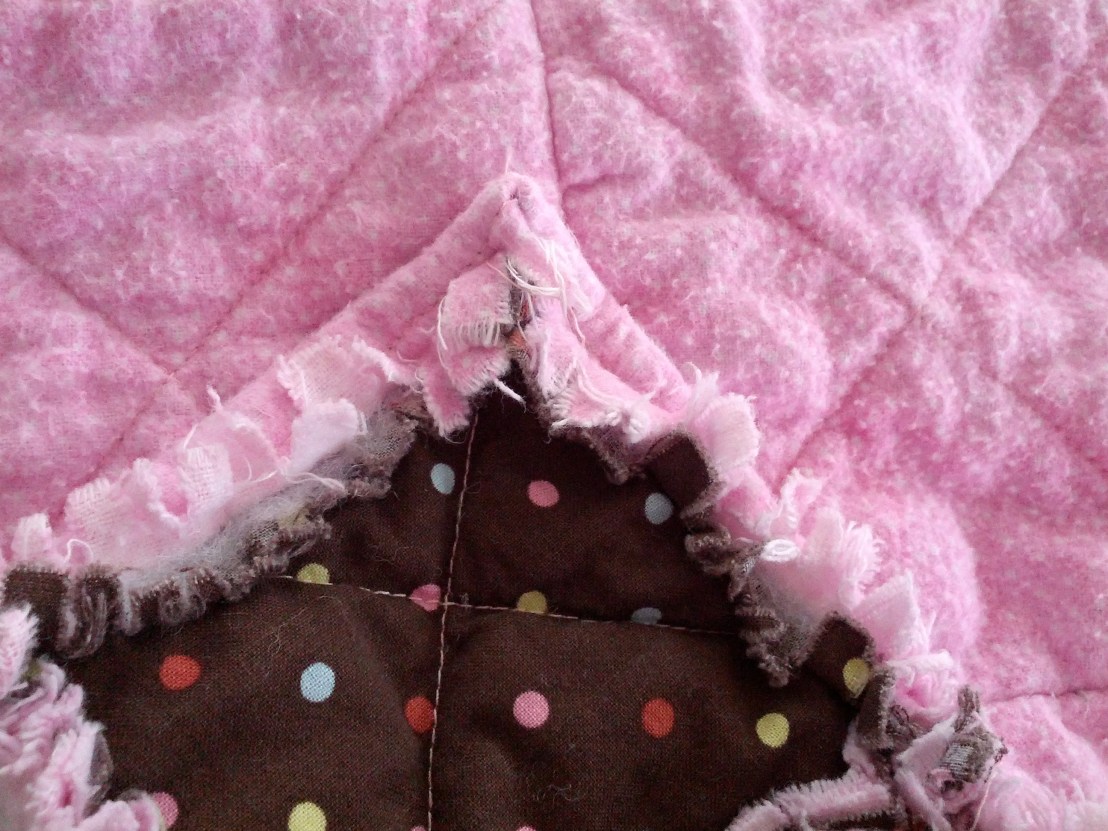
I bought fabric cotton remnants of 2 patterns, and one color for the back in pink flannel. I cut the remnants and flannel into 6″ X 6″ squares. Instead of using a fabric batting, I picked up a roll of thin quilt batting and cut 5″ X 5″ squares. I pinned them so: right side down pink, batting, right side up remnant. I made 36 of these (18 of each pattern). I sewed all with an X shape right along the edge of the batting . Then in alternating pattern (a,b,a,b,a,b) I sewed them so that the seam would show on the remnant side. I made 6 lines of 6 blocks each. Then sewed the lines together the same way; making sure I ended up with a checkerboard pattern of the remnant fabrics. I then cut snips along all the edges, to encourage the rag effect. Afterwards I decided to fold over the side edges for a more permanent looking edging. Then sent it through 2 loads in the washer and dryer to help get those edges to ‘rag’ up.
Thoughts:
This is by far the easiest quilt I’ve ever made. (It’s also the smallest, so that might have something to do with it too!!)
The cutting of the squares took the longest, and that was even using a rotary cutter and mat.
If I knew I was going to fold over the edges for the more finished look, I would’ve made the edge squares longer to accommodate that. You can tell in the photos that the edge squares are no longer squares.
I’m looking forward to making more quilts like this! Maybe with a pattern though, like this one.


love the rag quilt!
It’ll belong to a family member soon!!! shhhh