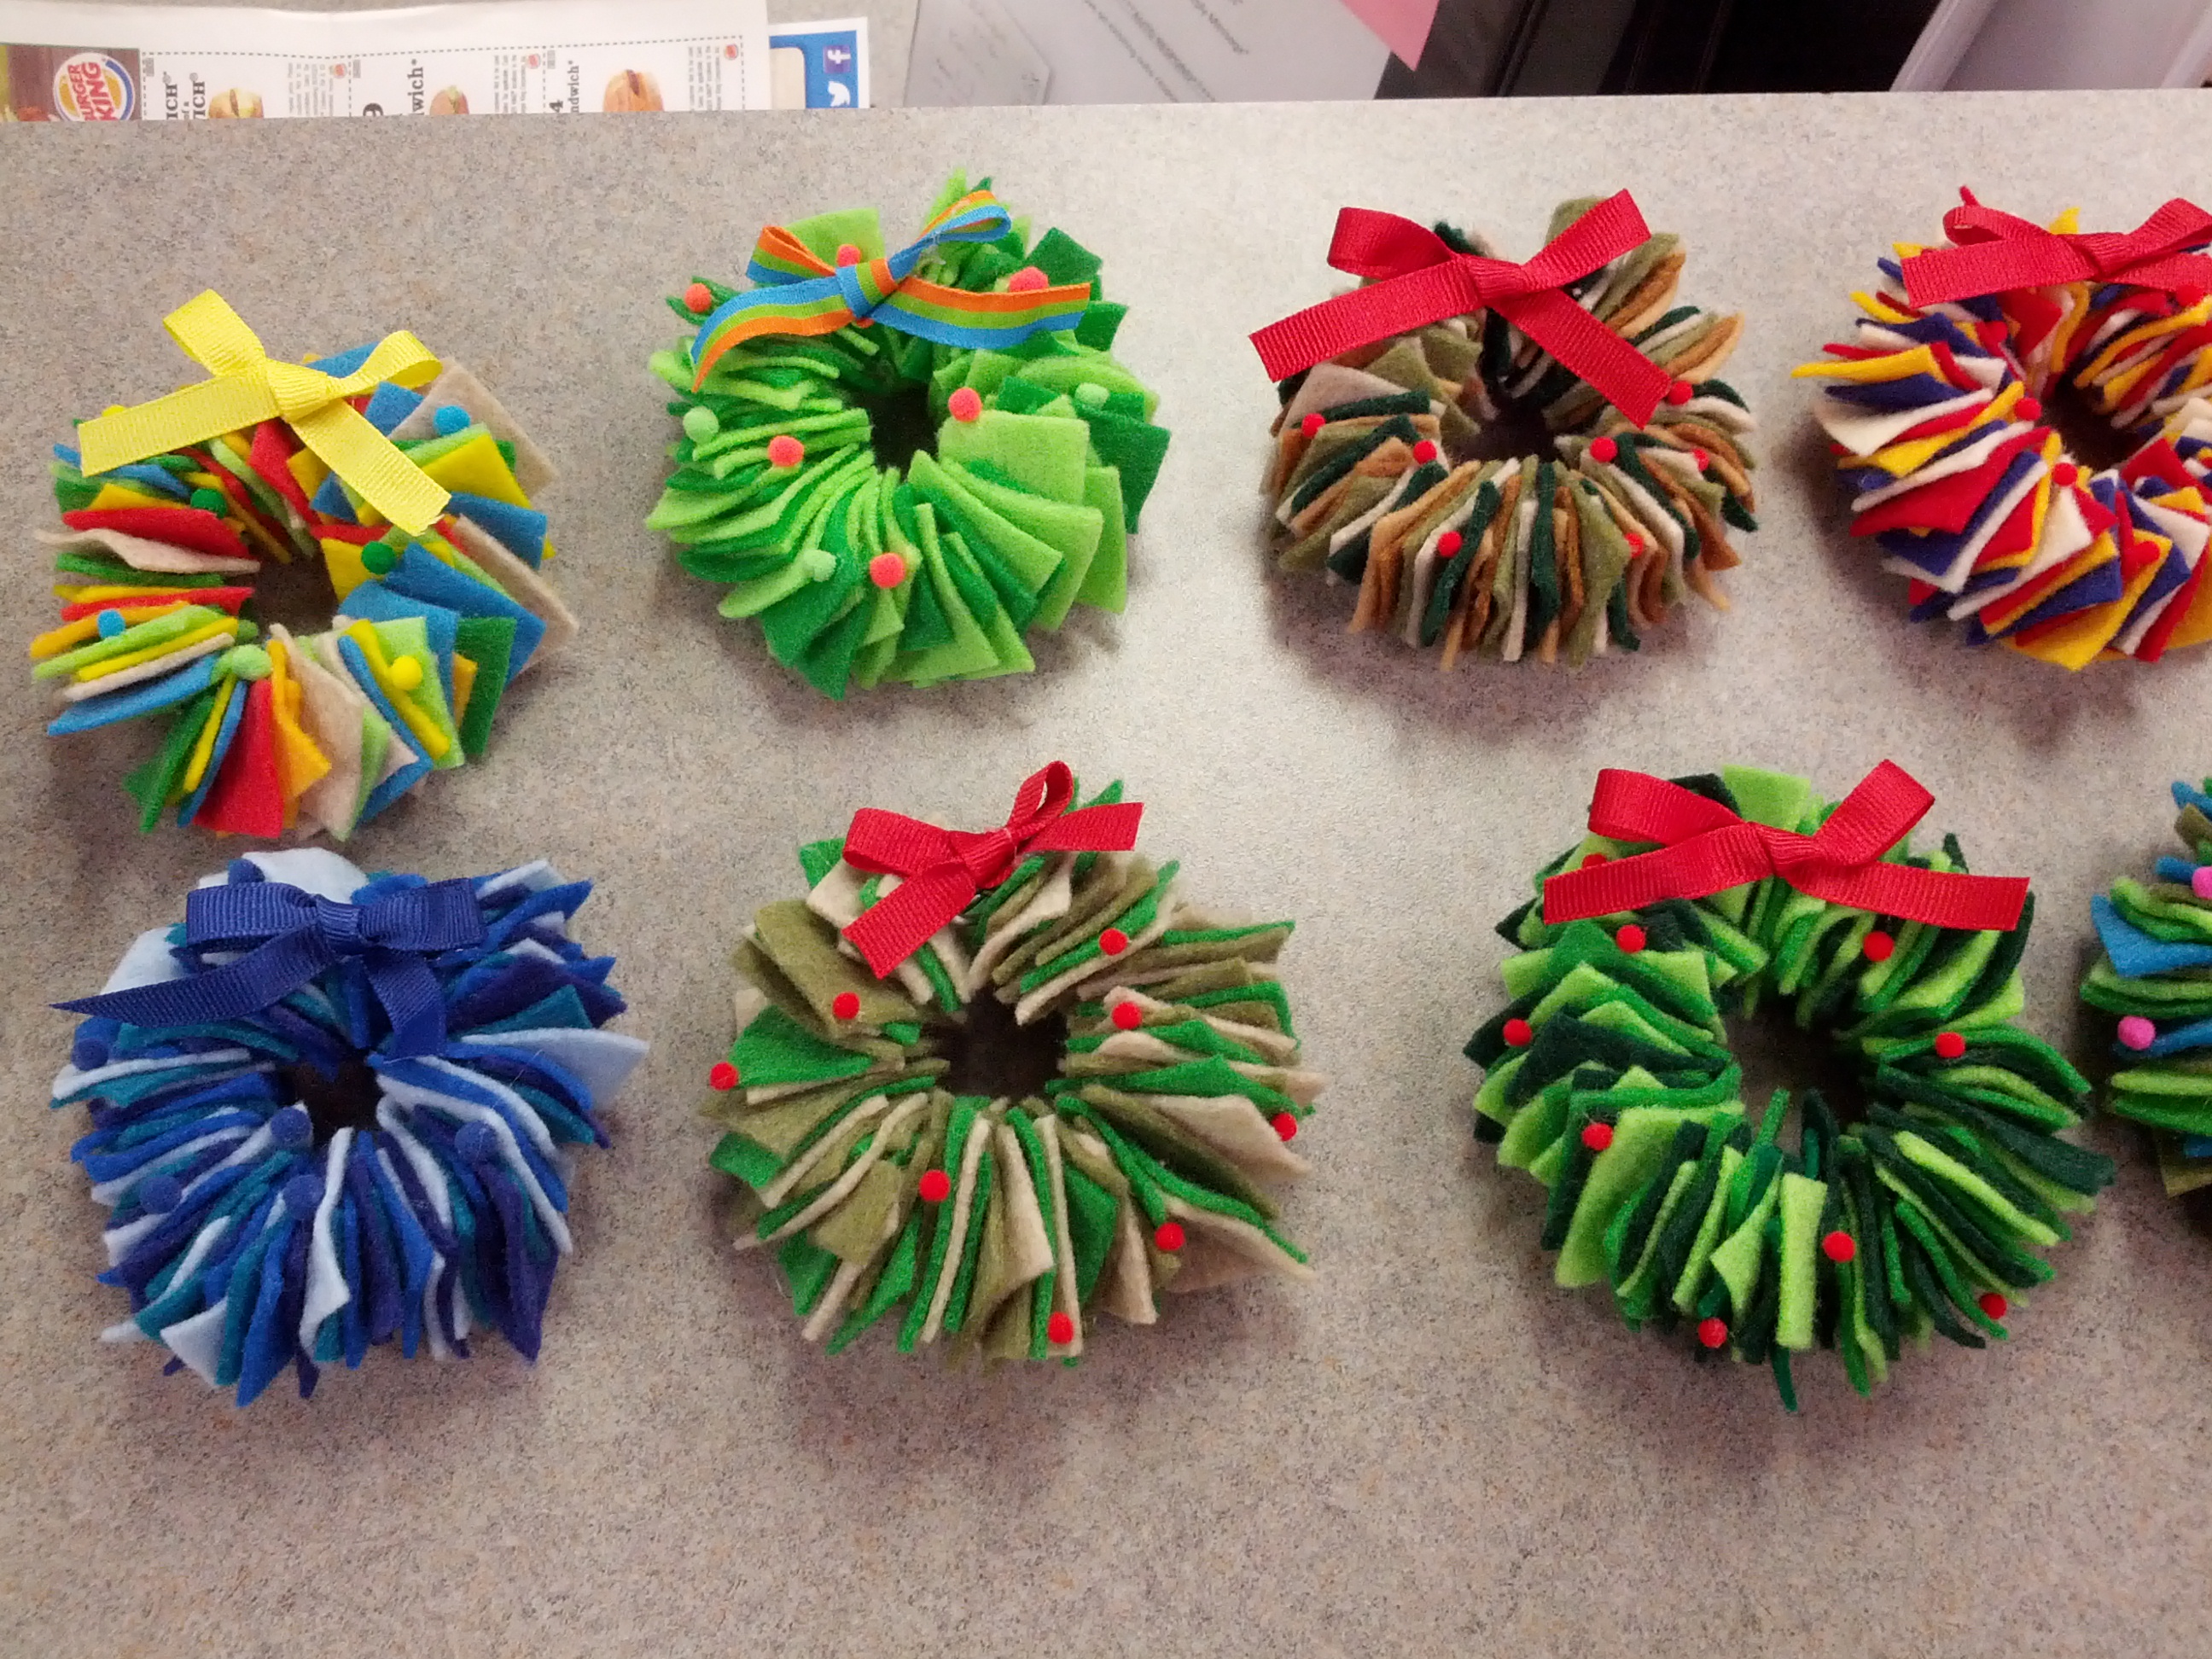
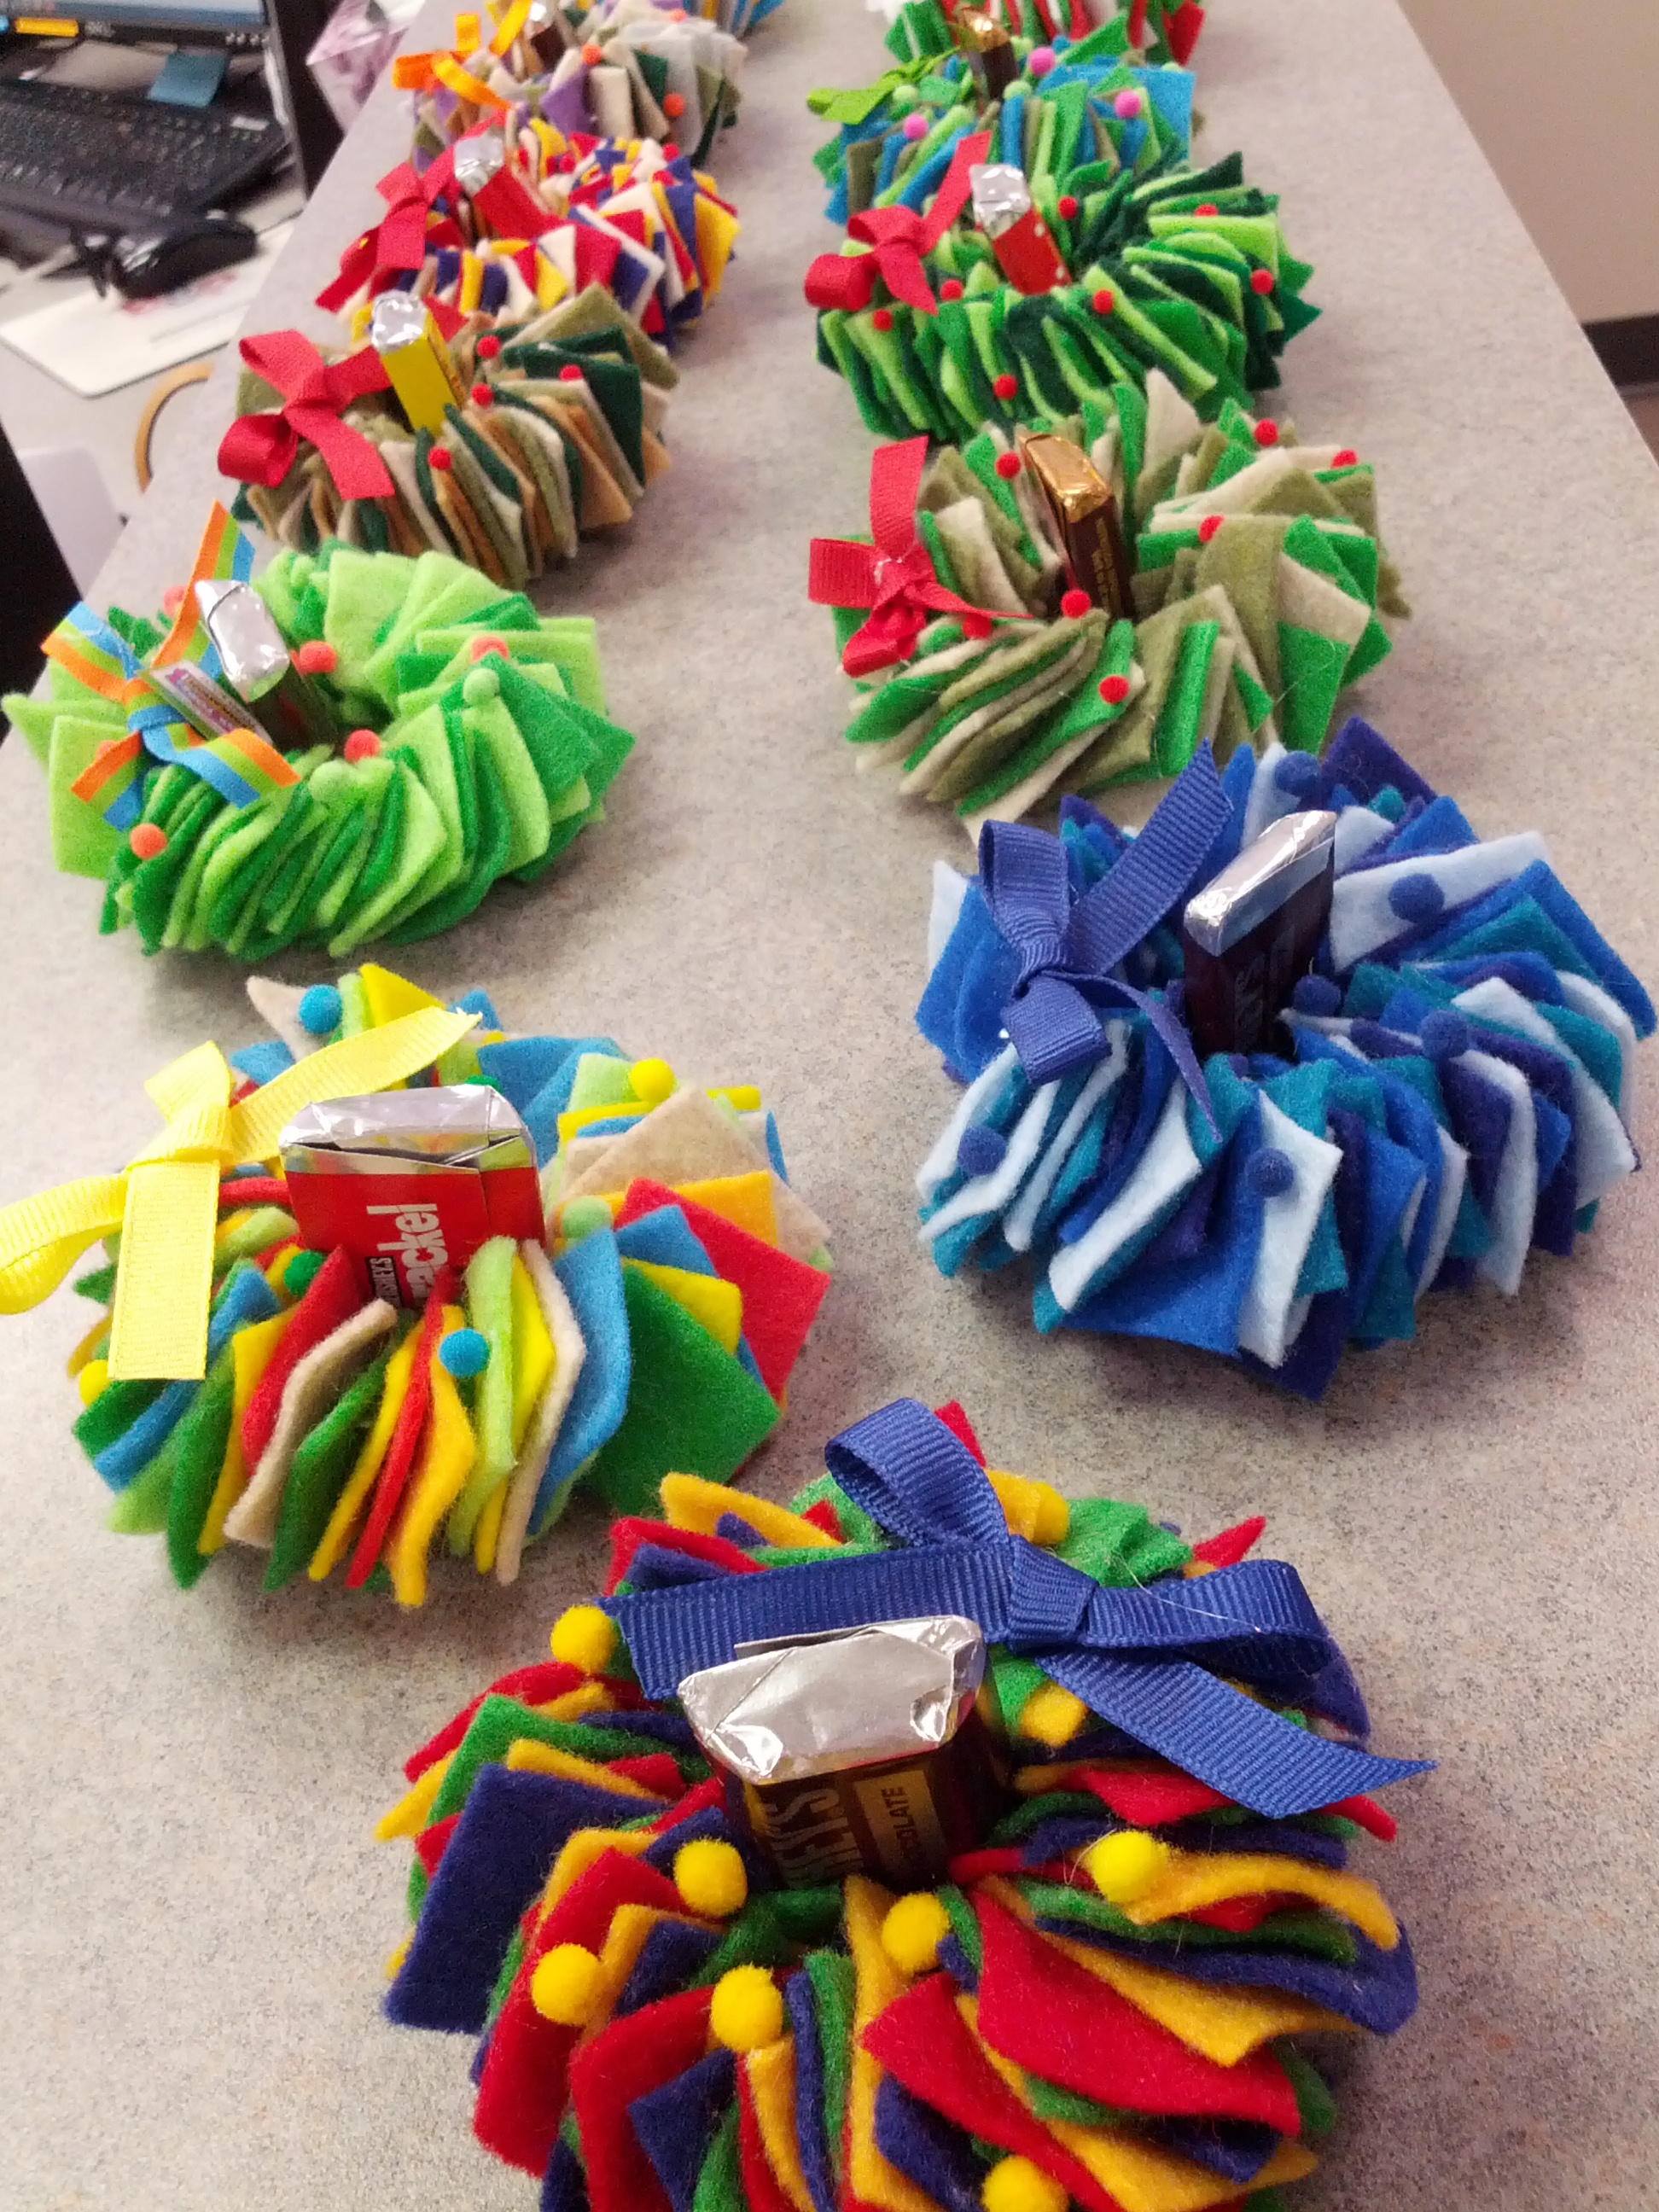
I made 30 of these for my co-workers – they loved the variety of colors. I presented them with a chocolate piece in the centers.
Per Wreath You’ll need:
- 8 inch – medium gauge wire (easy enough to manipulate by hand, but firm enough to hold the round shape)
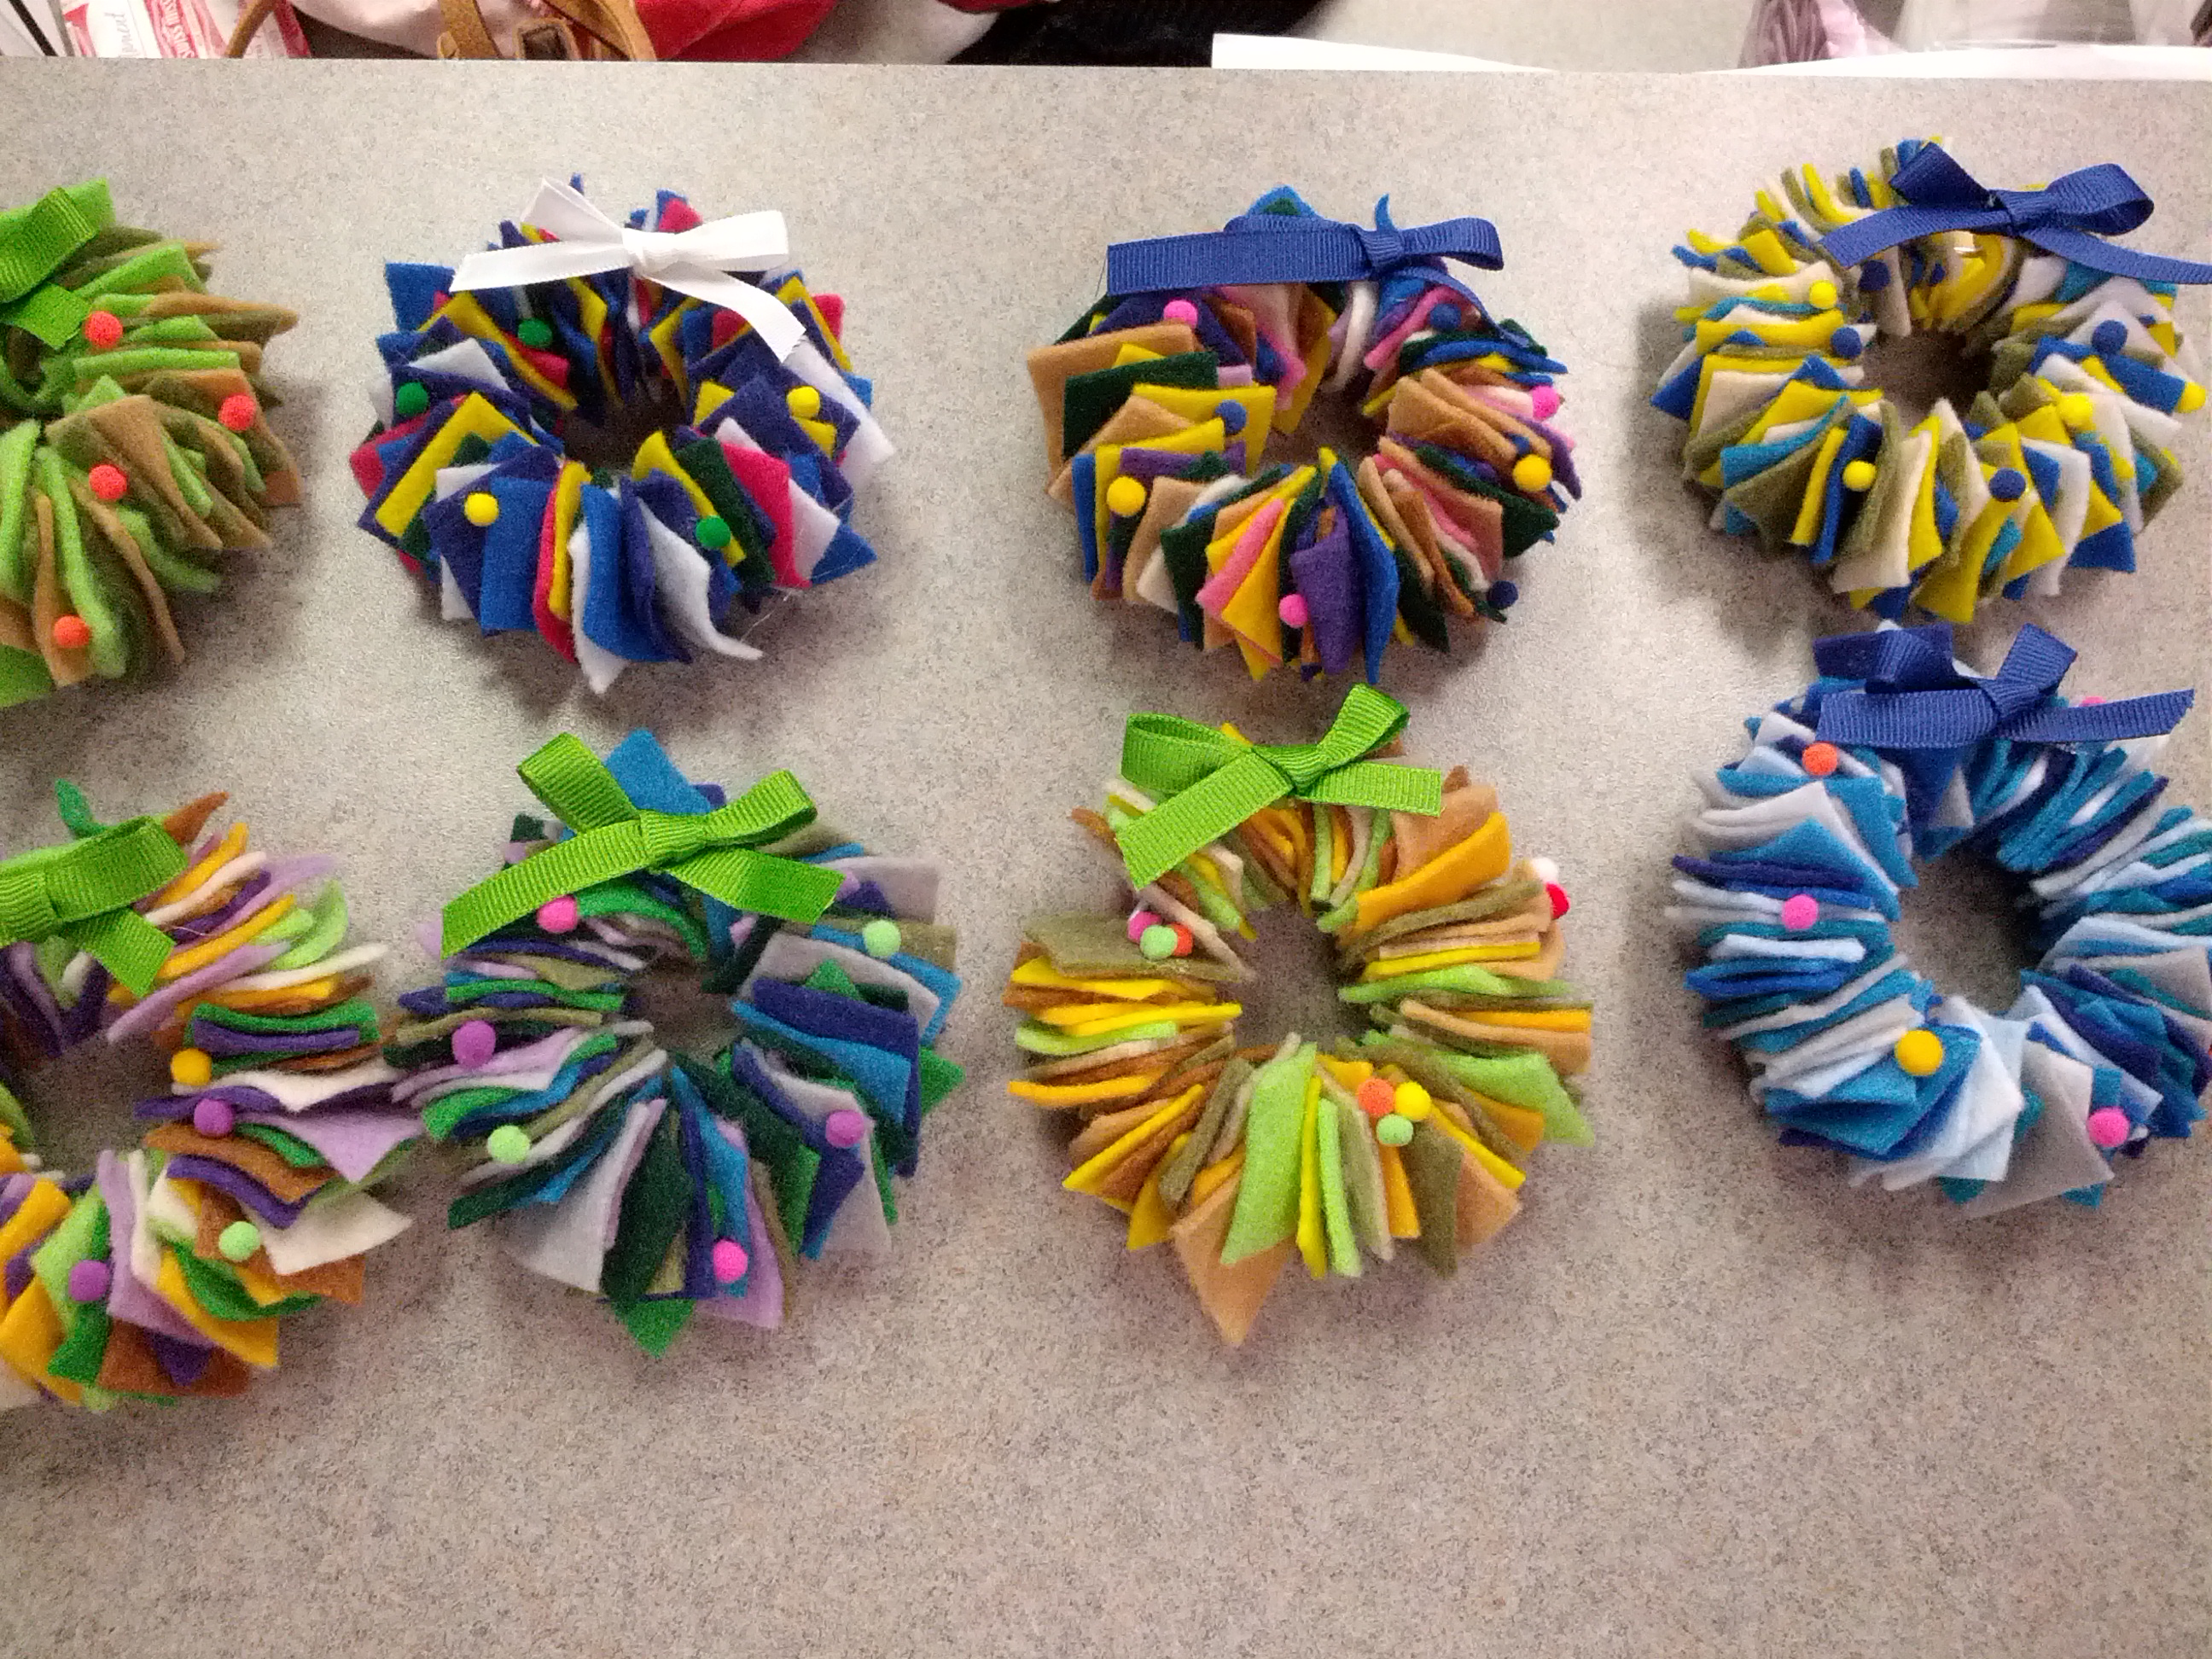
- 1 inch felt pieces – (we used 6-8 colors and about 15 squares of each color) (I bought $15 worth of felt12X15 ‘sheets’, in all kinds of colors, they were about 30 cents each.)
- 1/4 ” ribbon – you can buy pre-tied ribbons, I just used some from my ribbon stash and tied my own – easy peasy!
- Small felt dots, or sequins
Tools needed:
- scissors, craft glue, needle-nose pliers, hot glue
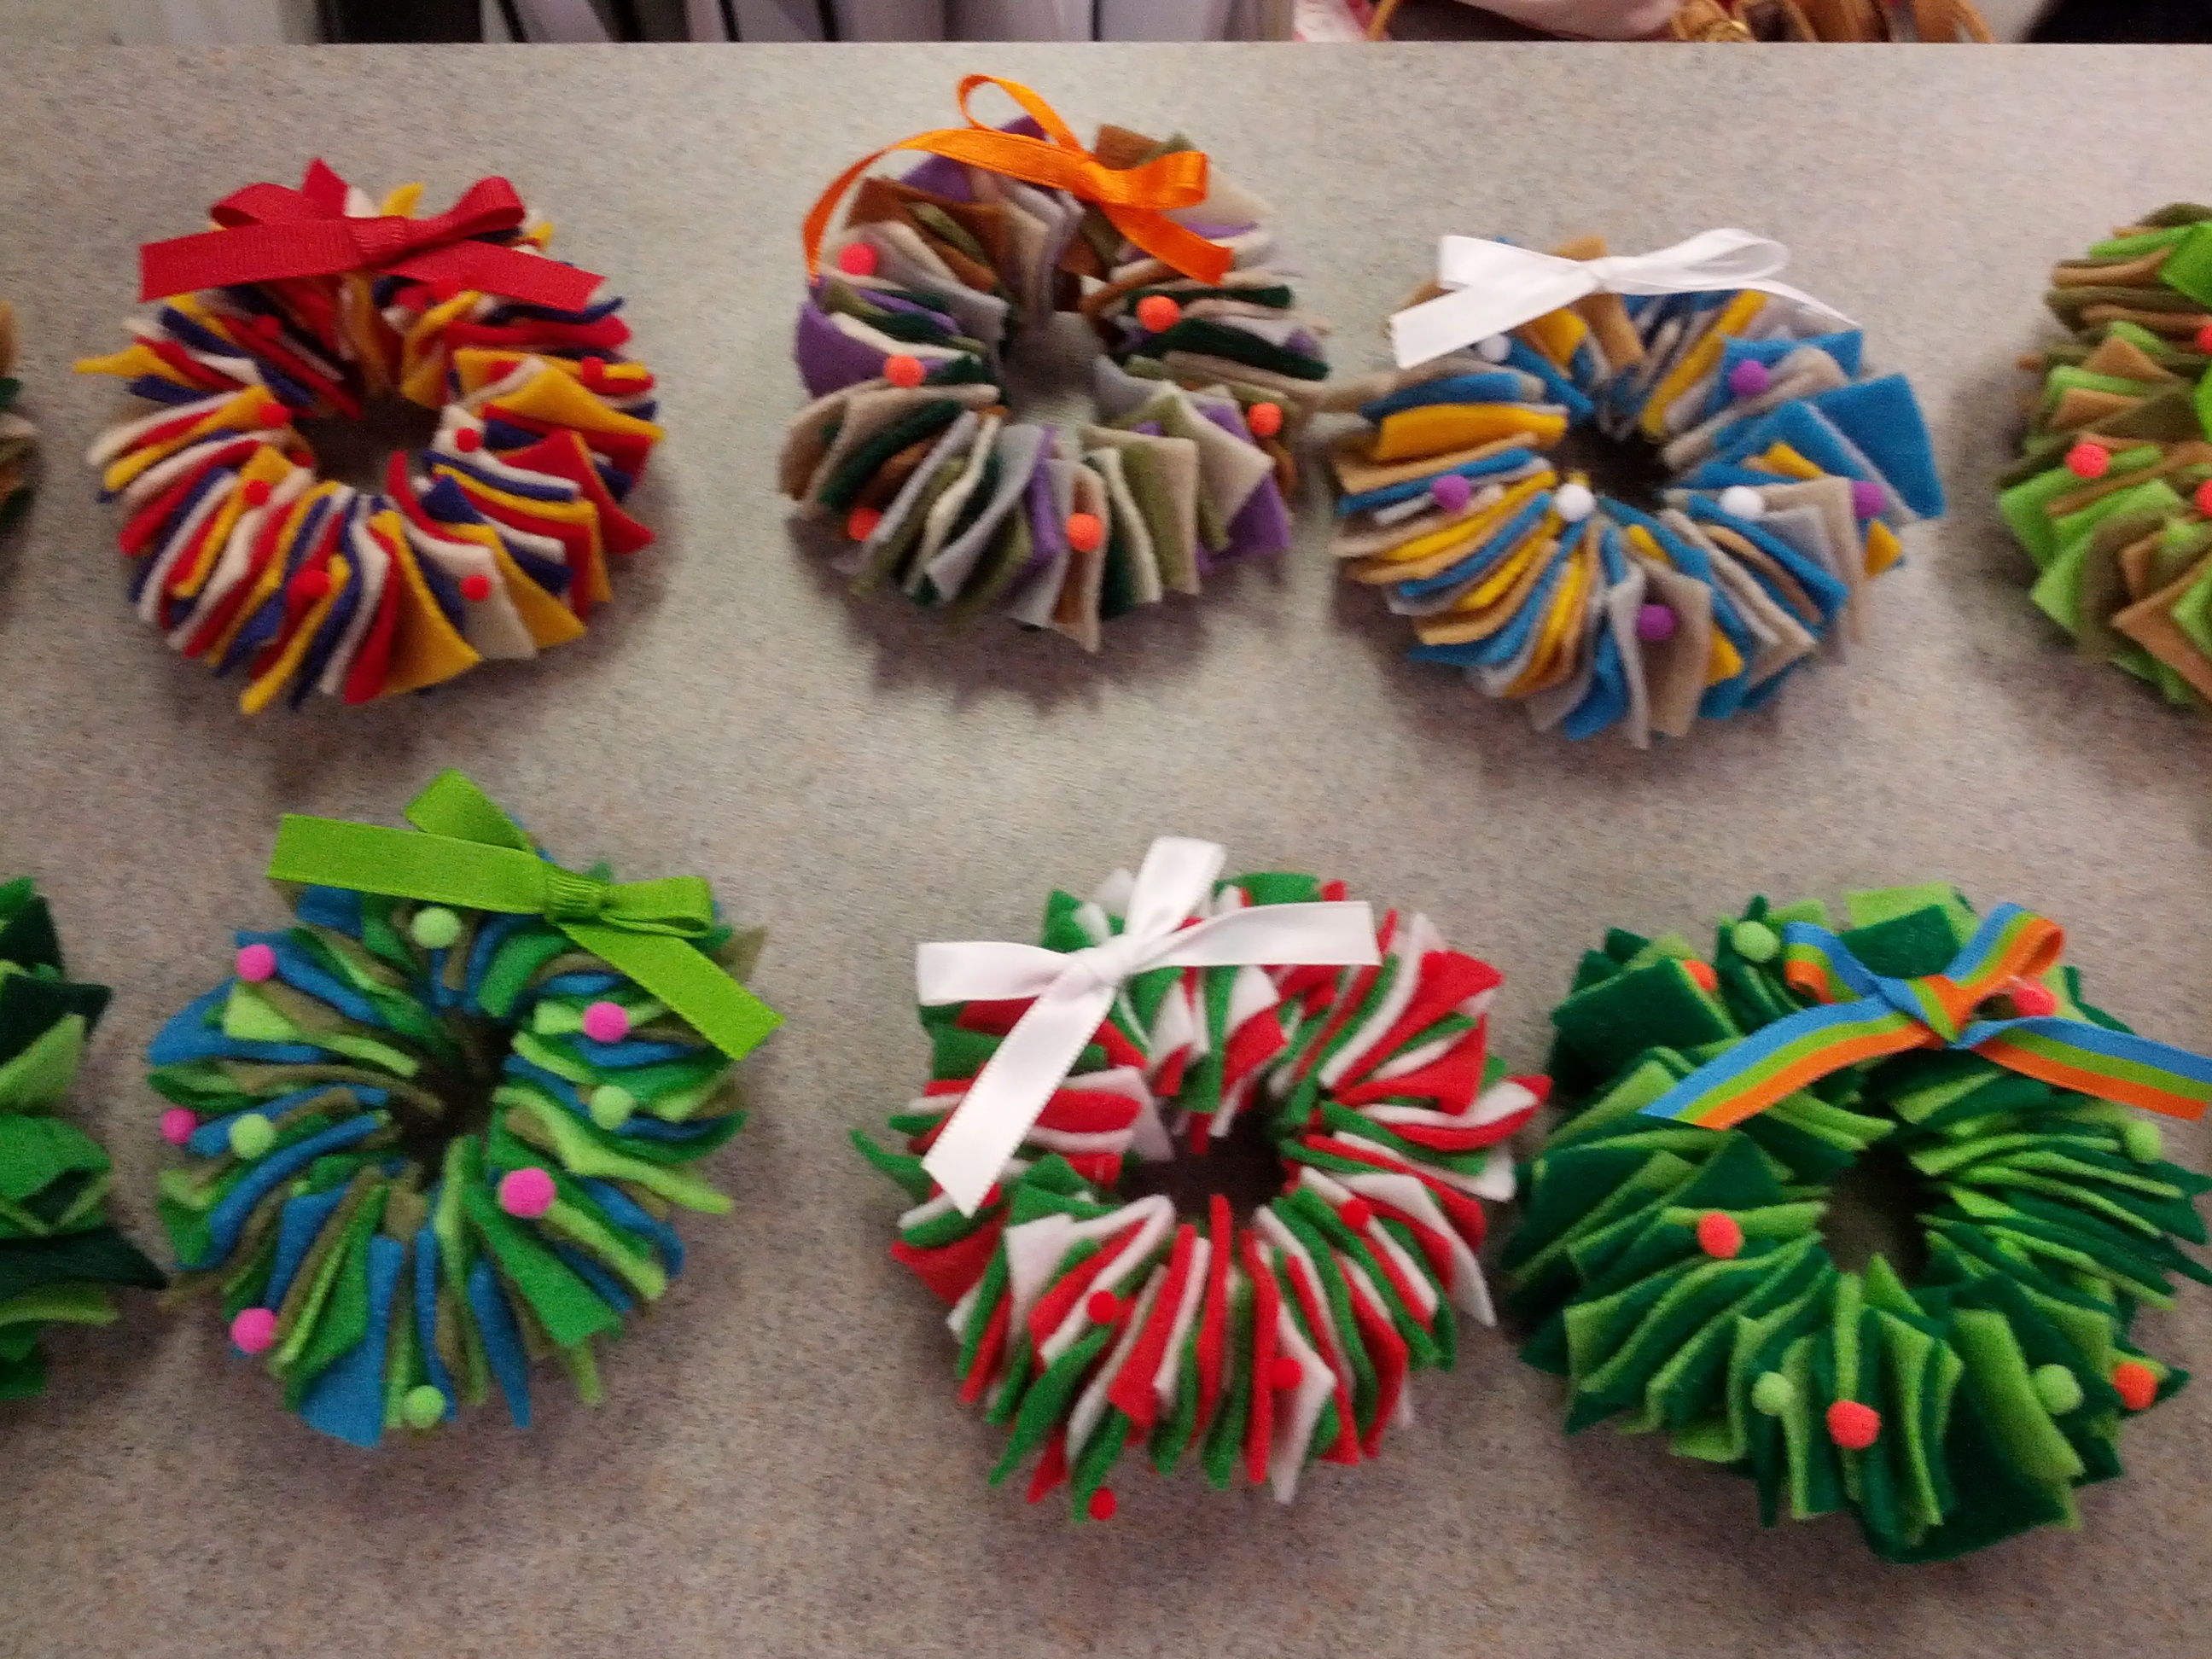
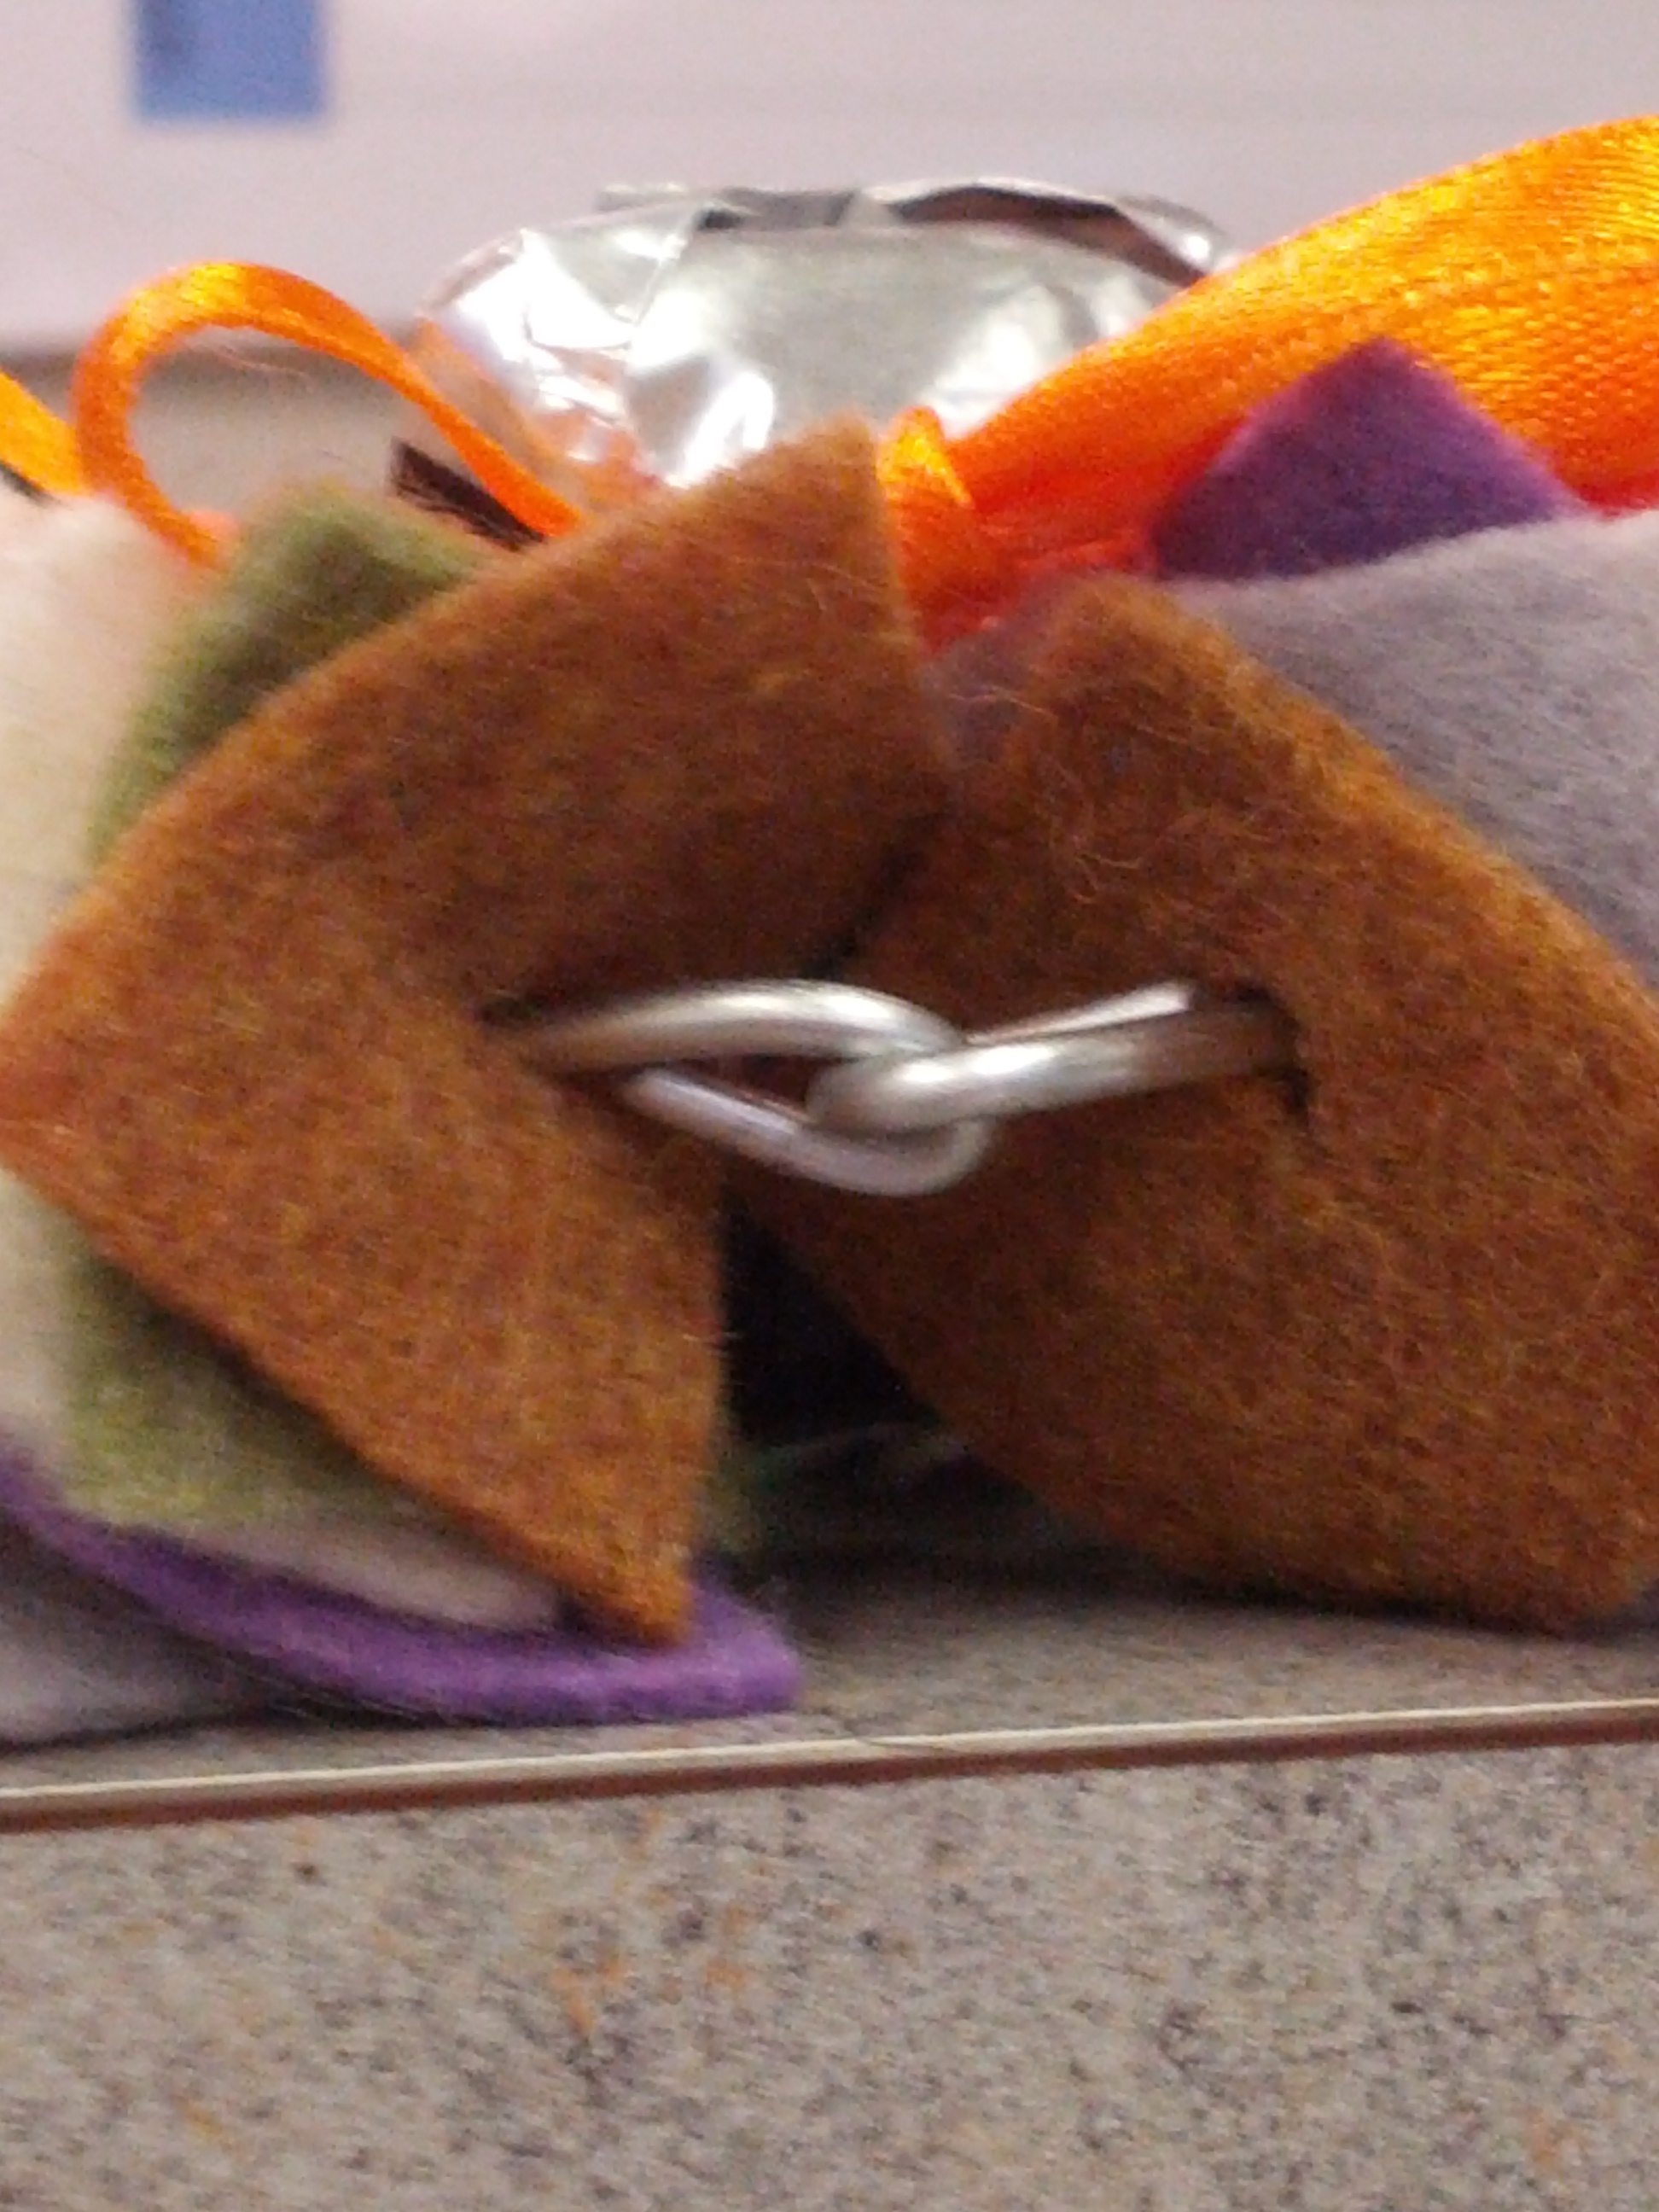
Turn one end of the wire over with pliers to make a loop. Take wire and make a round shape by pressing it around a cup or other round object. Cut a small slit in each felt piece by folding it in half first. Start threading the felt pieces on -pattern not necessary, it’s your wreath though – whatever color combo is fine! When the wire is just about full, Use pliers to fold the straight end over in an L shape. Hook the L into the original loop, and then press that L down to secure. (See pic below.) Use craft glue to secure the small dots. It will dry nicely. Use hot glue to hold the ribbon bows – (craft glue wasn’t successful on all the ribbon types we tried.)
Optional: add a ribbon for hanging, or even fishing wire – but a regular ornament hook will work fine through the wire loops.
Kids will love cutting and threading the squares, and adding the dots. Adults need to cut and work with the wire, and of course the hot glue gun.

Reblogged this on Jen's Rambling Thoughts and commented:
Reblogging this because I think it’s awesome and something I could do next year.
Helpful info. Lucky me I discovered your site by chance, and
I am surprised why this accident did not took place in advance!
I bookmarked it.