I’ve got a great idea to share with all of you for a super easy and cute way to make a bracelet out of the strings of a baseball. My college girl friends and I all made these to wear when we went to games…and I still wear mine to the Diamondback’s games every chance I get.
It’s a great way to show your love for baseball!
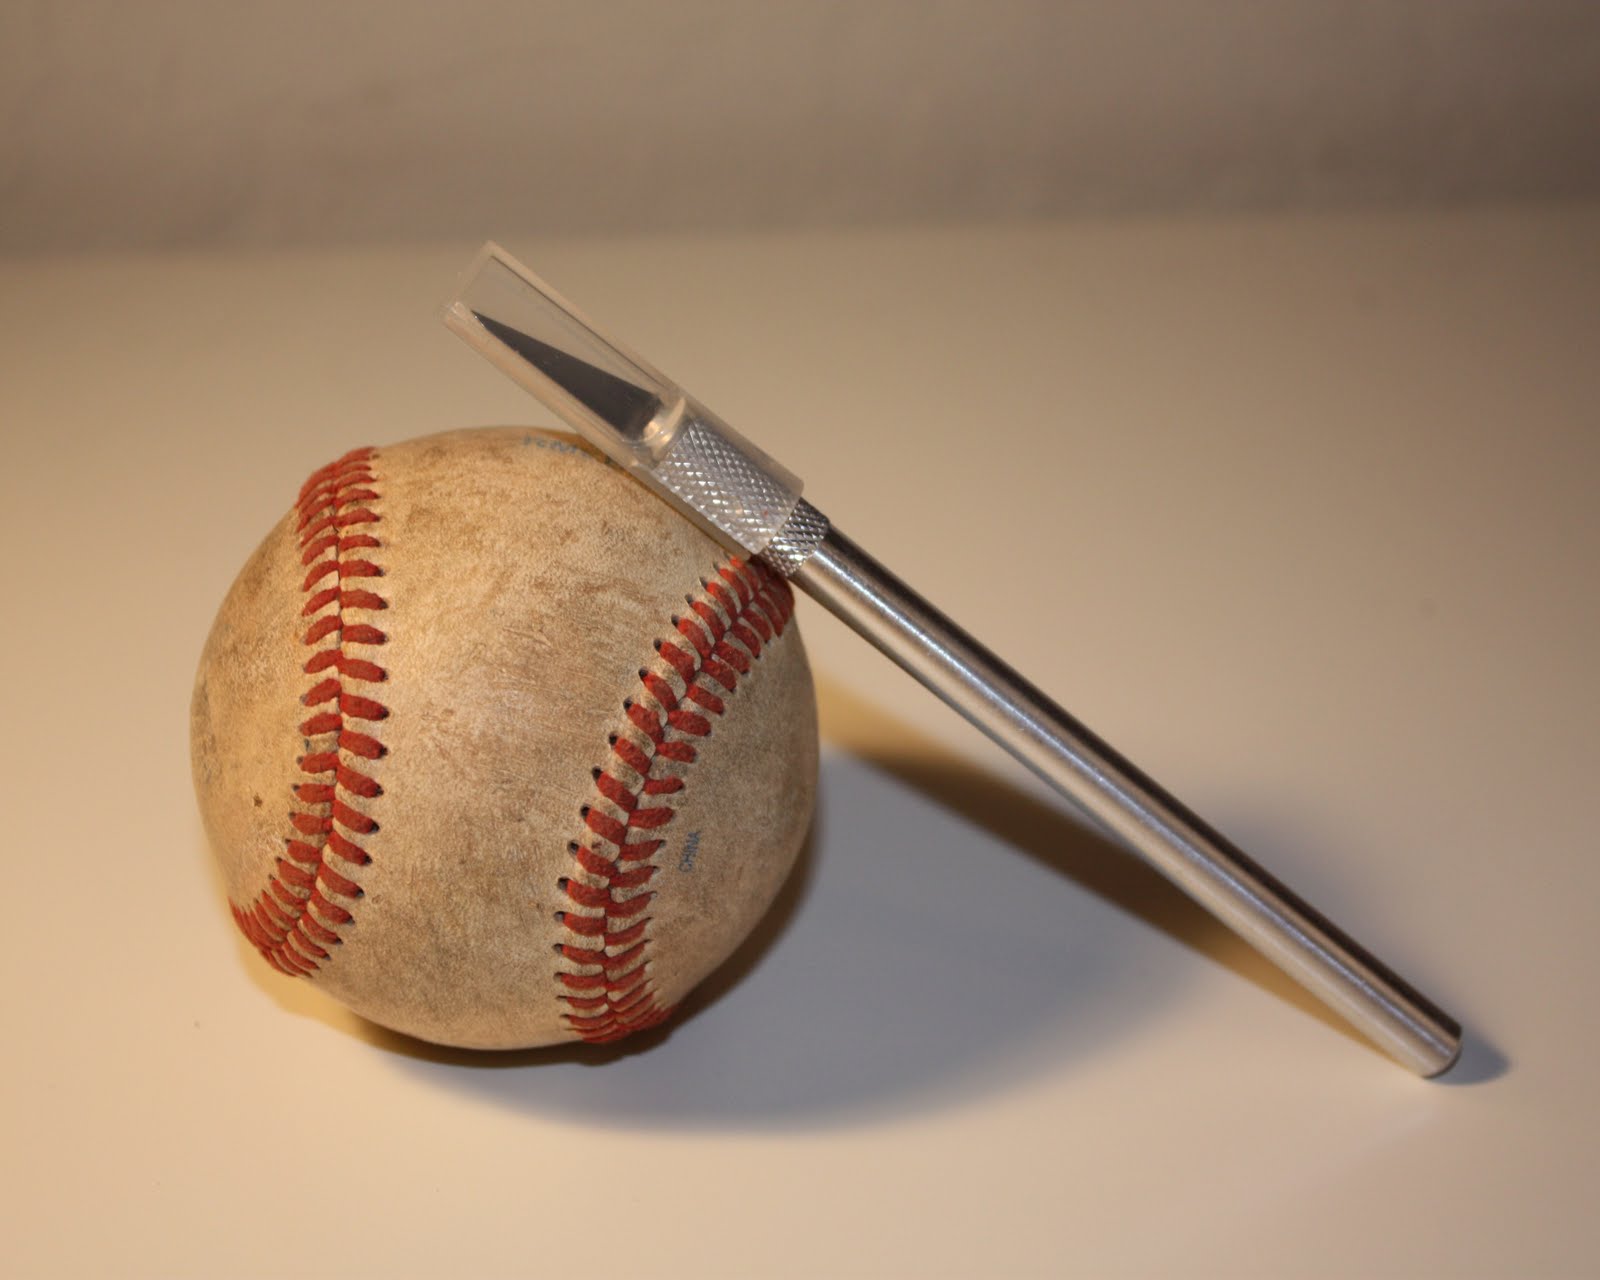
Supplies you’ll need:
Baseball (you can get 2 bracelets from each baseball)
Xacto knife
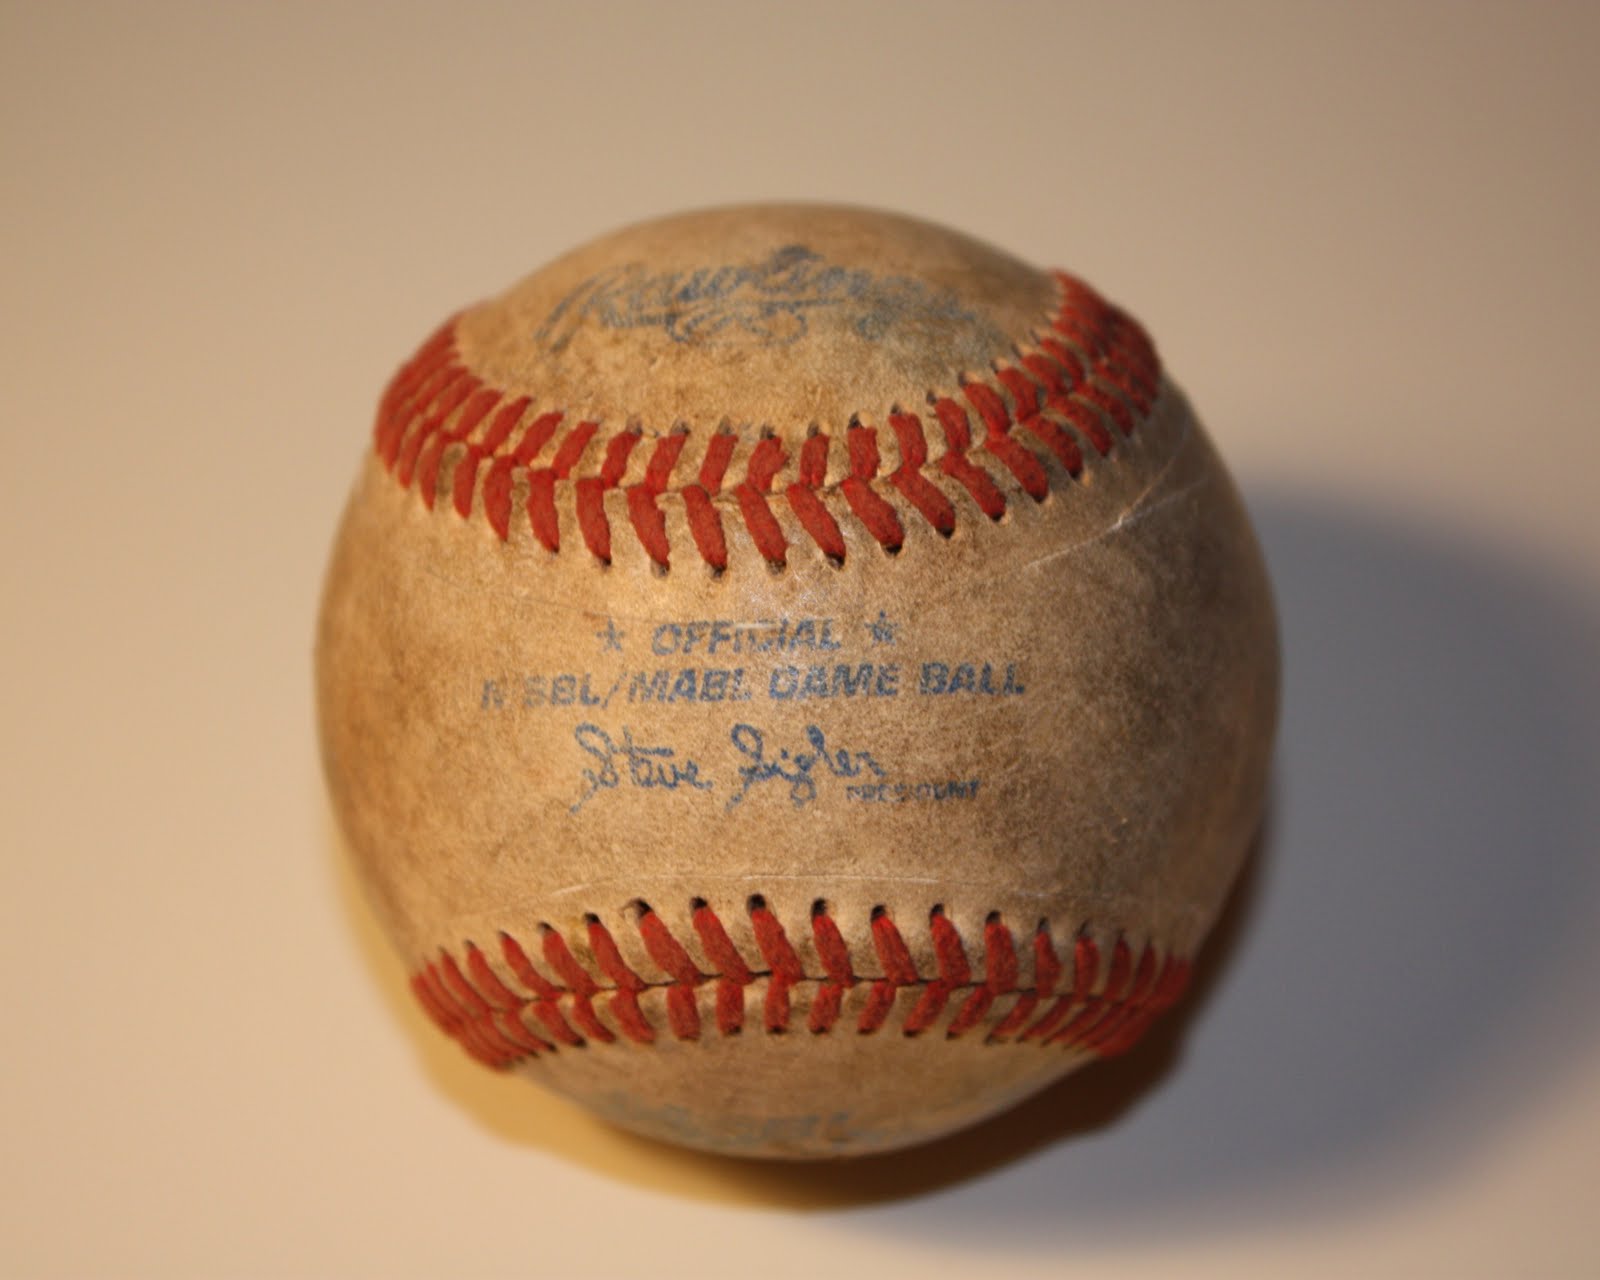
First you will need to cut out the stitches all the way around the baseball. It’s hard to see in the picture below, but there is a tiny line tracing the stitches from where I cut the leather. Try to get your cuts as close to the stitches as possible without cutting them. But don’t worry, you can always trim off any uneven parts when you’re all done. You will have to apply a fair amount of pressure, and maybe even got over each line twice to cut all the way through the leather.
Once you have cut all the way around the stitches you’ll need to remove the leather pieces. The leather is stuck onto the ball inside with some adhesive, so it could take a little elbow grease to get it off.
Once you take both leather pieces off you’ll need to remove the strings. They will still be in once piece and should be easy to pull off.
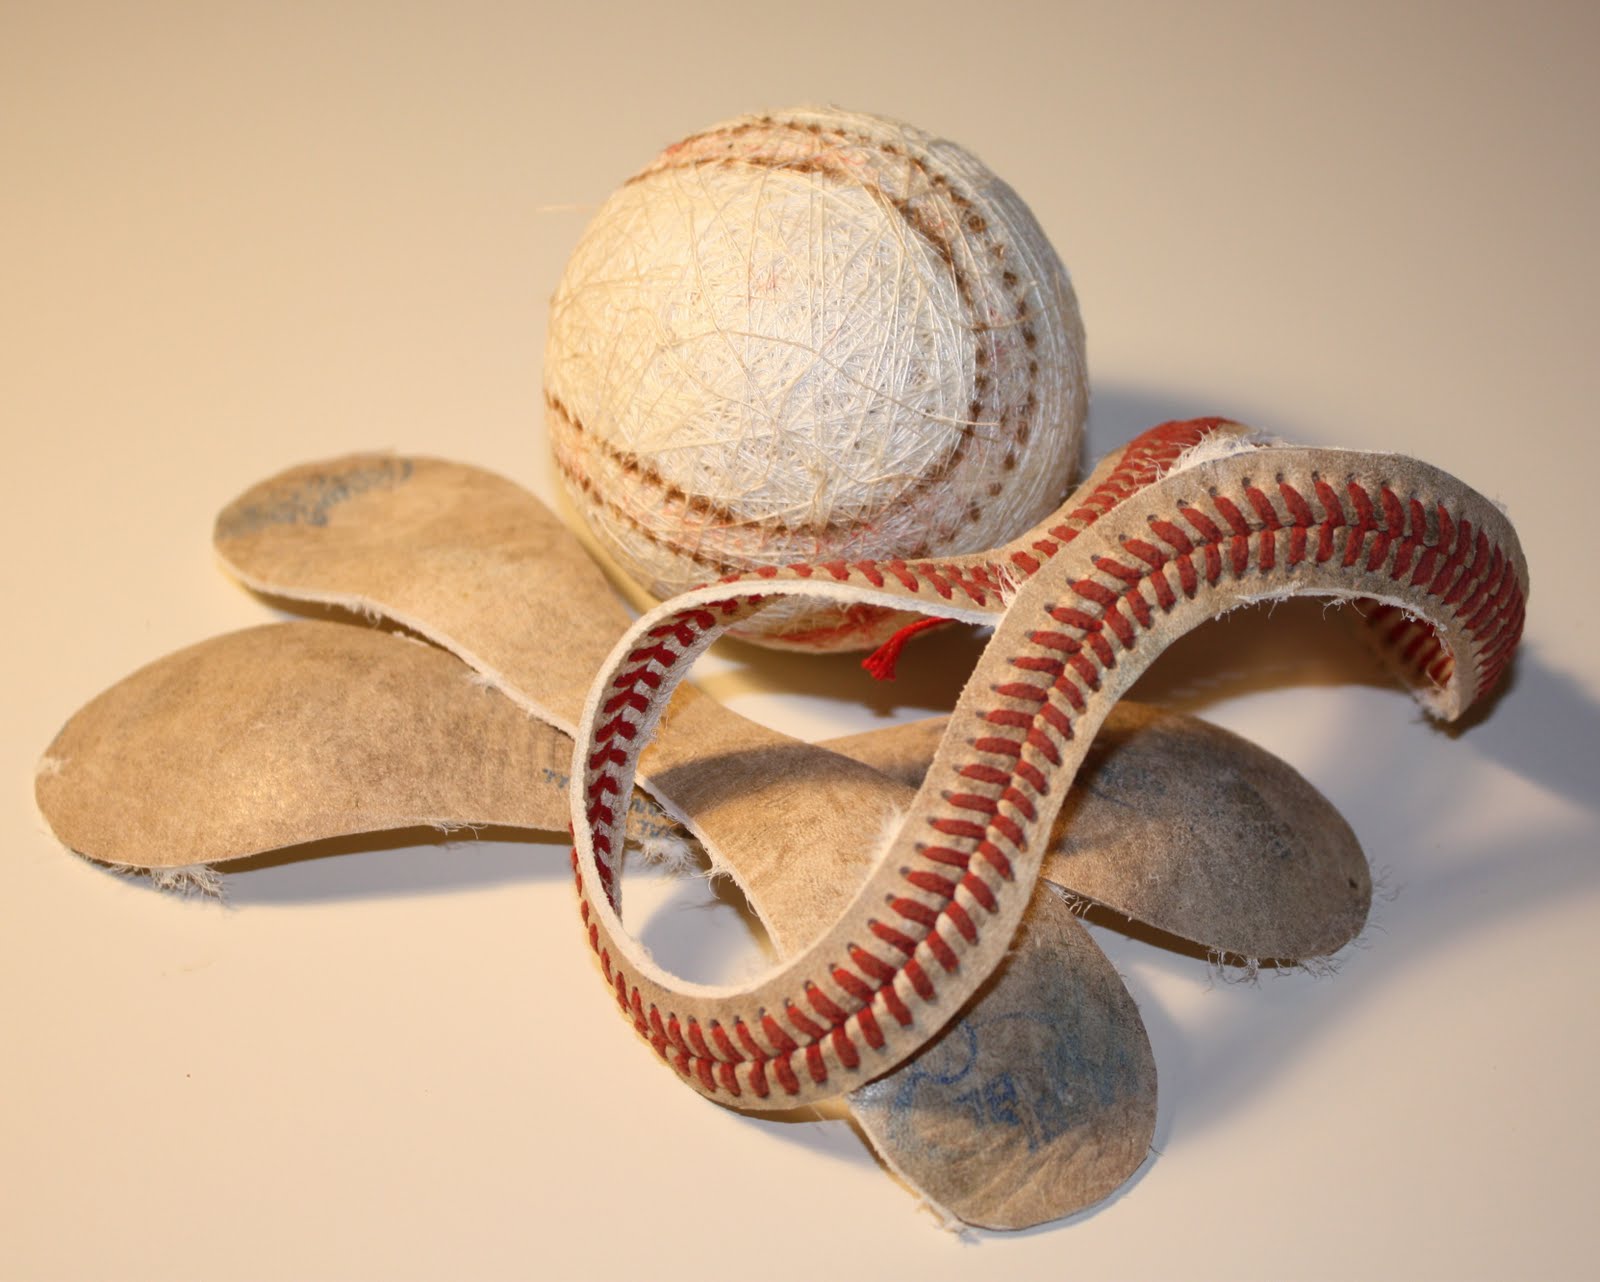
Here’s is what your baseball should look like at this point:
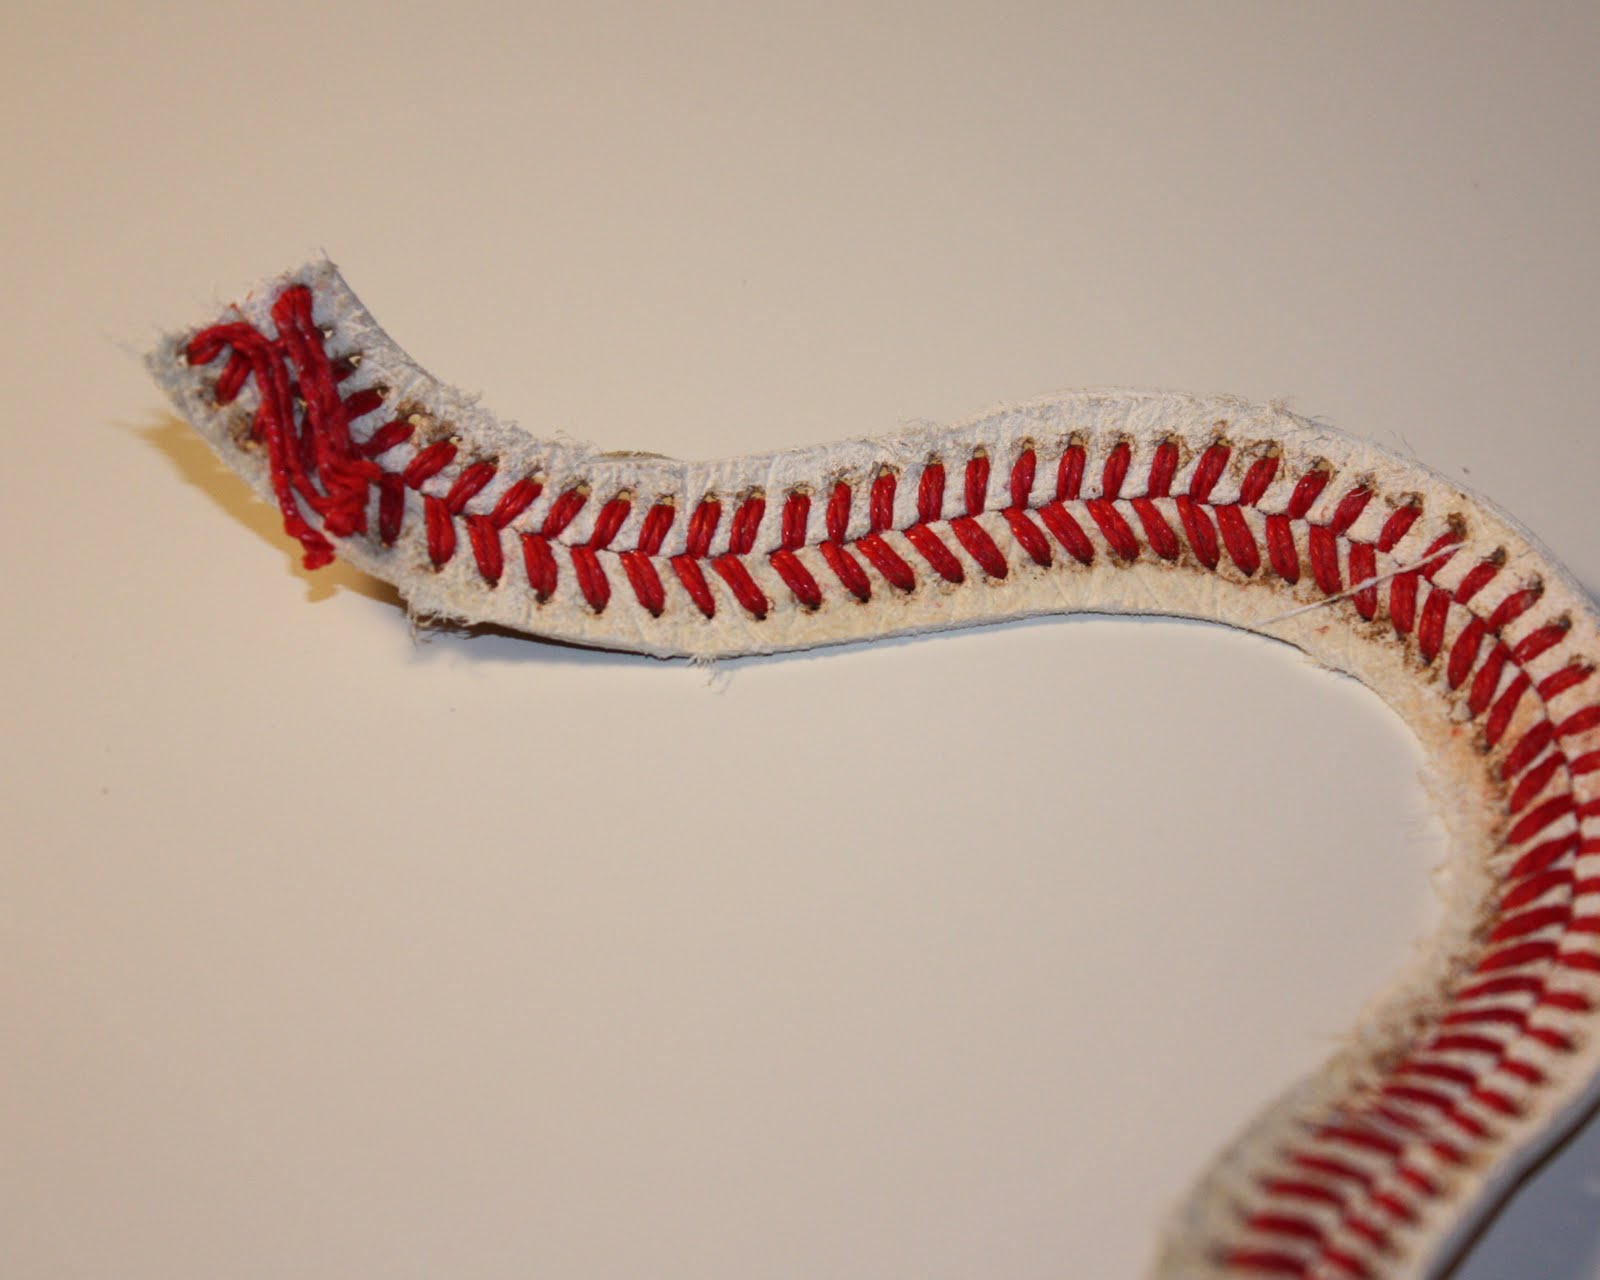
You won’t need the ball or leather any more for this project. Locate the point on the seam where the stitching begins/ends, this is where you should cut the remaining leather. Be careful not to cut off the excess string, you’ll need every inch! What you should have now is one long seam with two ends that look like this:
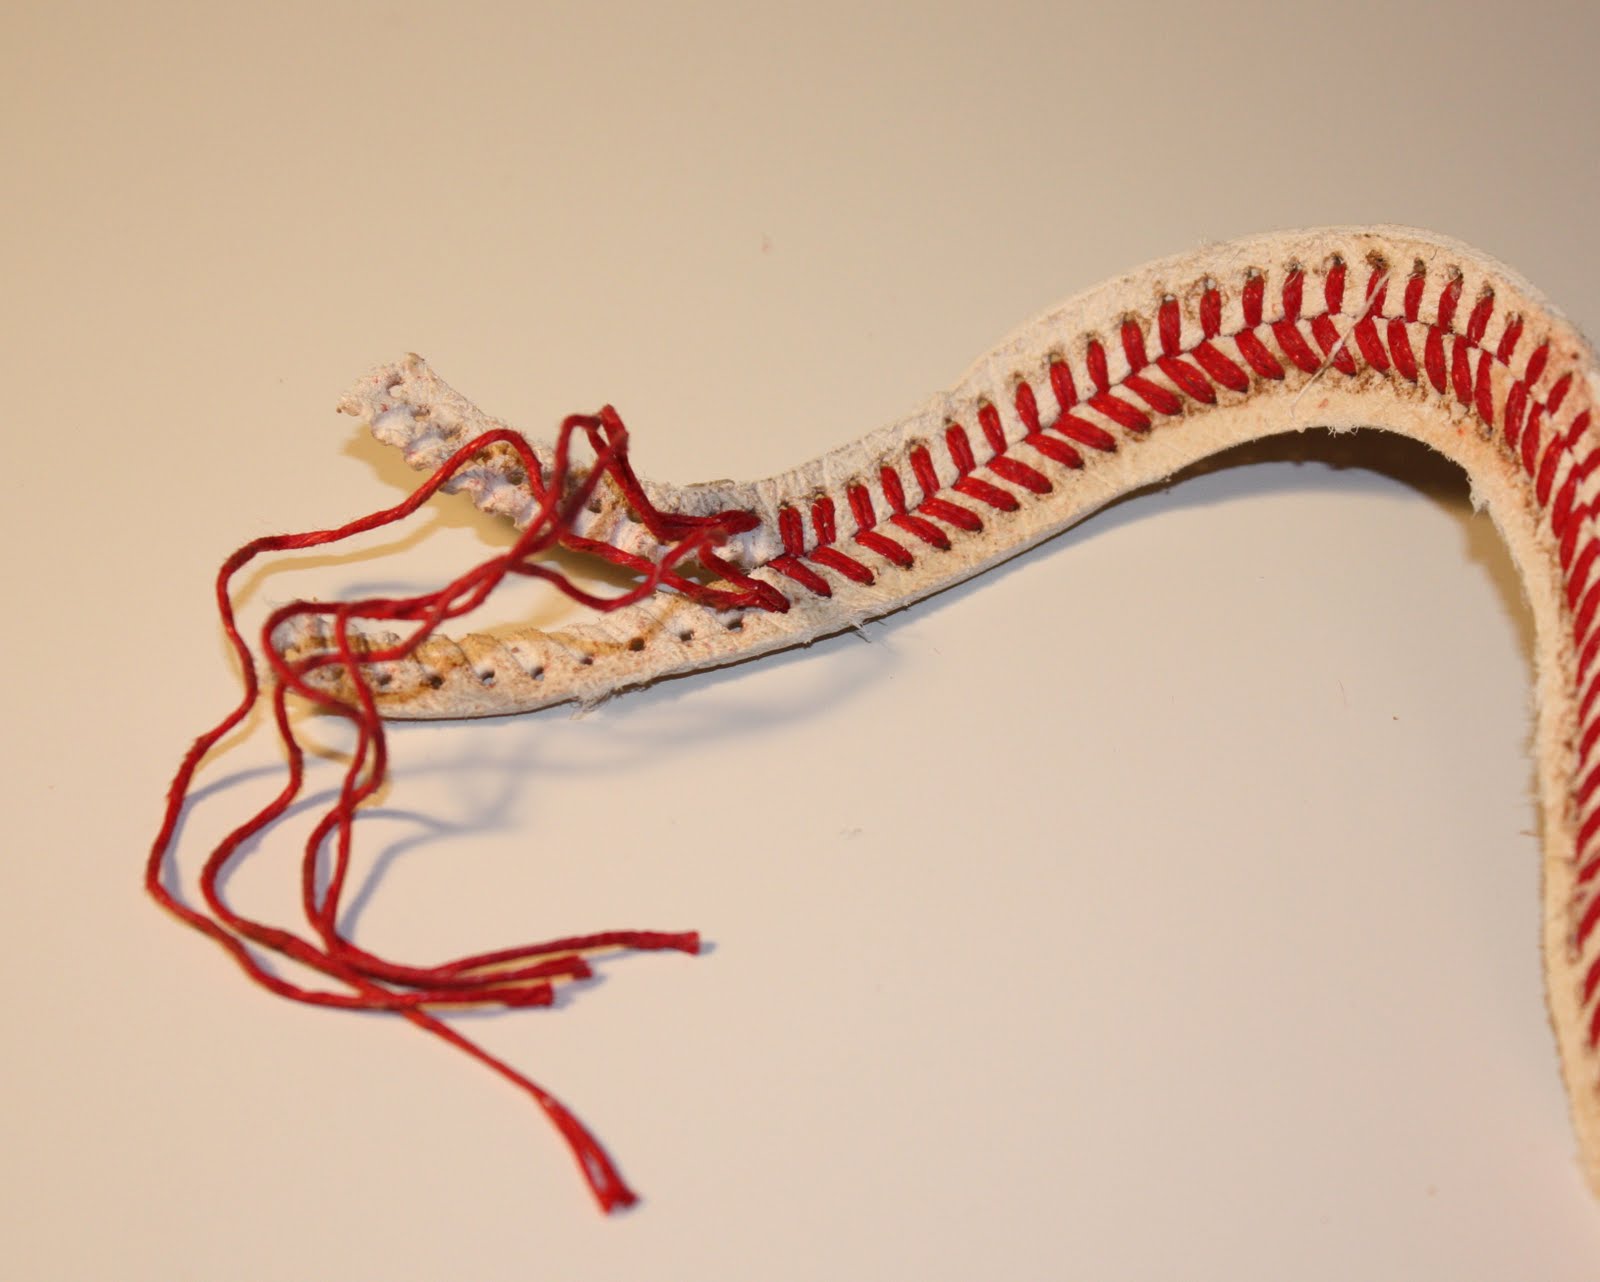
Find the middle of the seam and cut it in half. Each piece should be around 8 inches long. Begin unraveling the stitching at each end of the bracelet until you have about 4 inches of string unwound. This should leave about 1 to 1 1/2 inches of leather sticking out.
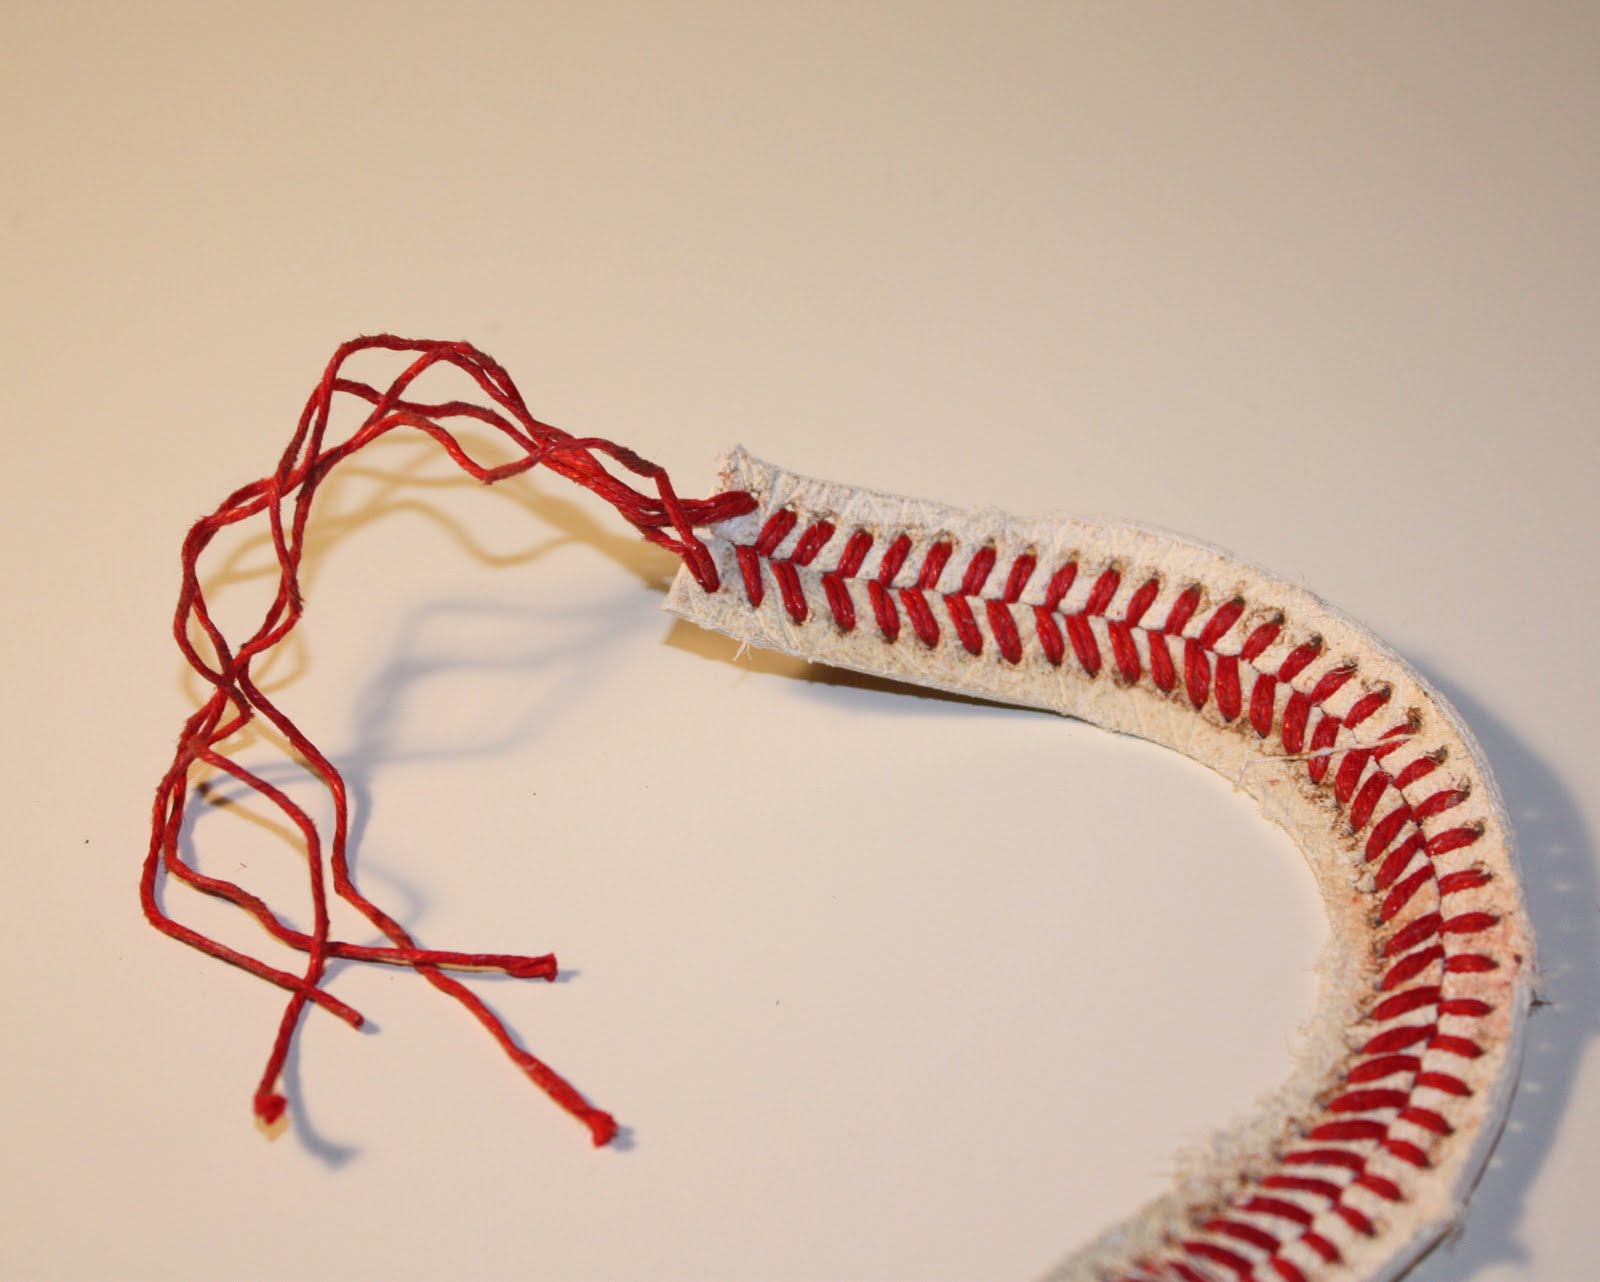
Cut off the excess leather without cutting the strings. You should now have two ends that look like this about about 5 inches of seam in the middle.
The best closure I found for this bracelet is simply tying the two ends into a knot each time I wear it. To do this you will need to braid each of the loose strings and secure with a knot. The strings will be gummy in the beginning from the adhesive used to attach the leather to the ball, but this will go away after you wear the bracelet a few times. You might prefer to make a loop and bead closure, or come up with something else unique.
If you notice that the leather is twisted from it’s shape on the ball, don’t worry. You can stretch the bracelet and gradually force it to hold a straighter shape. And as the adhesive wears off it should loosen up a bit.
You can also trim the leather at this point if they are uneven from your cuts with the Xacto knife.




 Next, partially insert the kabob sticks into the center of the object you plan to cast, evenly spacing them around the circumference (with hard objects, you may have to hammer starter holes with a small nail). Rub Vaseline on the portion of the apple or squash that will be submerged in plaster (skip this step if you’re using a baseball). Then rest the skewers on the sides of the mold.
