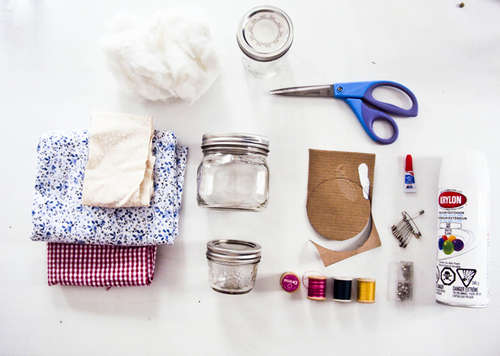
Supplies Needed:
- Soda Cans
- Stapler & Staples
- Purse Template
- Knife & Scissors
- Ruler
- Copier
- Naugahyde or Similar Fabric
- Glue
- Wire
- Nail or Hole Punch
Step 1 –
Trace out a purse shape (including the handles) onto paper, you just need the two large sides. Then, on the template draw squares & rectangles within the purse outline using your ruler.
Step 2 –
Next, number each square & rectangle shape and make a copy of the paper. Cut one of the drawings up, so now you have a bunch of numbered shapes. The other sheet will serve as a master copy of how the shapes went together.
Step 3 –
Then, take a bunch of soda cans, clean them and cut the tops & bottoms out of them with a knife and then regular scissors. When complete you will end up with sheets of the aluminum can.
Step 4 –
Trace the cut out shapes onto the cans. Then cut out the shapes leaving about quarter on an inch (maybe 5-7 millimeters) edge. To make it easy, write the corresponding number on each piece. If you are using a variety of sodas, make sure to think about the color combination and layout when you are cutting out pieces. Then folded the edges under, to hide the sharp edge of the can. You can use a ruler to help you.
Step 5 –
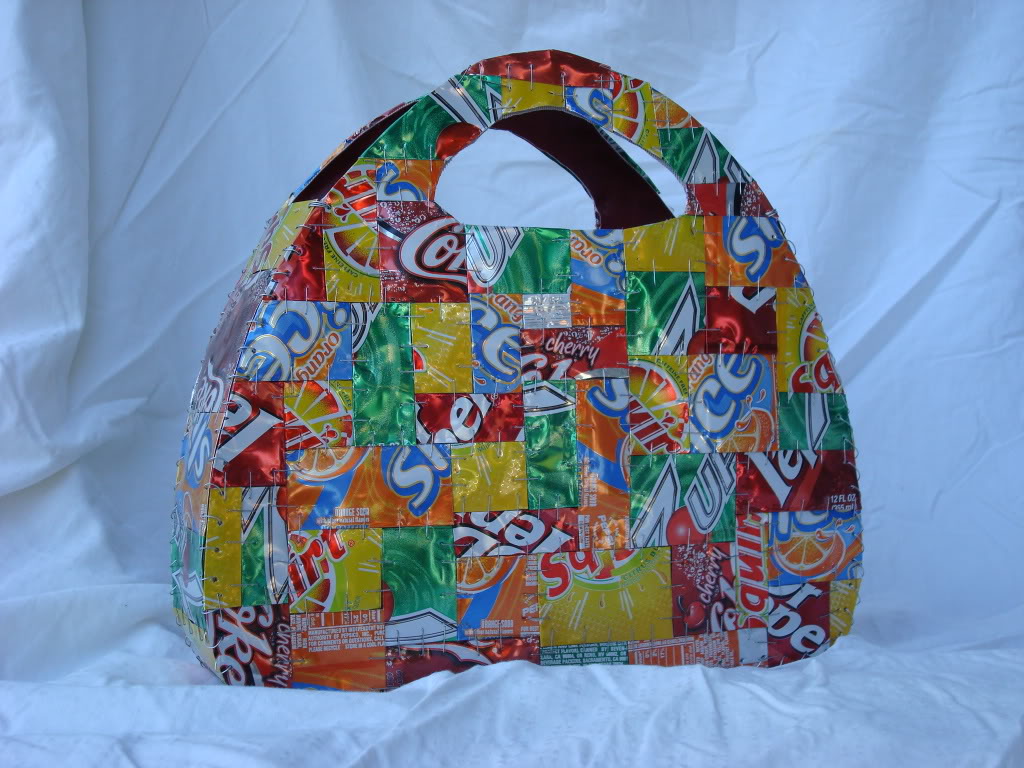
Next, arrange the shapes back into the purse template and use a stapler with regular staples to join the can pieces. You want to make sure the stapler can reach each piece to connect it, so be sure to begin joining the cans together from the middle and work your way out. Remember, the can pieces are not overlapped but side by side.

Step 6 –
For the bottom and sides of the purse, created one long strip of soda can pieces.
Step 7 –
After you have all three pieces of your purse, trace out the purse shapes onto naugahyde, or some sort of vinyl or pleather would probably work fine, just as long as its durable. Then, glue the material onto the soda can purse shapes.

Step 8 –
Then take a small nail and punch holes at regular intervals around the edges of the purse forms. Then take wire and lace all three pieces together.
Now, you’re ready for a night out on the town!