Category: Crafts
Crocheted Bead Jewelry
Supplies:
– One spool of 28 gauge wire, silver or another color.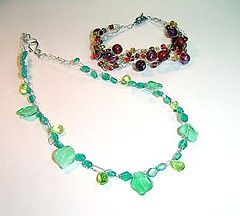
– Assorted beads — about 40 for a choker, or about 20 for a bracelet.
– A metal crochet hook, size G.
– Wire cutters and needle-nose pliers.
– Findings: jumprings and a clasp of some kind.
Grass People
Simply place grass seed in the piece of pantyhose. Use enough to fill the toe portion. 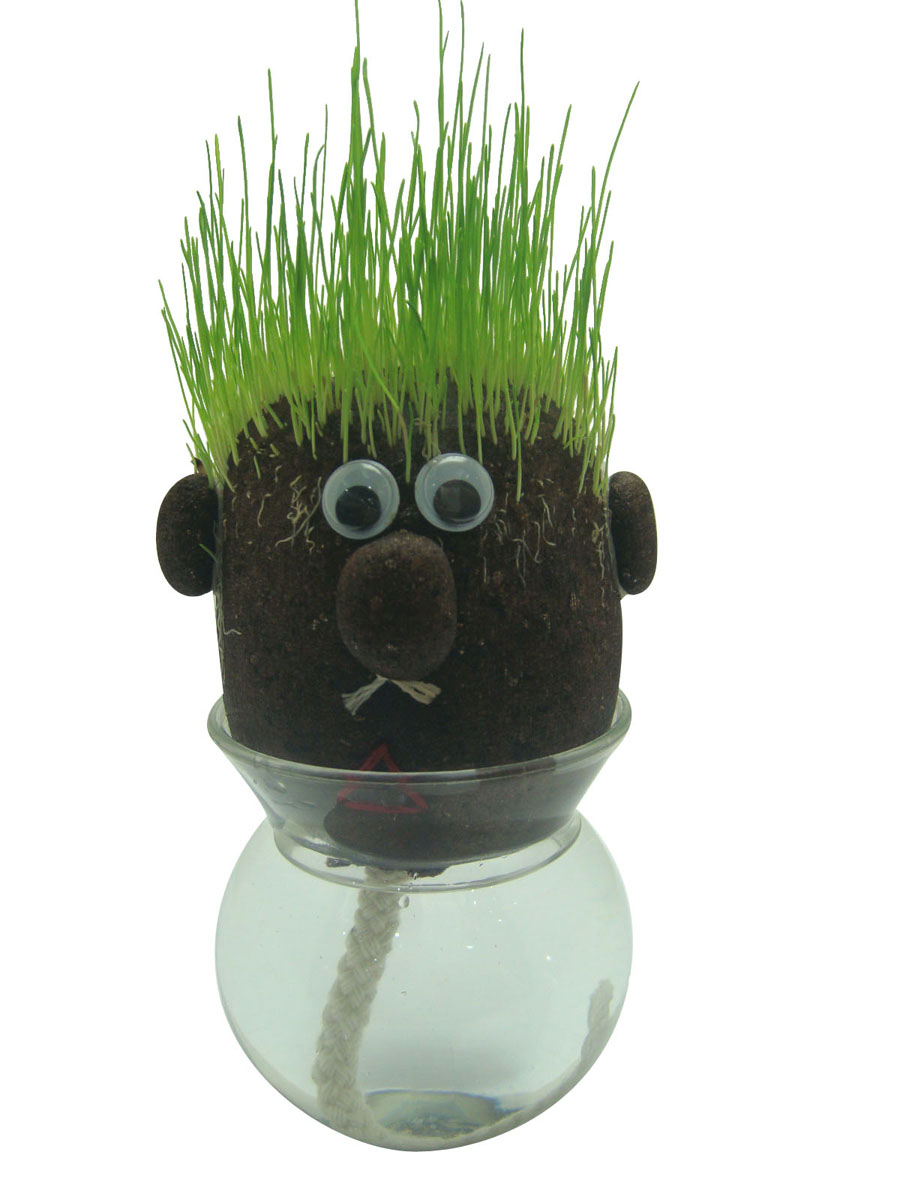
Next, add a supply of saw dust. You will be able to slightly shape the craft into a round head-like shape. Securely knot the pantyhose tightly to hold the products in place. If you wish to trim the end of the hose, this may make the craft appearance more appealing, but be careful not to trim a portion of the knot. Doing so may result in a mess.
Allow the craft to soak in water overnight. Place the head on a plate or plastic lid and allow the craft to do its magic. Children can decorate the face with markers or glue on google eyes, buttons, etc. once the project has dried.
Pen Pals
You’ll need:
4-ply acrylic yarn
pencils, or pens
tape measure
glue
scissors
ribbon to tie around neck
General Instructions For Head and Body:
Cut a 6″ square of firm cardboard. Pull yarn free from the center of skein and wrap 50 times around board. Slide yarn off board carefully. Gather bundles together and tie together close to one end. Cut through folds at opposite end. Now, flip the yarn so that it covers the tied ends.
Tie about 1″ – 2″ from top of yarn, hiding tied ends and forming head. Don’t tie real tight as the pencil will need to be pushed up through the neck. Cut pattern pieces from appropriate colors.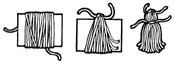
Finishing:
Once you have the face done, gently push the pencil inside the head and tie around neck. Trim ends evenly.
Fire and Ice Candles
You Will Need:
|
 |
|
1. Wick your mold and prepare your wax as usual. Refer to our Pillar Candle Instructions for help.
2. Crush up pieces of ice until they are about 3/4 inch in size. Spoon the ice into the mold until it is almost full. Leave some room beneath the rim of the mold so that the wax has room to completely cover the ice. 3. Quickly pour your wax over the ice and into the mold. Try to pour all over instead of in one spot so that you don’t melt a hole through the ice. |
 |
|
4. Allow the wax to cool and ice to melt completely. Then turn the mold upside down over a sink or bucket to dump out the melted ice water.
5. Remove the mold sealer and wick screw and gently remove the candle from the mold. Handle the finished candle carefully as it is very fragile. |
 |
|
6. Trim the wick to about 1/4″ and allow the candle to dry for at least a week before lighting. If you light the candle while the wick is still wet or damp, it can cause sputtering while it burns.
7. Enjoy watching the beautiful designs on the candle as it burns! |
 |

