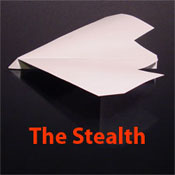
 This website has great animated step by step instructions for making
your 10 basic paper airplanes. Check it out and get flying!
You can do it – Here's how!
Category: Crafts
This website has great animated step by step instructions for making
your 10 basic paper airplanes. Check it out and get flying!
After watching the movie “Tangled” and seeing some cool fireworks, I’m inspired to provide the instructions to make Sky Lanterns. After doing some research, I’ve found some debate as to how ecologically safe and fire safe they are or are not. Having covered that– here are some instructions.
Things You’ll Need
2 yards of tissue paper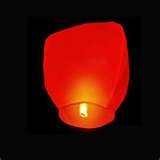
Scissors
Elmer’s glue
Universal Paper Shield Flame Retardant Spray
String
4 dowels of 3/32-by-18-inch balsa wood
Candle wick
2 fishing hooks
Hot glue gun
Rubbing alcohol
Long match
1
Cut out two 2-foot-wide and 3-foot tall rectangles from tissue paper. Spray these with flame retardant on each side and allow them to dry. Cut the upper right and left corners of each tissue paper sheet. Brush on a thin coat of Elmer’s glue on the top, left and right side edges of each piece of tissue paper. Do not glue the bottom edge. Press these pieces together and allow them to dry.
2
Hot-glue two fishing hooks together so that the hooks are upside down and pointing out. Wrap a candle wick string around the fishing hooks to form a ball.
3
Soak two 3/32-by-18-inch balsa wood dowels in a bucket of water for 24 hours. This will make them extremely pliable. Bend these two dowels into a circle and tie them together. Lay two dowels across this hoop so that the dowels intersect the hoop vertically and horizontally. You can also purchase pre-made circular dowel wood from a craft store.
4
Cut four lengths of string into 6-inch segments and spray with flame retardant. Tie all four of these strings to the hoop. Tape the tips of the string inside the tissue paper bag.
5
Soak the ball of wick in alcohol. Have a friend hold the bag up and slightly open as you place the wick ball on the hoop frame. Carefully light the wick ball with a long match. Allow the bag to begin to inflate with hot air before letting go.
also see: http://blog.skylighter.com/fireworks/2008/11/how-to-make-chinese-sky-lanterns.html
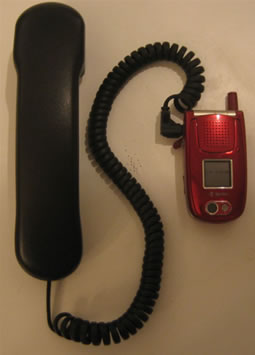
Before you start, you need to take a look at your cell phone and identify how you would connect a headset to it. I have found by looking at several cell phones that most of the time this is accomplished by plugging in a 2.5mm Stereo Phone Jack (sometimes called 3/32″). You can double check your phone by comparing a standard headphone jack (like off your ipod) and verify that it is quite a bit smaller. A standard headphone jack is 3.5mm (1.8″) I mention this step first, because it is very important that you get the correct phone plug before you heat up your iron.
After you have identified what type of phone plug you have on your cell phone you will need to assemble the following parts:
Of course you can just buy one for $30.
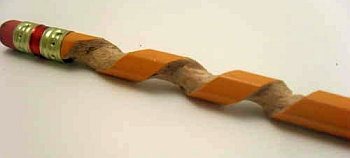 To make a spiraled pencil you will first need the right pencil. Most pencils are six sided, but you might want to find a round pencil to start with. Its shape will make it easier for beginners to practice on, although the hardness of the wood differs.
After you pick your pencil, you should decide whether or not you want it sharpened. If so, do it before whittling.
How to do it…
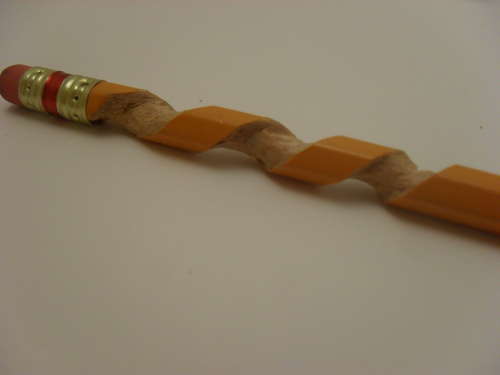
Start by cutting 2 lines that go all the way around the pencil in a spiral shape.
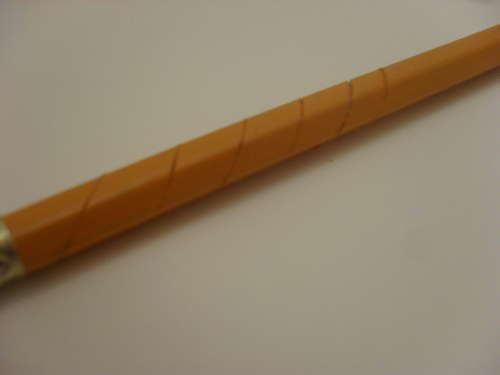
Now you can start cutting out the shape. Cut all of the wood from the surface of the pencil that lies between the two spiral lines. After that, start cleaning up the spiraled area. Simply scrape with the x-acto knife or sand with a file.
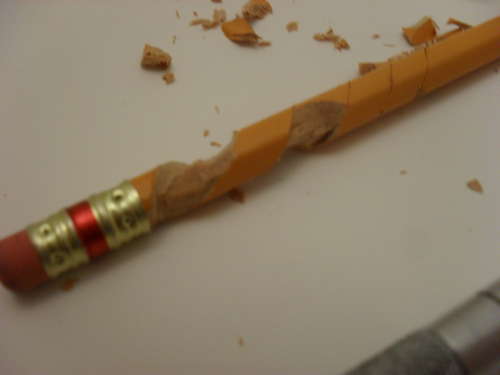
Tada!
1) Find three playing cards you like. Lay them about 1/4 inch apart side-by-side with the faces towards you.
2) Tape the three cards together with clear packing tape.
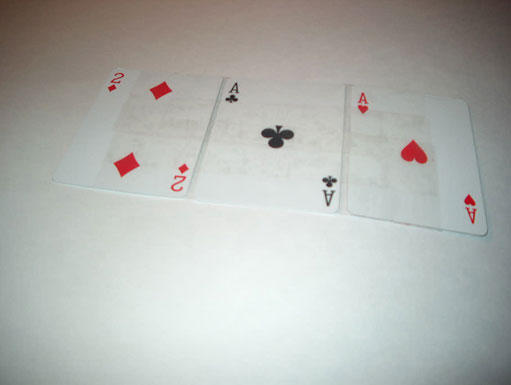
3) Repeat this process to make another set of three playing cards.
4) Lay the two sets of cards beside each other (so that the cards make a 3 x 2 rectangle) with the faces towards you.
5) Connect the two pieces with clear packing tape.

6) Turn the cards over, and cover any sticky parts with tape (sticky part to sticky part).
7) Turn the cards over again, and fold the cards toward each other, so that the faces are pointing outwards.
8) Tape the two shorts sides together.
9) Three of the four sides should now be joined together. Your wallet is now complete, put your money in, fold it up, and put it in your pocket.