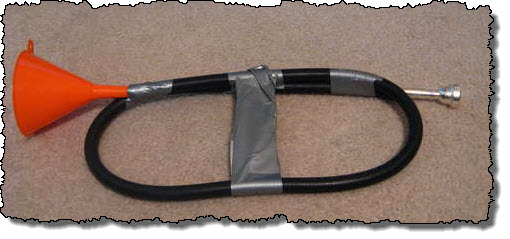
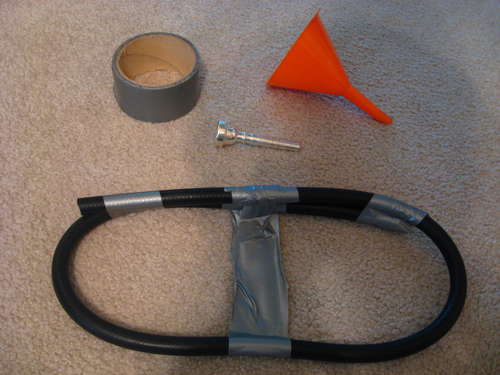
You need…
- Small length of garden hose
- Medium sized funnel
- Trumpet mouthpiece (found at any music store) OR use the metal connector at the end of the hose
- Duck Tape
It’s pretty simple, just tape the pieces together and toot your own horn!
You can do it – Here's how!
Category: Crafts
You need…
It’s pretty simple, just tape the pieces together and toot your own horn!
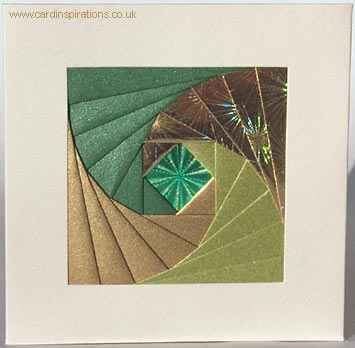

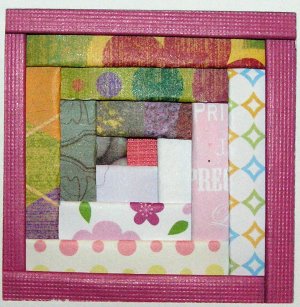
Iris Folding is an easy and pretty way to use up all those scraps of colored paper (maybe you have left overs from scrapbooking). You start with a pattern and end up with a nice picture worthy of framing or giving as a nice gift in card form. Google ‘Iris Folding’ or click here for free patterns and instructions.

Kids can create their own rubber band finery by simply repeating the loop knot shown below and adding beads. Wear it with a dress, jeans — or even quadruple-wrapped around a wrist or ankle as a bracelet or anklet.
 Use a loop knot to attach 2 rubber bands.
 Add a bead, or several, to the second band. If you like, tie spacer knots between the beads. Leave enough space at the end to attach the next band. Repeat steps 1 and 2 until the belt is the length you want.
 To create a clasp, thread the large bead onto the last band on one end and knot it to secure. Leave the loop for decoration or cut it off. On the other end, thread a small bead onto the last band and knot it so that you have a loop that fits securely over the big bead.
You’ll need:
instructions here