You’ll need:
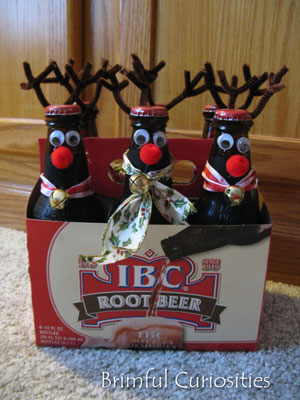
- 2 soda bottles (same size)
- Paint, assorted colors
- Fabric strips
- Yarn
1. Cut bottles – adults only! (Make sure to use clean, dry bottles)
(1.5 Optional: add beans or another dry item for weight.)
2. Fit the short end over the long one.
3. Hot glue closed.
4. Paint base coat white all over whole form. Let dry. (You may find that first scuffing up the surface lightly with a piece of sandpaper will help the paint adhere. Make sure to wipe off excess debris before painting though!)
5. Outline the body shape (think of it as a heart with a flat bottom). And then paint over the white in center so it has a good coat. Let dry.
6. Paint rest of body black. let dry. This may take more than 1 coat. Let dry completely.
7. Paint hat base color. Let dry. Give 2nd coat if needed. Let dry.
8. Decorate hat. Use the back of a paint brush to make cute dots, as in photo, if desired.
9. Paint eyes and triangle nose. Make sure this is above ‘natural waist’ of the bottle – so the scarf won’t cover the features.
(9.5 Optional to give whole thing a coat of spray glossy finish.)
10. Add a fabric strip scarf, trim ends with scissors.
10.5 Make and hot glue a yarn pom pom on top of hat.

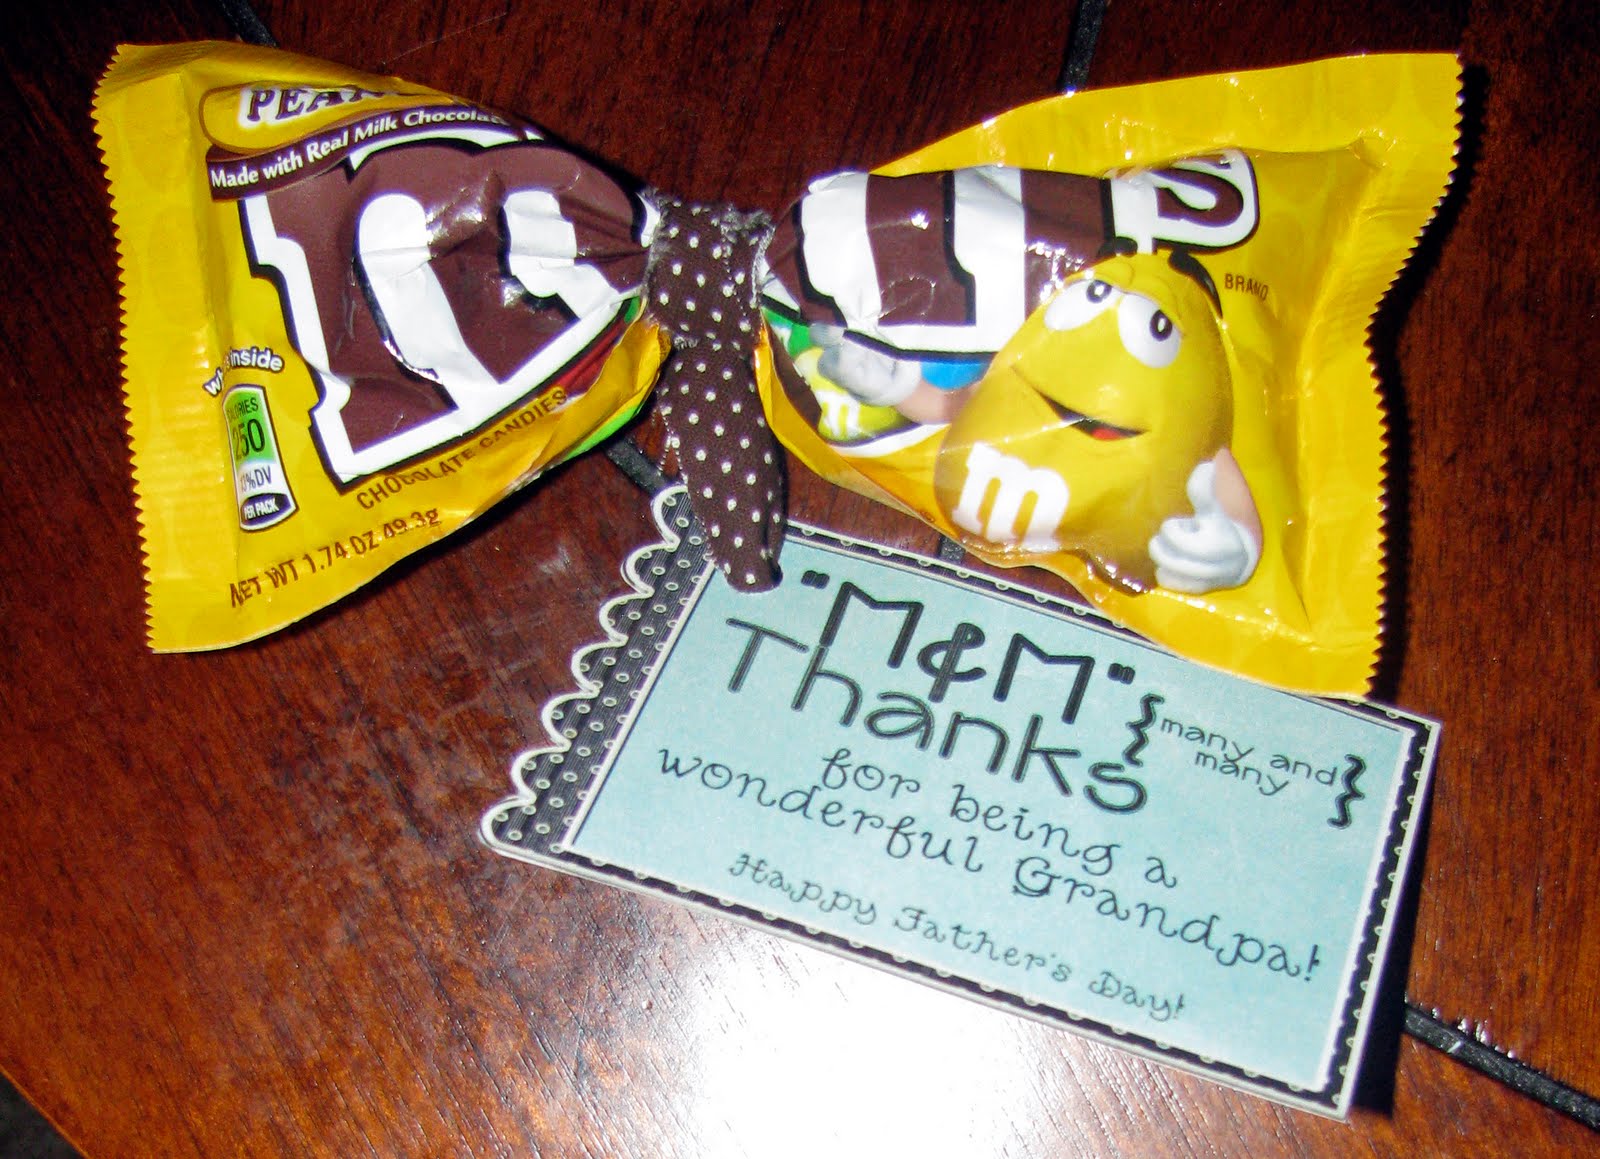
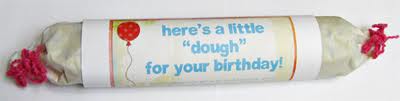
 Loaf of bread: For being there when you were “kneaded”, for “rising” to the occasion, large or small. For never “loafing” on the job, for helping others to “heel”. No matter how you “slice” it, you do a terrific job. Merry Christmas!
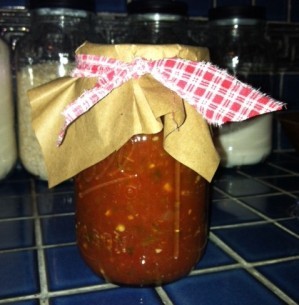
 Salsa: Adding a little “spice” to your holidays!