
Category: Recycle it
Braided Headband

Wax Luminary
Check out HiretheStache for complete step-by-step instructions
Bean Bag Balloon Balls

-
Total Time Needed:
- 1 Hour
These totally tossable, squishable balls are lightweight and easy to grip, making them perfect for novice jugglers, beanbag games, or a good old game of catch.
- Materials
-
- 9 (11-inch) balloons (for 3 balls)
- Funnel
- 2 1/4 cups of dried lentils
- Scissors
Instructions
-
-
 Stretch the first balloon by inflating it halfway, holding it closed for about 30 seconds, and deflating it.
-
 Place a funnel in the balloon’s neck and gradually pour in 3/4 cup of lentils, pushing them in as you go. The balloon should be firm but squeezable.
-
 Snip off the balloon’s thick rubber lip. Cut the neck off a second balloon and gently stretch the opening.
-
 Ease the second balloon over the filled balloon, tucking in the neck as you go.
-
 Cut the neck off the third balloon, stretch the opening, and ease it over the other two. Repeat this process to make a set of three balls, or however many you’d like.
-
Recycle Old Candles into Layered Ones
How many of you have candles that look like this?
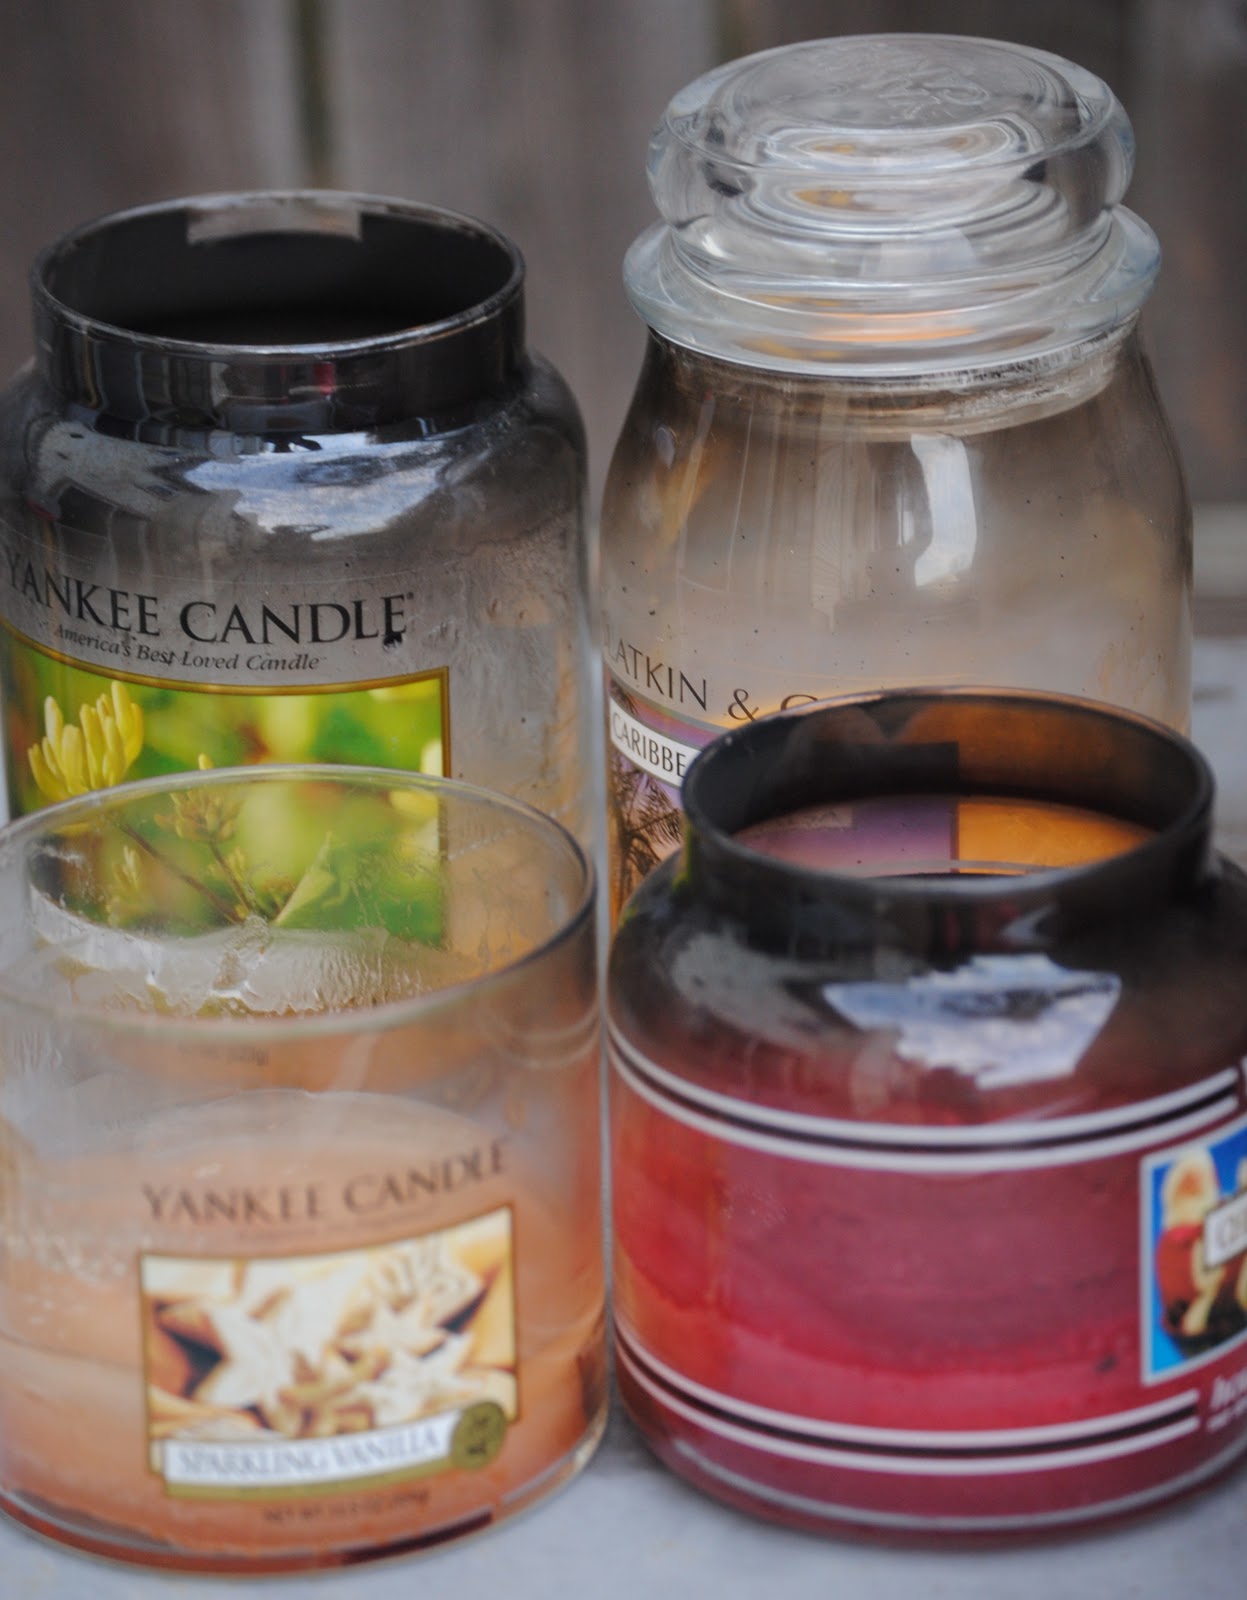
I have an entire shelf of them hidden behind picture frames!
So in an effort to declutter and get a little things organized before we decorate for the holidays I decided to take these ugly things and make brand new layered candles.
This was such an easy project to do. I can’t believe I never did this before.
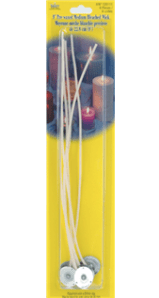
All I needed to get were these wicks from Michael’s and one new glass container. I decided to get a new glass container because it was only $1 and I needed something clean to pour the first candle in. Then you can start cleaning out the old ones and reusing those glass jars.
Step 1: Melt your first candle down completely. I put mine in a pot of boiling water. It only took about 5 minutes for the candle to turn to liquid.
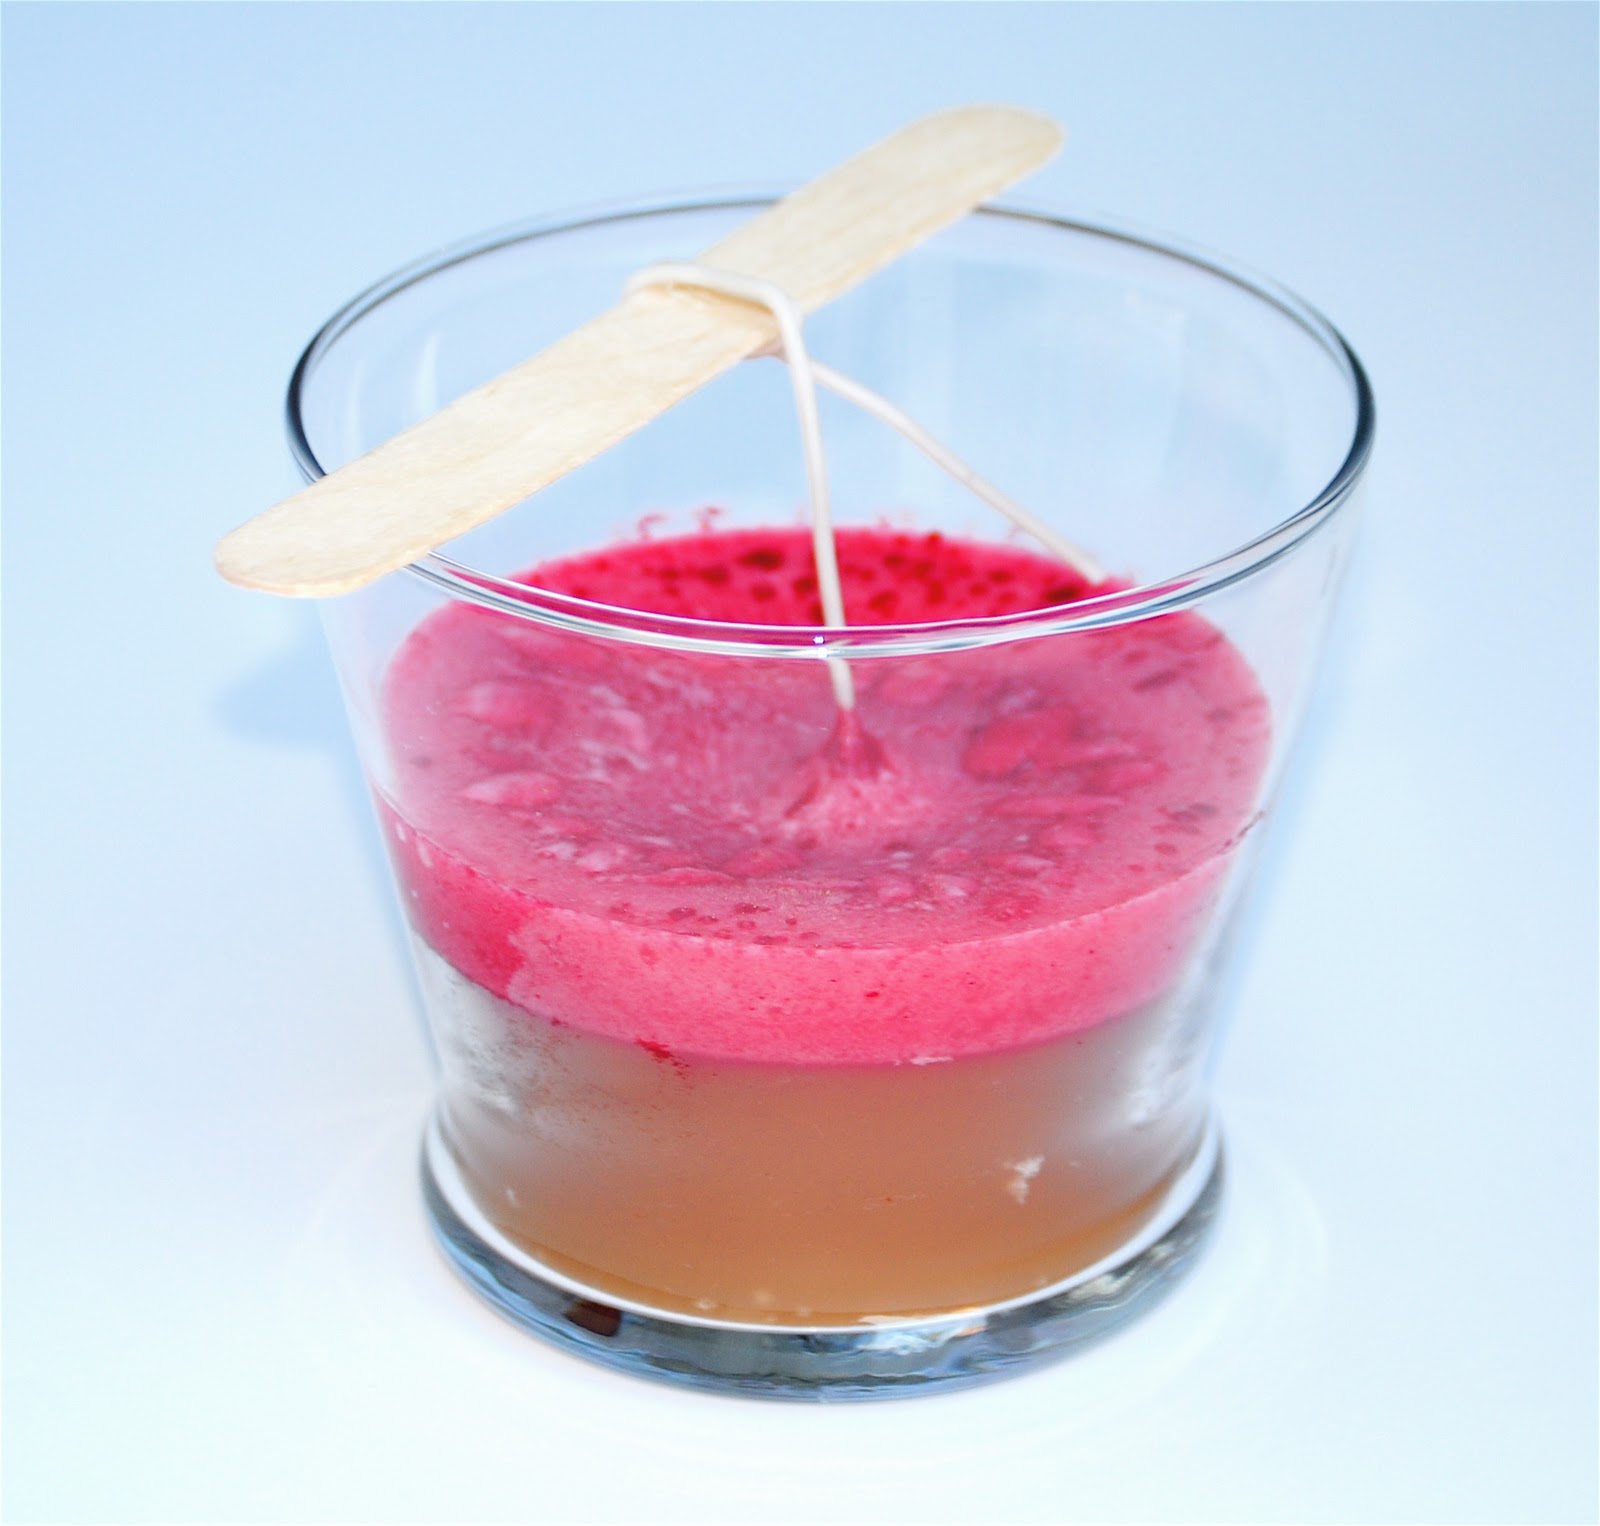
Step 2: Place the new candle wick in your clean jar. I wrapped it around a popsicle stick so it wouldn’t fall over.
Step 3: Pour melted wax into new jar. Let cool completely.
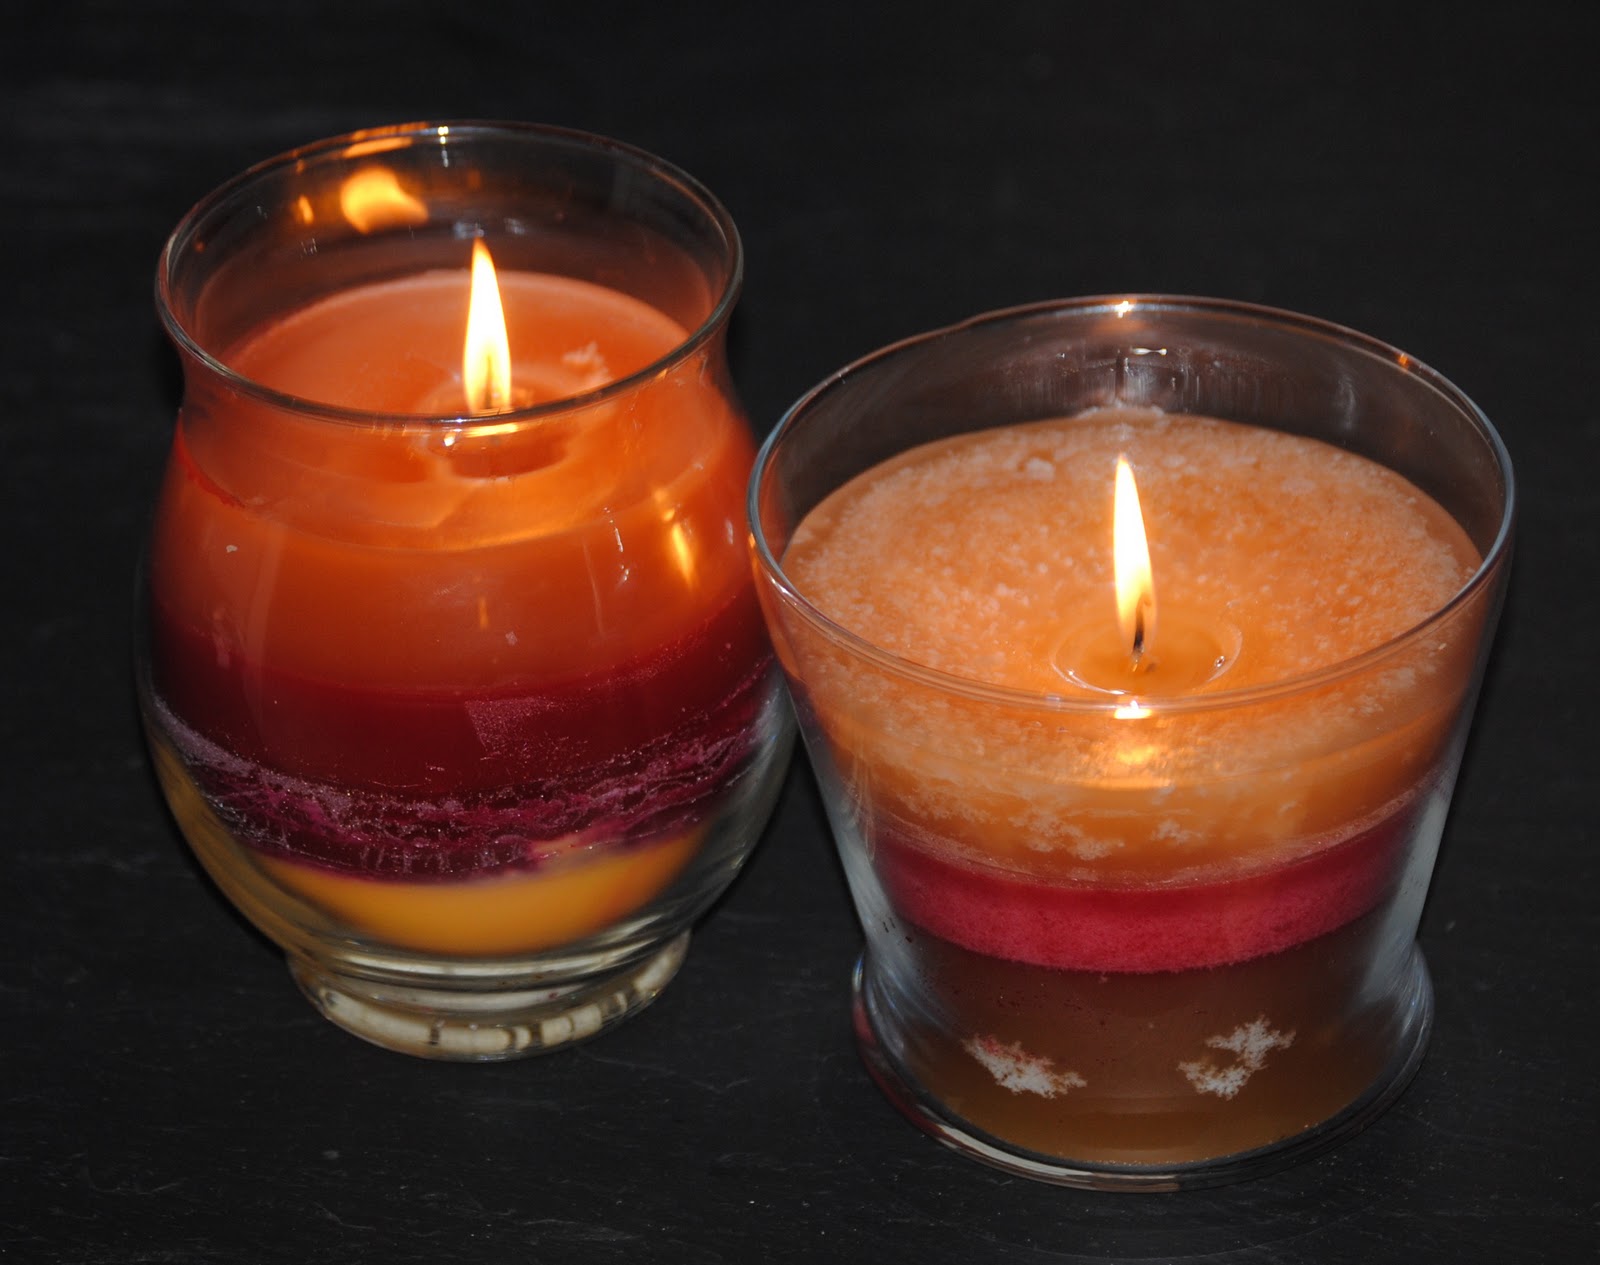
Step 4: Once the first layer of wax was completely hard, I melted the next candle down on the stove and poured it over the first layer. Repeat with one more layer or until your glass container is full.
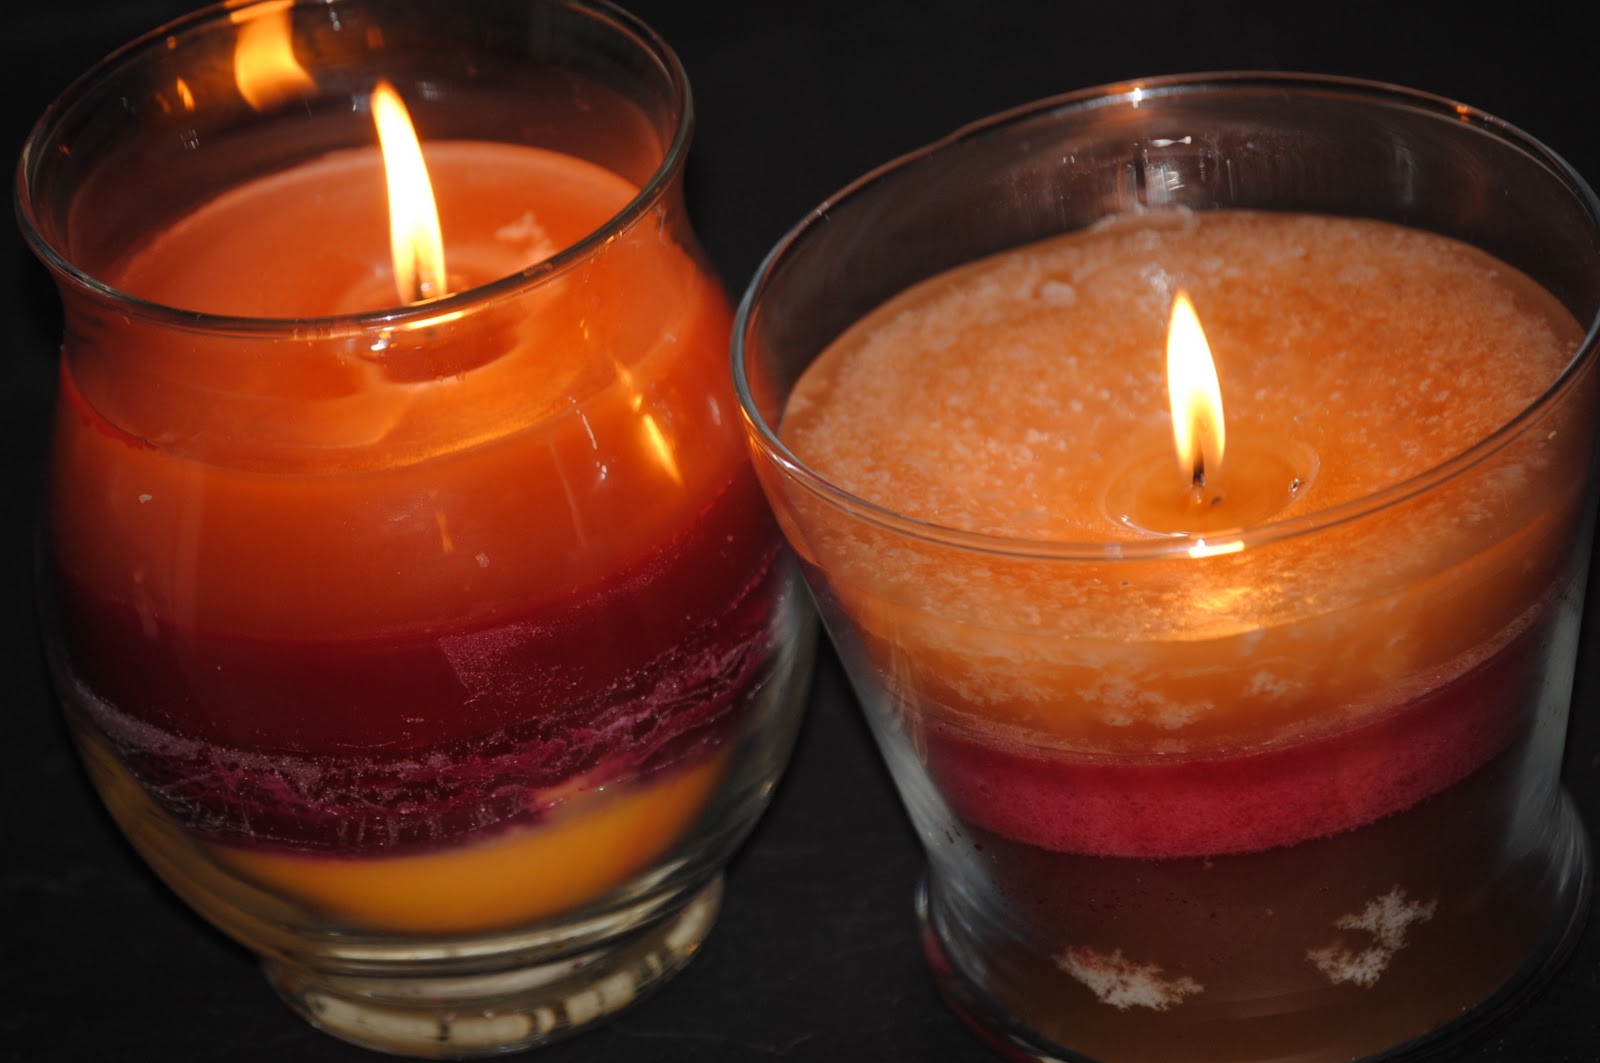
Step 5: Cut the wick. Burn and enjoy your new candle!!
Read more HERE at HappyGoLuckyBlog!
