Category: Around the house

How to flip a bug over

Bug uside down
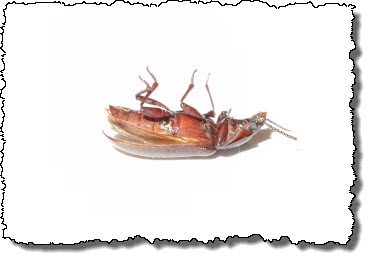
I’ve been getting a lot of random bugs in the house due to the warm weather. For some reason I’m finding a lot of them on their back, flailing legs-up trying to turn over. The pet’s water dish outside gets several bugs each night, mostly beetles.

Sometimes I don’t want to flip over the bugs with my fingers because I’m afraid I’ll damage the fragile legs or body. Other times I don’t want to risk getting bit/stung. And in the case of the water dish, it’s ridiculous to try to fish those little suckers out or dump the bowl without drowning them.

Flipping them over each time and/or removing them (part of the Insect Relocation Program) has been comically awkward until I stumbled onto this tip by accident:

  • Fold a piece of tissue or paper in half.
  • Hold it over the insect’s body lengthwise, hovering between the insect’s legs.
  • The little legs will immediately stop flailing and clamp onto the tissue/paper (it’s actually kinda cute and funny to watch).
  • The little critter will then climb up and over the tissue/paper, righting itself.
  • Done!

Once it’s on the paper you can either easily carry it outside, or just lay the paper on the ground and let the bug walk off, happily right-side up. This works when you’re fishing bumbling insects out of water too. If the critter is on its back in the water, then just follow the same instructions above. If the critter is right-side up in the water, place the paper almost level with the water surface and slightly under the bug — it will respond in the same way, allowing you to relocate it.

This has worked with several kinds of beetles and general bug-like things, so I imagine it’ll work with most insects.

via

Garage Ceiling Storage Solution


1.  A shop with exposed rafters
               I suppose you could rig up some sort of rail system on the ceiling, but that would be a lot of work.  I suppose you’ll also need to have a low ceiling, a step stool, or just be tall.

     2.  Some scrap wood
               Something flat and long that you can rip to the desired width

     3.  Nails

     4.  Plastic tubs
               I found mine at the dollar tree, but they’re sold just about everywhere.  You’ll need to do some measuring to figure out how many you need to fill your rafters.  Make sure to get the kind that are see through!

     5.  Handles
               You could buy these premade, but handles are shockingly expensive and I couldn’t find any in a size I liked, so I chose to build them from PVC and bolts.

more info here


Magazine Plant Stand

magazinelookingdown081808.jpg

The concept is similar to cardboard furniture. It’s amazing how sturdy the paper can be when it involves multiple layers. We were thinking a single magazine could work as a wall shelf…let me know if anyone tries it or if you have any other uses!

What You Need

Materials
Old magazines. That’s it!

Instructions

1 Pull out any subscription cards from inside the magazine. (And subscribe if you like it—it’s so much cheaper than buying off the newsstand!)
2 Flip open the magazines and leave the cover out to the left. Thumb through (about) ten pages, then fold them in half towards you, tucking the page ends back towards the binding. The crease should be on the right side, and the loose ends should be on the top.
3 Repeat for the entire magazine, including the back cover. (It’s okay to vary the number of pages a little, so don’t worry about counting them.)
4 Fold the cover to the right, over the first crease, and tuck it in towards the binding to secure the folded pages. You’ll have a semi-circle fan shape.
5 Repeat for any other magazines. Place them back to back, with the flat sides together. If you’re stacking two on top of each other, rotate the second layer a few degrees so that they stack like bricks, and not directly on top of each other. This will make them more stable.

via